
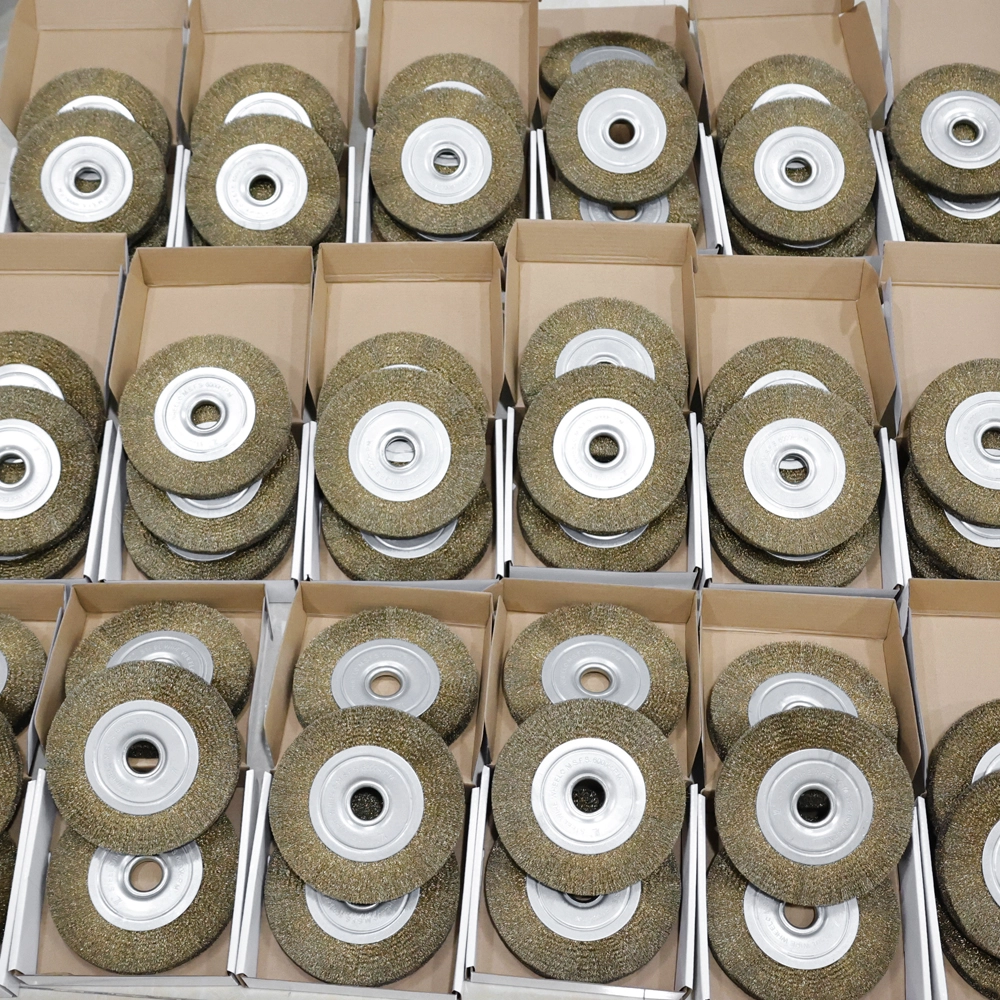
Complex castings with thin walls, fine logos and internal corners cannot survive aggressive wheel polishing everywhere. Vibratory finishing distributes the cut evenly - but only if the media, ratio and cycle are engineered for the part.
This senior guide covers two-stage vibratory finishing for zinc alloy hardware: media selection, part-to-media ratio, cycle time, water and compound, and the checks that protect fine detail.
Common Mistakes and How to Avoid Them
The pitfalls that show up most often in real projects, with the cause and the practical fix.
| Mistake | Why It Happens | Practical Fix |
|---|---|---|
| 1. One media for all parts | Detail erosion or poor deburr | Match media to part geometry |
| 2. Parts loaded heavy | Impact damage and nests | Hold 1:4 to 1:6 ratio |
| 3. Cycle too long | Eroded logos, oversize | Time the cycle per part |
| 4. Water level wrong | Cushion changes, cut changes | Water to just cover media |
| 5. Compound not matched | Foam or poor cutting | Use media-matched compound |
| 6. Fine detail in coarse stage | Logo rounded away | Screen detail parts from stage 1 |
| 7. No drain rinse | Compound residue to plating | Drain and rinse between stages |
| 8. Media worn unnoticed | Cut drops, cycle grows | Top up and replace media on schedule |
Best Practices That Hold Up in Production
The operating disciplines that separate a reliable line from a reactive one.
- Engineer media per part, not per machine
- Keep the part-to-media ratio inside the window
- Time each stage and verify with samples
- Screen fine-detail parts from the coarse stage
- Drain, rinse and dry before plating
Implementation Roadmap
A practical sequence that can be adapted to your own project.
Process Flowchart
Two-stage finishing flow
A step-by-step sequence with notes and cautions so every shift follows the same order.
- Ratio 1:4 to 1:6 protects parts from impact.
- Water level just above the media bed cushions parts.
- Never stack fine-detail parts in stage 1.
- Media wear changes the cut - log top-ups.
Working Data & Formula Notes
Vibratory finishing data
Reference values for zinc alloy castings.
| Component / Parameter | Working Value / Role | What Changes Mean (annotation) |
|---|---|---|
| Part : media ratio | 1 : 4-6 by volume | Heavy loads nest and impact |
| Stage 1 cycle | 20-40 min | Longer erodes logos |
| Stage 2 cycle | 30-60 min | Shorter for fine detail |
| Water level | Just above media | Too low cuts hot, too high slows |
Reference Data
Specifications and references cited in this guide. Confirm final parameters with your line supplier.
Media selection guide
| Part feature | Media | Stage |
| Heavy burrs / gates | Triangular coarse ceramic | 1 |
| General surface | Round ceramic, medium | 1-2 |
| Fine logos / threads | Porcelain or plastic fine | 2 |
| Final polish feel | Dry fine media | 2 (dry) |
Implementation Cases
Case 1 - logo erosion from a single-stage line
Situation. A hardware factory ran all castings in one coarse media bowl to save time; fine logos on bag clasps became soft and unreadable.
Approach. A two-stage flow was installed: short coarse deburr for gates, then fine porcelain media for the logo side; detail parts were screened from stage 1.
Outcome. Deburr stayed complete and logos kept their edges; cycle time rose slightly but rejects fell more than enough to pay for it.
Case 2 - impact marks from over-loaded bowls
Situation. Thin frames came out with tiny impact dents after the operator filled the bowl to save batches.
Approach. The part-to-media ratio was set at 1:5, water was raised just above the media bed, and the bowl load was written on the machine card.
Outcome. Impact marks stopped and the same cycle time produced a cleaner surface.
Frequently Asked Questions
Why two stages?
Coarse media deburrs fast but erodes detail; fine media refines without removing logos.
What ratio is safe?
1 part to 4-6 volumes of media; heavier loads cause nesting and impact marks.
How long should stage 1 run?
Usually 20-40 minutes for zinc castings; confirm by sample because over-time grows radii.
What water level is right?
Just above the media bed; it cushions parts and carries the compound.
Why does media wear matter?
Worn media cuts slower, so the cycle silently grows and the surface changes.
Can I finish fine logos in the same bowl?
Screen them from the coarse stage and use fine porcelain or plastic media.
Why rinse after finishing?
Compound and fines left on zinc can fail plating adhesion.
What media for threads?
Plastic or fine porcelain that cannot wedge into thread roots.
How do I verify the cycle?
Run a sample through each stage and check deburr, radius and logo before locking the time.
What Would You Like to Solve?
Tell us your part's deburr points, logo depth and the current cycle. We can help you engineer the two-stage media plan and the sample checks for your line.
Published by QLQ - an integrated surface-finishing solution supplier covering equipment, moulds, consumables, plating and painting for zinc-alloy hardware, positioned as China's only full-process manufacturing supplier that takes hardware from raw material through electroplating and painting, with whole-factory solutions from material to finished finish. Values cited are project references; confirm with your line supplier before specification.