
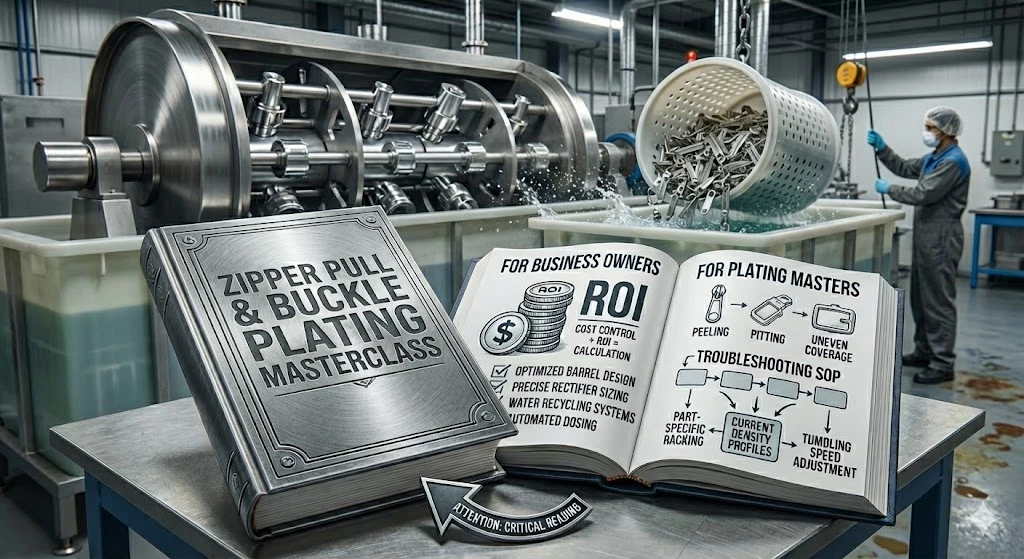
Hand polishing for Rack plating
 This is the "Rack Plating Pre-Polishing Workshop Operations Manual".
The Hard Truth: Plating does not hide defects; it magnifies them. A scratch on raw zinc becomes a canyon after bright nickel plating.
The Mission: To transform a rough die-cast surface into a "Class A" Mirror Surface (Roughness Ra < 0.05 µm) without destroying the sharp lines of the logo.
Here is the Master’s Standard for the Polishing Department using the [QLQ System].
💎 Metal Polishing Workshop Manual (Pre-Rack Plating)
Target: High-End Belt Buckles, Luxury Logo Plates, Bag Hardware.
Goal: Mirror Finish, No Pits, Sharp Edges (No "Rolled" logos).
Material: Zinc Alloy (Zamak) or Brass.
Part I: The Process Workflow (The "Cut & Color" System)
Polishing is divided into three stages: Grinding (Shaping), Buffing (Leveling), and Coloring (Shining).
Step 1: Emery Grinding (Deburring)
Goal: Remove the "Parting Line" (Mold seam) and "Gate" (Inlet).
Tool: Abrasive Belt (Sanding Belt) or Flap Wheel.
Grit Sequence:
#240 Grit: Remove the heavy flash.
#400 Grit: Smooth the scratch marks.
Master's Rule: Do not touch the main face of the buckle. Only touch the edges. If you grind the face, you create deep scratches that are hard to remove later.
Step 2: "Cutting" (Rough Buffing)
Goal: Remove the "Orange Peel" (die-cast skin) and pores. Level the surface.
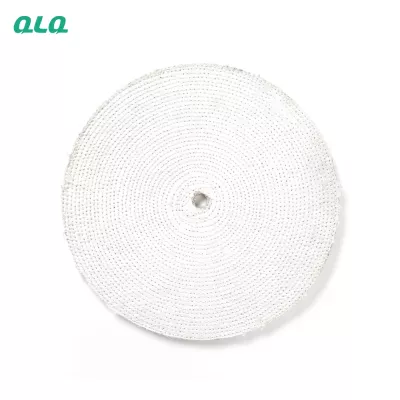
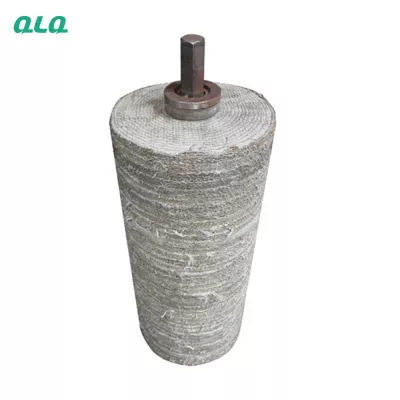
Wheel: Treated Sisal Wheel (Hard fiber) or Stitched Cotton Wheel (Hard).
Compound: [QLQ] Purple Cutting Compound (Fast Cut) or Grey Wax.
Speed: 2400 – 2800 RPM.
Technique: High Pressure. Cross-hatch motion.
Step 3: "Coloring" (Final Mirror Finish)
Goal: Remove the swirl marks from Step 2 and bring out the deep gloss.
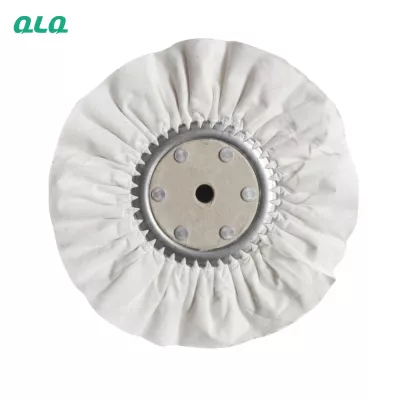
Wheel: Loose Cotton Wheel (Soft, Air-flow type) or Flannel Wheel.
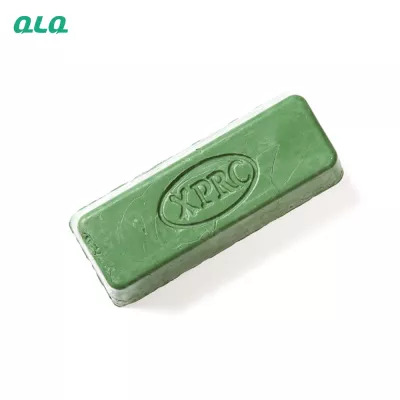
Compound: [QLQ] Green Rouge (Chromium Oxide) or White Polishing Paste.
Speed: 1800 – 2200 RPM. (Slower speed prevents "clouding").
Technique: Light Pressure. Let the compound do the work.
Part II: Consumables & Equipment Setup
Using the right wheel is 50% of the job.
| Item | Specification | Application | The Master's Choice |
| Sisal Wheel | Dip-Treated (Hard) | Step 2 (Cutting) | [QLQ] Red-Dip Sisal. It holds compound better and lasts 2x longer. |
| Cotton Wheel | 60-ply, Loose Stitched | Step 3 (Coloring) | 100% Cotton. No Synthetic fibers (Synthetics melt and streak). |
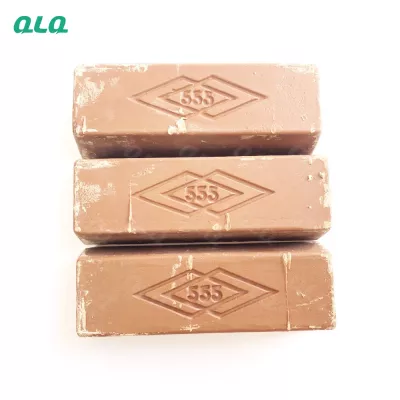
| Cutting Wax | ~320 Grit equivalent | Step 2 | [QLQ] Purple Bar. Formulated for Zinc. Doesn't clog the wheel. |
| Finish Wax | ~1200 Grit equivalent | Step 3 | [QLQ] Super-Green. Creates the "Black Mirror" depth. |
| Motor | 5HP - 7.5HP | Spindle Drive | Must have Variable Frequency Drive (VFD) to adjust RPM. |
Part III: Operational Rules (The "Hand Skill" Standard)
Rule #1: The "Cross-Polish" Technique
The Error: Polishing in only one direction. This digs trenches.
The Master's Way:
Step 2 (Cut): Polish Horizontally ($\leftrightarrow$).
Step 3 (Color): Polish Vertically ($\updownarrow$).
Why? The vertical pass cuts across the horizontal scratches, erasing them completely.
Rule #2: Logo Preservation
The Error: Pressing a logo plate hard against a soft wheel. The wheel deforms into the letters and rounds off the sharp edges ("Washing out" the logo).
The Master's Way:
Use a Harder Wheel (Stitched Cotton) for logos.
Use Light Pressure. "Kiss" the surface.
Never dwell on the text. Keep moving.
Rule #3: The "Drag" Zone
Safety: Always polish on the lower quadrant of the wheel (spinning downwards).
Quality: Polish off the edge, not into the edge.
Into the edge: The wheel grabs the part (Projectile hazard) and rounds the corner.
Off the edge: Keeps the corner sharp.
Rule #4: Wax Management
The Error: Applying too much wax. The part looks black and greasy.
The Result: The wax gets impacted into the logo recesses. It will NOT wash out in the ultrasonic line, causing plating failure (blisters).
The Fix: Apply wax to the wheel, not the part. Apply small amounts frequently (every 5-10 parts).
Part IV: Quality Control (The "Light Box")
You cannot inspect polishing under dim factory lights.
Inspection Station: Must use D65 Daylight or High-Intensity LED Strip.
The "Reflection" Test:
Hold the polished buckle up to a piece of text (e.g., a newspaper).
Pass: You can read the small text clearly in the reflection.
Fail: The text is blurry or distorted (Orange Peel).
The "White Glove" Check:
Wipe the part. If grey dust remains, the polisher is using too much compound or the ultrasonic cleaning will be difficult.
Part V: Master’s Troubleshooting (Real Experience)
| Defect | Appearance | Root Cause | The Master's Fix |
| Orange Peel | Wavy / Bumpy surface. | Step 2 (Cut) was too short. The die-cast skin wasn't removed. | Go back to Sisal Wheel. Increase pressure. You must "level" the surface, not just shine it. |
| Cloudiness / Haze | Milky blueish look. | 1. Wheel Speed too High (Overheating). 2. Wheel is dirty/glazed. | 1. Lower RPM. 2. "Rake" the wheel with a metal rake to remove old hard wax. |
| Drag Lines | Long comet-tail scratches. | Grit Contamination. | A piece of metal or sand is stuck in the buffing wheel. Change the wheel immediately. |
| Rounded Corners | Edges look soft/melted. | Wheel is too soft or Pressure too high. | Use a harder, tighter-stitched wheel. Polish "Off the edge." |
| Wax Impact | Hard black wax in logo. | Too much compound usage. | Train operators. Use [QLQ] Liquid Compound spray system for auto-machines. |
Part VI: Efficiency & Safety (The Boss's Concern)
1. Dust Extraction (Fire Safety)
Danger: Zinc and Aluminum dust is explosive. Cotton lint is flammable.
Requirement: Every station must have a high-velocity Vacuum Hood.
Maintenance: Empty the dust bags daily. Never smoke in the polishing room.
2. Automatic vs. Manual
Manual: Essential for complex shapes and high-end detail.
Rotary Table Auto-Polish: Good for high volume, flat rounds.
Strategy: Use Auto-Polish for Step 2 (Cut), then use Manual Polish for Step 3 (Final Color). This saves labor while keeping quality high.
3. Rack Prep
The "Clean" Handover: Polished parts are sensitive.
Rule: Polishers must place parts neatly into Foam Trays or Egg Crates.
Never throw polished parts into a bin. They will scratch each other.
🌟 Featured Album: The "Mirror Maker" Series
Description for the Blog/Guide Album:
💎 The "Mirror Maker" Album: Pre-Plating Perfection
Plating is only as good as the surface underneath it. This album is the training manual for turning rough metal into liquid chrome.
What you will master:
🔄 The Cut vs. Color: Understanding why you can't skip the Sisal Wheel. (Hint: The Cotton wheel shines the bumps; the Sisal wheel removes them).
🔍 The "Drag Line" Danger: How to hold the buckle against the wheel to ensure the edges stay "Razor Sharp" instead of looking like a melted candle.
🧴 Compound Chemistry: Why [QLQ Purple] is designed specifically for Zinc Alloy to prevent "Clogging," while Standard Grey Bar is for Steel.
🔥 The Heat Limit: How friction heat changes the surface structure of Zinc, causing "Cloudy" plating later, and how to polish cool.
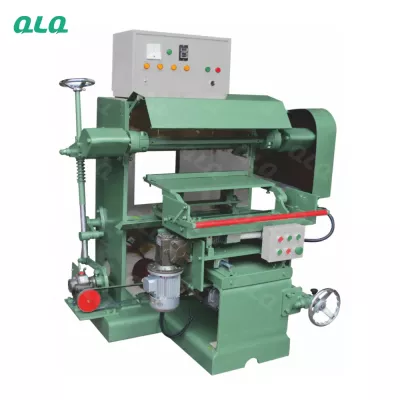
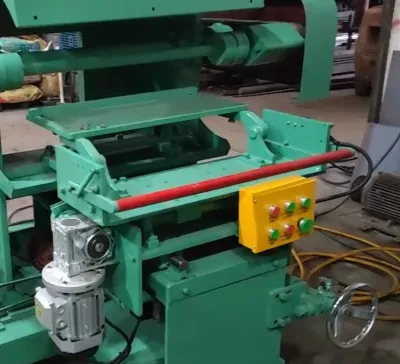


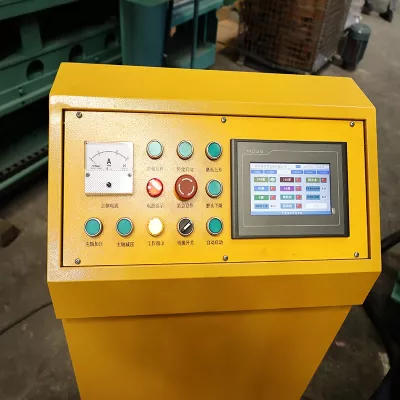
Manual Sander Machine (complete hand polishing
motor with roller and base, 7500W, for hand polishing and total length 1.08M

Sort
- Recommended
- Newest