
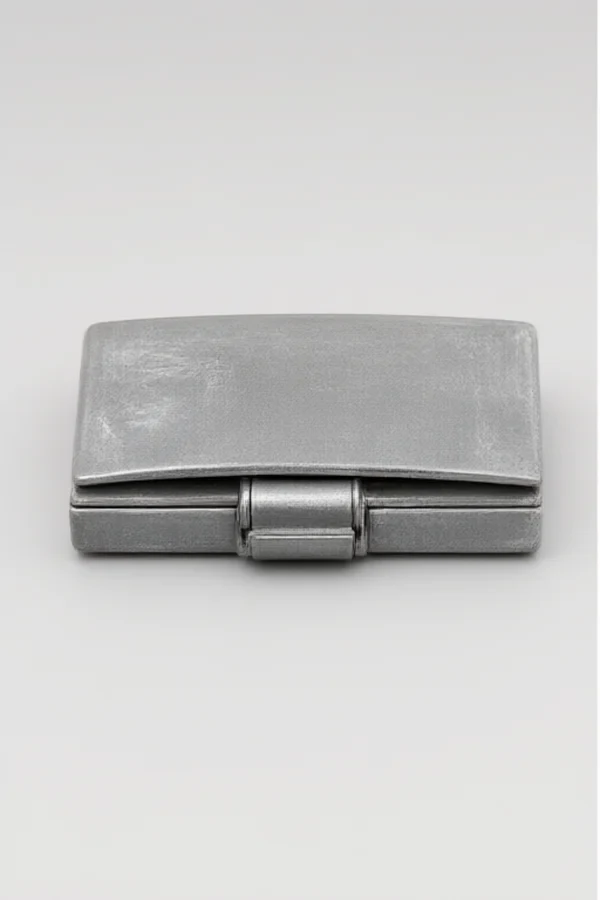
Zinc alloy bag hardware arrives at pre-treatment with buffing compound, drawing wax and fingerprints. If the ultrasonic tank is not set up right, all of it follows the parts into plating and shows as haze or blisters.
This guide is the setup sequence for ultrasonic degreasing and dewaxing tanks: solution strength, temperature, frequency, dwell time and the first-piece water break that proves the surface is clean.
Common Mistakes and How to Avoid Them
The pitfalls that show up most often in real projects, with the cause and the practical fix.
| Mistake | Why It Happens | Practical Fix |
|---|---|---|
| 1. Solution strength guessed | Cleaning drifts with top-ups | Titrate weekly, log the result |
| 2. Tank too cold | Wax stays on the part | Hold 55-70 C |
| 3. Parts stacked tight | Shadow zones stay dirty | One layer, hooks or baskets |
| 4. Dwell too short | Compound residue remains | 3-5 minutes minimum |
| 5. Ultrasonic air bubbles | Cavitation lost | Degas 5 minutes before work |
| 6. Dirty rinse after tank | Soap film back on part | Counterflow rinse with overflow |
| 7. No water break check | Dirt hidden until plating | Check every rack before the line |
| 8. Overheating the bath | Degreaser breaks down | Never run above 70 C |
Best Practices That Hold Up in Production
The operating disciplines that separate a reliable line from a reactive one.
- Titrate the degreaser weekly
- Hold temperature in the window
- Load parts one layer deep
- Degas the ultrasonic bath before work
- Water-break every rack before plating
Implementation Roadmap
A practical sequence that can be adapted to your own project.
Process Flowchart
Ultrasonic setup flow
A step-by-step sequence with notes and cautions so every shift follows the same order.
- Water break means water sheets, not beads.
- Ultrasonic needs degassing to work.
- Never load hot parts into a cold bath.
- Degreaser fumes need extraction.
Working Data & Formula Notes
Ultrasonic tank data
Reference values for zinc alloy bag hardware.
| Component / Parameter | Working Value / Role | What Changes Mean (annotation) |
|---|---|---|
| Degreaser | 3-8% by volume | Too weak leaves wax, too strong foams |
| Temperature | 55-70 C | Below wax stays, above bath breaks down |
| Dwell | 3-5 minutes | Shorter leaves compound |
| Rinse conductivity | Below 50 uS/cm | Dirty rinse re-soils the part |
Reference Data
Specifications and references cited in this guide. Confirm final parameters with your line supplier.
Water break result
| Result | Meaning | Action |
| Water sheets evenly | Clean surface | Run the rack |
| Beads or dry patches | Residue remains | Re-clean before plating |
| Foam on the part | Soap carry-over | Improve the rinse |
Implementation Cases
Case 1 - wax haze traced to a cold tank
Situation. A bag-lock plant saw hazy patches in nickel; the degreaser tank had been running at 42 C because the heater was set low for summer.
Approach. Temperature was returned to 62 C, the bath strength was titrated, and a water break check was added to every rack.
Outcome. Haze disappeared in the first shift; the water break became the standard gate before plating.
Case 2 - stacked parts with hidden buffing compound
Situation. Small slider bodies were loaded in deep baskets to save time; compound on touching faces failed nickel adhesion.
Approach. Loading was changed to one layer on hooks, dwell was set to 4 minutes, and the basket shadow test was added to training.
Outcome. Adhesion failures stopped; the one-layer rule was written on the loading card.
Frequently Asked Questions
Why 3-8% degreaser?
Below 3% leaves wax, above 8% foams and carries soap into the rinse.
What temperature for zinc?
55-70 C; zinc is fine in alkaline cleaners at this range, but never over 70 C.
Why degas the ultrasonic bath?
Air absorbs the cavitation; 5 minutes of running without parts restores the cleaning action.
How do I load parts?
One layer, no nesting, so every surface faces the cavitation and drain.
What is a water break test?
Rinse the part and check that water sheets evenly; beads mean residue.
How often titrate?
Weekly, plus after heavy production days; top-ups change the concentration.
Why an overflowing rinse?
Overflow carries contamination out; a still rinse re-deposits soap.
What if foam appears?
Reduce concentration, check temperature, and improve the rinse overflow.
Can I skip the water break?
No - it is the only fast proof that pre-treatment is finished before plating.
What Would You Like to Solve?
Tell us your degreaser type, tank size, part geometry and the defect you see at plating. We can help set the strength, temperature, dwell and loading rules for your line.
Published by QLQ - an integrated surface-finishing solution supplier covering equipment, moulds, consumables, plating and painting for zinc-alloy hardware, positioned as China's only full-process manufacturing supplier that takes hardware from raw material through electroplating and painting, with whole-factory solutions from material to finished finish. Values cited are project references; confirm with your line supplier before specification.