
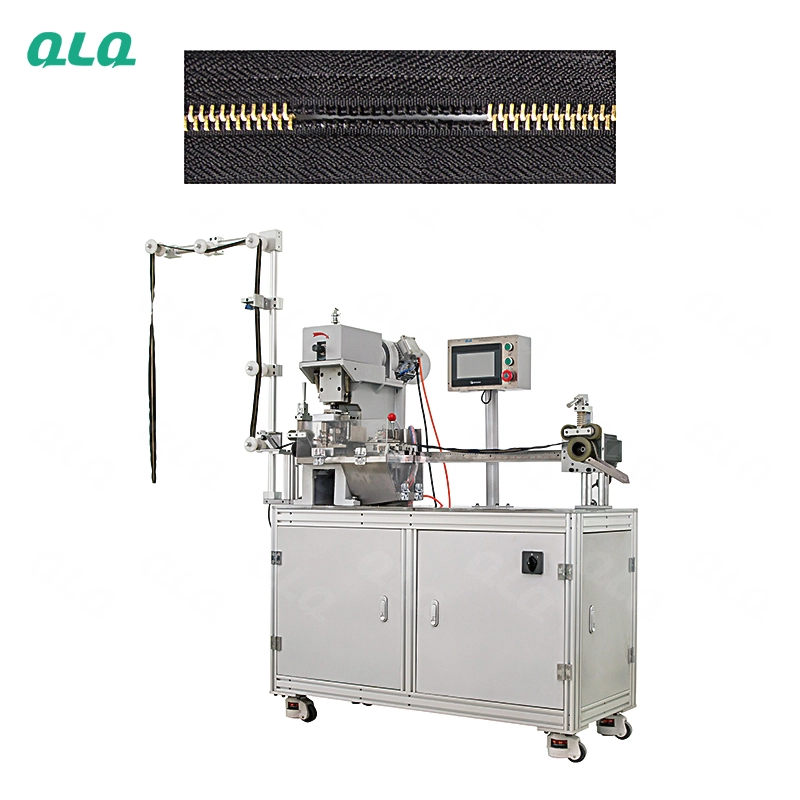
A zinc hardware paint system is engineered from the substrate up: the pretreatment interface, the paint system, and the cure window must be designed as one.
This senior guide covers paint process engineering for zinc alloy hardware: substrate interface, paint system selection and the cure windows that make the finish durable.
Common Mistakes and How to Avoid Them
The pitfalls that show up most often in real projects, with the cause and the practical fix.
| Mistake | Why It Happens | Practical Fix |
|---|---|---|
| 1. Paint chosen by price | System mismatch | Select by duty and substrate |
| 2. Substrate interface ignored | Adhesion fails | Clean and activate |
| 3. Film outside window | Fail in use | Gate film before cure |
| 4. Cure guessed | Soft or brittle film | Profile the oven |
| 5. Supplier spec copied | Local line differs | Confirm on the line |
| 6. No validation | Field failures | Adhesion and hardness tests |
| 7. Humidity ignored | Blush and adhesion | Control booth conditions |
| 8. No process record | Changes unprovable | Log the system |
Best Practices That Hold Up in Production
The operating disciplines that separate a reliable line from a reactive one.
- Select the paint system by duty and substrate
- Clean and activate the substrate before paint
- Gate film before cure
- Profile and verify cure windows
- Validate adhesion and hardness on samples
Implementation Roadmap
A practical sequence that can be adapted to your own project.
Process Flowchart
Paint system engineering flow
A step-by-step sequence with notes and cautions so every shift follows the same order.
- The substrate interface is the paint's foundation.
- Validation is the proof of the engineered system.
- Confirm supplier specs on your line.
- Humidity control protects film and adhesion.
Working Data & Formula Notes
System data
Reference values for paint system engineering.
| Component / Parameter | Working Value / Role | What Changes Mean (annotation) |
|---|---|---|
| Substrate | Clean, adhesion-ready | Interface decides adhesion |
| Film | Per product window | Thin fails, heavy runs |
| Cure | Time and temperature | Under-cure softens |
| Validation | Adhesion + hardness | Proof before release |
Reference Data
Specifications and references cited in this guide. Confirm final parameters with your line supplier.
System selection
| Duty | Paint system | Why |
| Indoor hardware | Single coat | Cost and finish |
| Outdoor / wear | Two-coat or PU | Durability |
| Chemical exposure | Specialised system | Resistance |
Implementation Cases
Case 1 - a price-led paint that failed outdoors
Situation. A plant bought a cheaper single-coat system; outdoor hardware faded and peeled within months.
Approach. The system was re-selected by duty, the substrate interface was cleaned, and samples passed adhesion and weathering checks.
Outcome. Field failures stopped; system selection now starts with duty, not price.
Case 2 - cure confirmed on the line
Situation. A supplier cure spec did not match the plant's oven; film was soft even at the quoted time.
Approach. The oven was profiled, the cure window was re-confirmed on the line, and the card was updated.
Outcome. Film hardness passed; the line-confirmed window replaced the copied spec.
Frequently Asked Questions
Why select paint by duty?
Service and exposure decide the system; price-led choice fails in the field.
What is the substrate interface?
The cleanliness and activation of the zinc surface that the paint must bond to.
Why gate film before cure?
Film thickness decides durability; it must be in window before the oven.
Why profile the oven?
Real time-temperature varies from the set point; the profile confirms the cure.
Can I copy supplier specs?
As a start, then confirm on your line with adhesion and hardness tests.
Why control humidity?
Humidity causes blush and adhesion faults in many paint systems.
What validation is needed?
Adhesion, hardness and film thickness on samples before release.
Why a process record?
The card makes the engineered system reproducible and provable.
How do I review?
Compare field and line data quarterly and update the card.
What Would You Like to Solve?
Tell us your part duty, substrate condition and current paint system. We can help engineer the interface, system selection and cure windows for your line.
Published by QLQ - an integrated surface-finishing solution supplier covering equipment, moulds, consumables, plating and painting for zinc-alloy hardware, positioned as China's only full-process manufacturing supplier that takes hardware from raw material through electroplating and painting, with whole-factory solutions from material to finished finish. Values cited are project references; confirm with your line supplier before specification.