

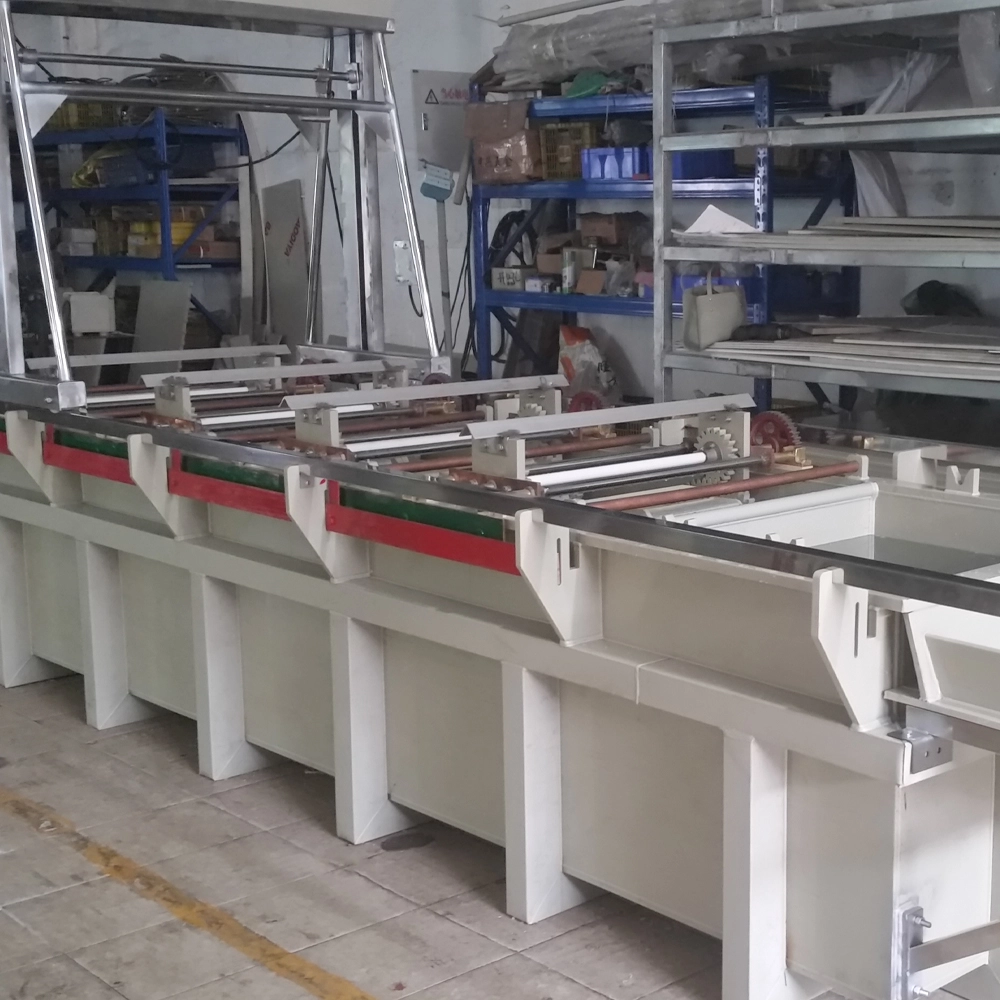
Most barrel batch defects start before the rectifier is switched on. A barrel door that is not seated, a load that is packed too tightly, or a dry start with fine parts produces the same marks that get blamed on chemistry later.
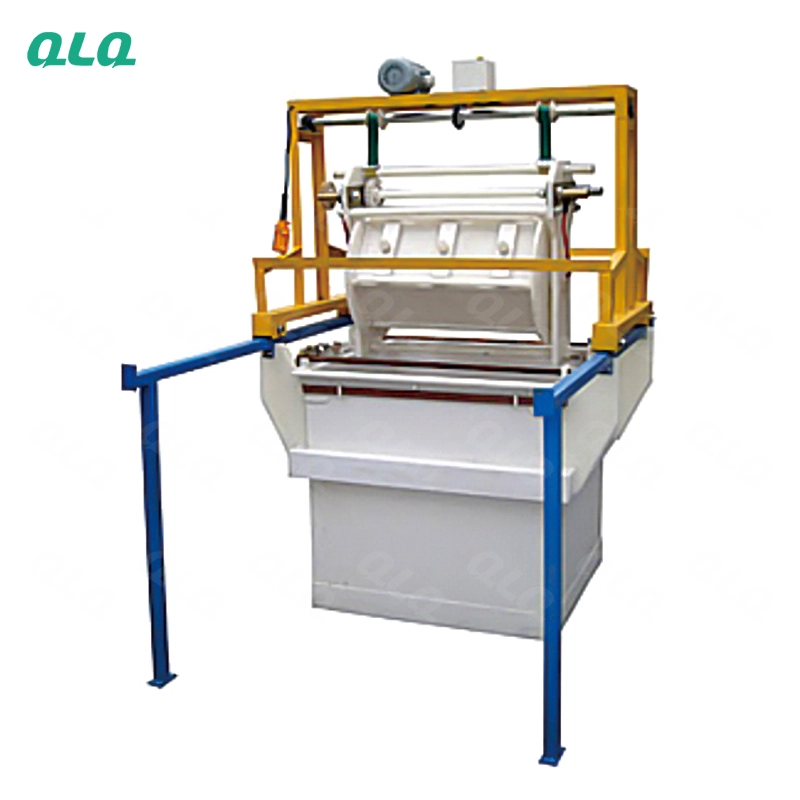
This junior guide walks through the start-up sequence for zinc alloy bag hardware: checking the door and drain holes, adding water and media, shaping the load, and rotating without current before every batch.
Common Mistakes and How to Avoid Them
The pitfalls that show up most often in real projects, with the cause and the practical fix.
| Mistake | Why It Happens | Practical Fix |
|---|---|---|
| 1. Door not fully seated | Solution leaks and parts spill | Close and latch, then spin 10 s on the cradle |
| 2. Load packed above 60% | No tumbling, burn spots and welded parts | Keep load volume at 40-60% of drum |
| 3. Dry start with fine parts | Parts stick and current burns at contact | Fill water above the load before current |
| 4. Blocked drain holes | Drag-out stays in the drum | Check and clear drain holes at start-up |
| 5. Skipping the first rotation | Binding or uneven contact is discovered too late | Rotate 2-3 min with no current every batch |
| 6. Wrong media in drum | Scratches or poor exposure | Check media size and quantity on the load card |
| 7. Load weighed by eye | Crowded or underfilled barrel | Weigh each load against the card limit |
| 8. Ignoring drum rotation sound | Worn bearings or a stuck barrel | Report grinding or clicking before loading |
Best Practices That Hold Up in Production
The operating disciplines that separate a reliable line from a reactive one.
- Always seat and latch the door before adding solution
- Fill water or solution above the load before current
- Keep every load between 40% and 60% of drum volume
- Run a no-current rotation and watch the first two minutes
- Log the start-up checks on every batch card
Implementation Roadmap
A practical sequence that can be adapted to your own project.
Process Flowchart
Barrel start-up flow
A step-by-step sequence with notes and cautions so every shift follows the same order.
- The first rotation is a test of the whole barrel, not just the door.
- Water level should cover the load before the rectifier starts.
- Never open the door with the drum turning.
- Stop and report any grinding or clicking sound.
Working Data & Formula Notes
Start-up settings
Reference values for a standard 40-60 kg zinc alloy hardware barrel. Confirm with the line supplier.
| Component / Parameter | Working Value / Role | What Changes Mean (annotation) |
|---|---|---|
| Load volume | 40-60% of drum | Below 40% parts slide; above 60% they pack |
| Water fill | Above load level | Dry starts cause sticking and burns |
| No-current spin | 2-3 minutes | Long enough to reveal binding |
| Current ramp | 10-15 seconds | Ramp prevents mouth burn |
| First inspection | After 2 minutes | Catch marks before the full batch is lost |
Reference Data
Specifications and references cited in this guide. Confirm final parameters with your line supplier.
Load shape guidance by part type
| Type | Load share | Start-up note |
| Fine sliders and springs | 35-45% | More water, gentler ramp |
| Snaps and buckles | 45-55% | Standard media, watch nesting |
| D-rings and frames | 50-60% | Allow free tumbling space |
| Mixed hardware | 40-50% | Separate shapes where possible |
Implementation Cases
Case 1 - the door that was not seated
Situation. A junior loaded a drum of sliders, closed the door and started current immediately. Solution sprayed from the door line and fine parts fell onto the tank rim.
Approach. The batch was stopped, the door was cleaned, re-seated and latched, and the start-up checklist became a mandatory step before every load.
Outcome. No further spills; the first-rotation check now catches the fault before solution is lost.
Case 2 - the dry-start burn
Situation. Fine springs were poured into an empty barrel and the rectifier was ramped up without adding water first. Springs welded together at the drum mouth.
Approach. Water was added above the load level and the no-current spin became standard for every fine-part batch.
Outcome. Welding stopped; the drum mouth inspection at two minutes became part of the junior routine.
Frequently Asked Questions
Why fill water before current?
Fine parts need liquid movement; a dry load sticks and burns at the contacts.
How much load is safe?
Keep load volume at 40-60% of drum capacity so parts can tumble.
Why rotate without current?
It tests the door, media and load shape before any electrical damage can occur.
How long should the first rotation be?
Two to three minutes is enough to see binding, leakage or poor tumbling.
What if the door leaks?
Stop, clean the seal faces and re-seat the door; never run a leaking barrel.
Why check drain holes?
Blocked holes trap drag-out and cause staining and chemical imbalance.
What if parts nest together?
Separate shapes or reduce the load so every part can move.
When do I ramp current?
Only after the no-current rotation passes; ramp over 10-15 seconds.
What Would You Like to Solve?
If you want a start-up card matched to your drum size, load types and rectifier, send us your barrel dimensions and typical batch weights. We can help set the fill level, load limits and ramp profile for reliable first passes.
Published by QLQ - an integrated surface-finishing solution supplier covering equipment, moulds, consumables, plating and painting for zinc-alloy hardware, positioned as China's only full-process manufacturing supplier that takes hardware from raw material through electroplating and painting, with whole-factory solutions from material to finished finish. Values cited are project references; confirm with your line supplier before specification.