
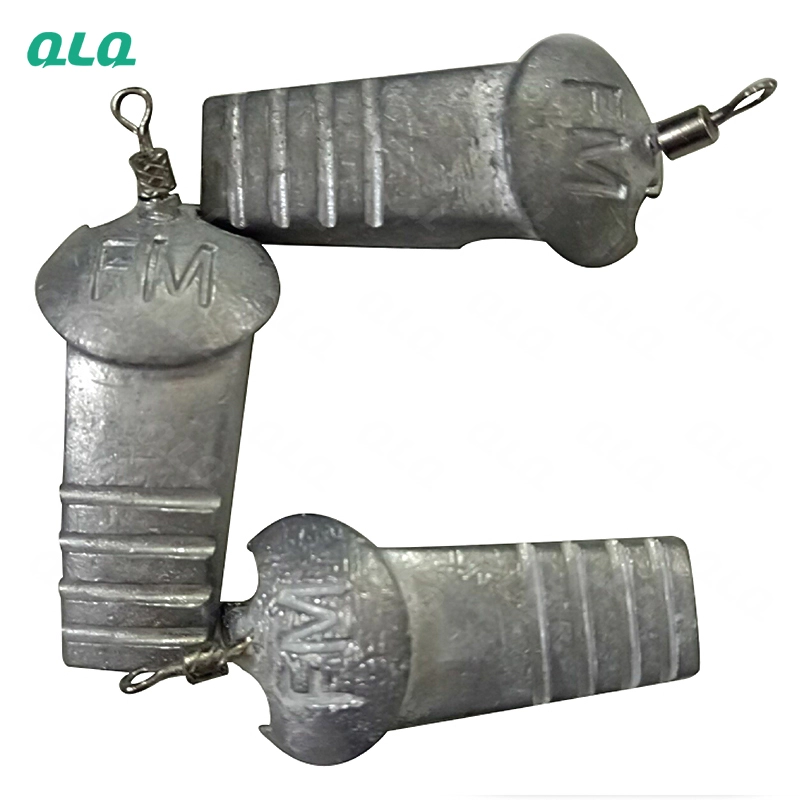
Most die-casting rejects are born in the first twenty minutes of a shift: a cold mould, a drifting melt, a mis-set shot. A fixed start-up checklist kills those rejects before the first part.
This guide is the 12-check start-up sequence for a zinc die-casting machine, written for junior technicians with three or more years on the line.
Common Mistakes and How to Avoid Them
The pitfalls that show up most often in real projects, with the cause and the practical fix.
| Mistake | Why It Happens | Practical Fix |
|---|---|---|
| 1. Starting before the mould stabilises | Cold shuts all shift | Wait until 180-220 C holds 10 min |
| 2. Melt read from the set-point | Display vs real melt | Verify with a probe |
| 3. Dross not skimmed | Inclusions after plating | Skim before first shot |
| 4. Cooling assumed | Hot spots warp parts | Flow test per channel |
| 5. Shot profile from memory | Trapped air | Read the machine card |
| 6. No first-article gate | Errors run the shift | Check fill, flash, dimension |
| 7. Release over-sprayed | Baked build-up | Minimum effective coat |
| 8. No start-up log | Faults repeat tomorrow | Sign the card |
Best Practices That Hold Up in Production
The operating disciplines that separate a reliable line from a reactive one.
- Stabilise the mould before casting
- Verify the melt with a probe
- Skim dross every start
- Flow-test cooling channels
- Gate every setup with first articles
Implementation Roadmap
A practical sequence that can be adapted to your own project.
Process Flowchart
Start-up checklist flow
A step-by-step sequence with notes and cautions so every shift follows the same order.
- Twelve checks take ten minutes and save the shift.
- The signed card is the shift memory.
- Hot melt and moulds are burn hazards.
- Never skip the safety check.
Working Data & Formula Notes
Working data - start-up windows
Reference windows from QLQ die-casting practice.
| Component / Parameter | Working Value / Role | What Changes Mean (annotation) |
|---|---|---|
| Mould temperature | 180-220 C | Cold shuts below; soldering above. |
| Melt temperature | 420-450 C | Alarm above 460 C. |
| Cooling water | 15-25 C | Flow per channel. |
| First article | Fill, flash, dimension | The setup gate. |
Reference Data
Specifications and references cited in this guide. Confirm final parameters with your line supplier.
12-check start-up card
| Card read | Safety | Mould temp |
| Melt probe | Dross skim | Shot profile |
| Cooling flow | Release coat | First article |
| Dimensions | Surface | Log and sign |
Implementation Cases
Case 1 - a cold start that cost the morning
Situation. A junior started casting as soon as the mould read 170 C and cold shuts filled the first hour.
Approach. The checklist was followed: mould held at 200 C for 10 minutes before the first shot.
Outcome. Morning rejects stopped, and the checklist became mandatory.
Case 2 - dross that became inclusions
Situation. Dross was only skimmed at day end, and plated parts showed dark inclusions.
Approach. Skimming moved to the start of every shift before the first shot.
Outcome. Inclusions disappeared.
Frequently Asked Questions
Why stabilise the mould for 10 minutes?
The surface reading can reach 200 C while the core is still cold; a hold makes the whole mould true.
Why verify the melt with a probe?
The furnace display can drift; the melt at the shot point is the truth.
How often should I skim?
At least at every start-up and after long stops.
What if cooling flow is weak on one channel?
Stop and clear it before casting - a hot spot warps parts.
What is the first-article gate?
Checking fill, flash and dimension on the first parts before running the shift.
Why sign the card?
So the next shift starts from your evidence, not memory.
How long does the checklist take?
About ten minutes - less than the rejects it prevents.
What if a check fails?
Fix it before the first shot; never start with a known fault.
What Would You Like to Solve?
Run the twelve checks in order every start-up, gate the first article and sign the card. The shift that starts right finishes right.
Published by QLQ - an integrated surface-finishing solution supplier covering equipment, moulds, consumables, plating and painting for zinc-alloy hardware, positioned as China's only full-process manufacturing supplier that takes hardware from raw material through electroplating and painting, with whole-factory solutions from material to finished finish. Values cited are project references; confirm with your line supplier before specification.