
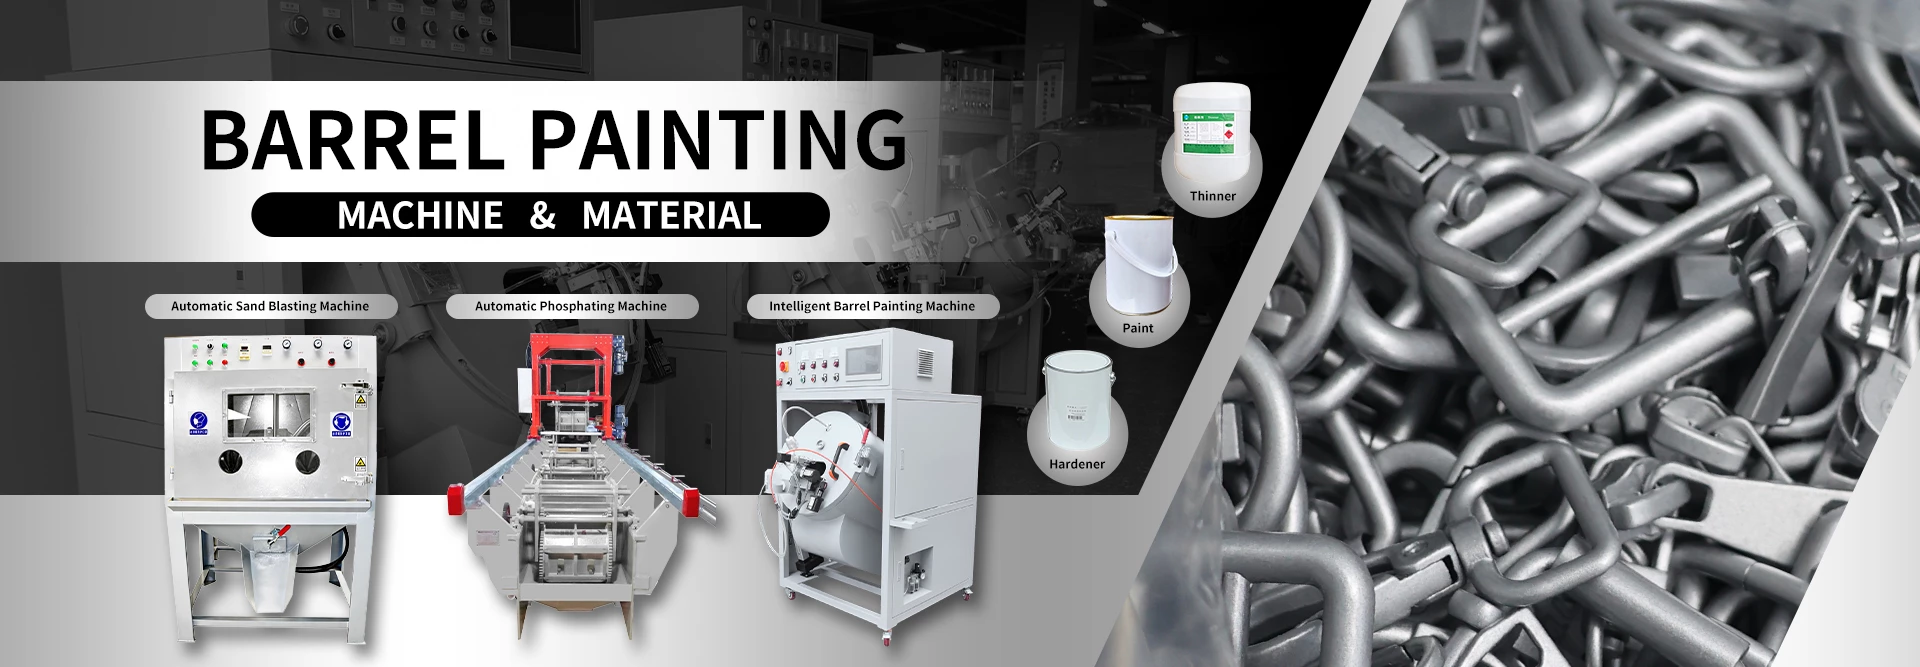
Tumble painting is a balance between coverage and damage: too much load skips surfaces, too fast a drum dings parts, and a bad spray window leaves thin or heavy spots.
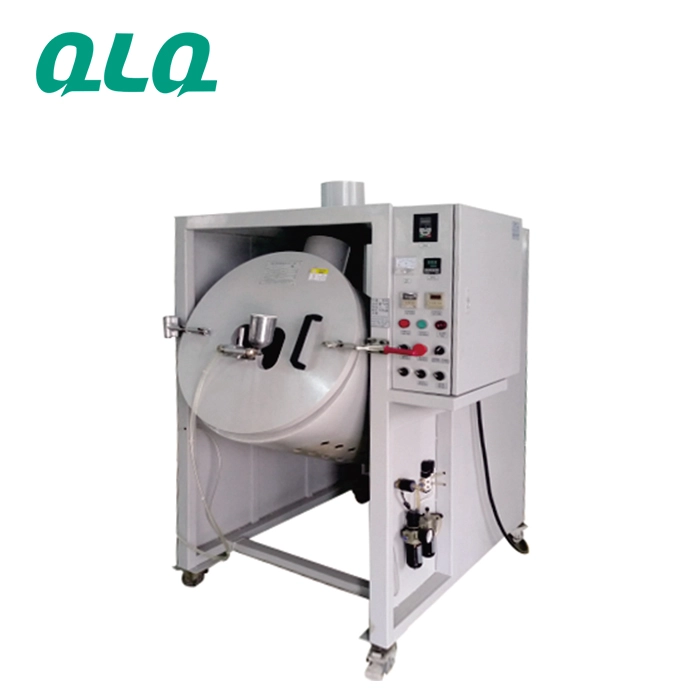
This junior guide covers the load and spray cycle setup for tumble painting zinc alloy hardware: load weight, drum speed, spray timing and the first-batch check.
Common Mistakes and How to Avoid Them
The pitfalls that show up most often in real projects, with the cause and the practical fix.
| Mistake | Why It Happens | Practical Fix |
|---|---|---|
| 1. Drum overfilled | Skipped surfaces | Weigh every load |
| 2. Drum too fast | Part dings | Set speed per geometry |
| 3. Spraying into still load | Heavy spots | Spray while tumbling |
| 4. Gun too close | Wet puddles | Set distance and angle |
| 5. Spray bursts too long | Paint pools and sticks | Time the bursts |
| 6. No first-batch check | Defect batch repeats | Check coverage and dings |
| 7. Load mixed sizes | Uneven coating | Sort by size range |
| 8. No cycle log | Batch differences | Log load, speed, spray |
Best Practices That Hold Up in Production
The operating disciplines that separate a reliable line from a reactive one.
- Weigh every load to the drum rating
- Set drum speed per part geometry
- Spray only while the load is tumbling
- Time and log the spray bursts
- Check the first batch before the full run
Implementation Roadmap
A practical sequence that can be adapted to your own project.
Process Flowchart
Load and cycle flow
A step-by-step sequence with notes and cautions so every shift follows the same order.
- Spray into the tumbling flow for even coverage.
- The cycle log explains batch differences.
- Guards stay on while the drum runs.
- Solvent fumes need extraction.
Working Data & Formula Notes
Load and spray data
Reference values for tumble painting zinc hardware.
| Component / Parameter | Working Value / Role | What Changes Mean (annotation) |
|---|---|---|
| Load weight | Per drum rating | Overload skips coverage |
| Drum speed | Per geometry | Fast speed dings parts |
| Spray burst | Per cycle timing | Long bursts pool paint |
| First batch | Check before full run | Cheap check, expensive batch |
Reference Data
Specifications and references cited in this guide. Confirm final parameters with your line supplier.
Spray cycle card
| Part | Load kg | Speed rpm | Spray burst |
| Sliders | Logged | Logged | Logged |
| Frames | Logged | Logged | Logged |
| Caps | Logged | Logged | Logged |
Implementation Cases
Case 1 - skipped surfaces from an overfilled drum
Situation. A plant filled the tumble drum to save batches; parts at the centre came out with bare spots.
Approach. Loads were weighed to the drum rating, and the first batch was checked before each full run.
Outcome. Bare spots stopped; the scale at the loading station became standard.
Case 2 - dings from a drum running too fast
Situation. Thin frames showed edge dings after tumbling; the drum speed had been raised to improve coverage.
Approach. Speed was returned to the part-specific setting and posted on the machine card.
Outcome. Dings stopped while coverage stayed even; the speed log matched the batch record.
Frequently Asked Questions
How much can I load?
Per the drum rating, typically 30-60 kg depending on part size; weigh every load.
What drum speed?
Per part geometry - fast enough to tumble, slow enough not to ding.
Why spray while tumbling?
The moving load exposes every surface; a still load pools paint.
How long are spray bursts?
Set per part and cycle; long bursts cause pooling and sticking.
Why check the first batch?
Coverage and dings show in the first batch while it can still be corrected.
Should I mix sizes?
No - sort by size range so speed and spray suit the whole load.
Why log the cycle?
The log explains why one batch differs from the next.
What about solvent fumes?
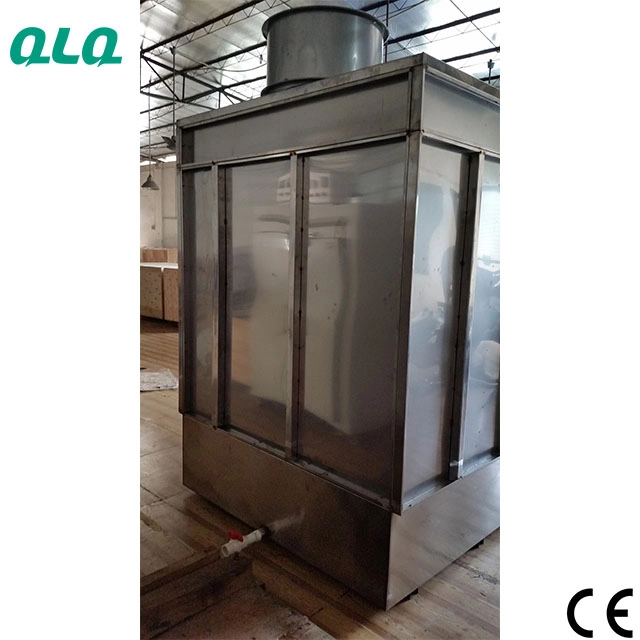
Extraction is required; tumble painting generates heavy vapour.
What do I check on the first batch?
Coverage, edge dings, film thickness and sticking.
What Would You Like to Solve?
Tell us your drum size, part geometry and current cycle. We can help set the load, speed and spray windows for even tumble coating.
Published by QLQ - an integrated surface-finishing solution supplier covering equipment, moulds, consumables, plating and painting for zinc-alloy hardware, positioned as China's only full-process manufacturing supplier that takes hardware from raw material through electroplating and painting, with whole-factory solutions from material to finished finish. Values cited are project references; confirm with your line supplier before specification.