

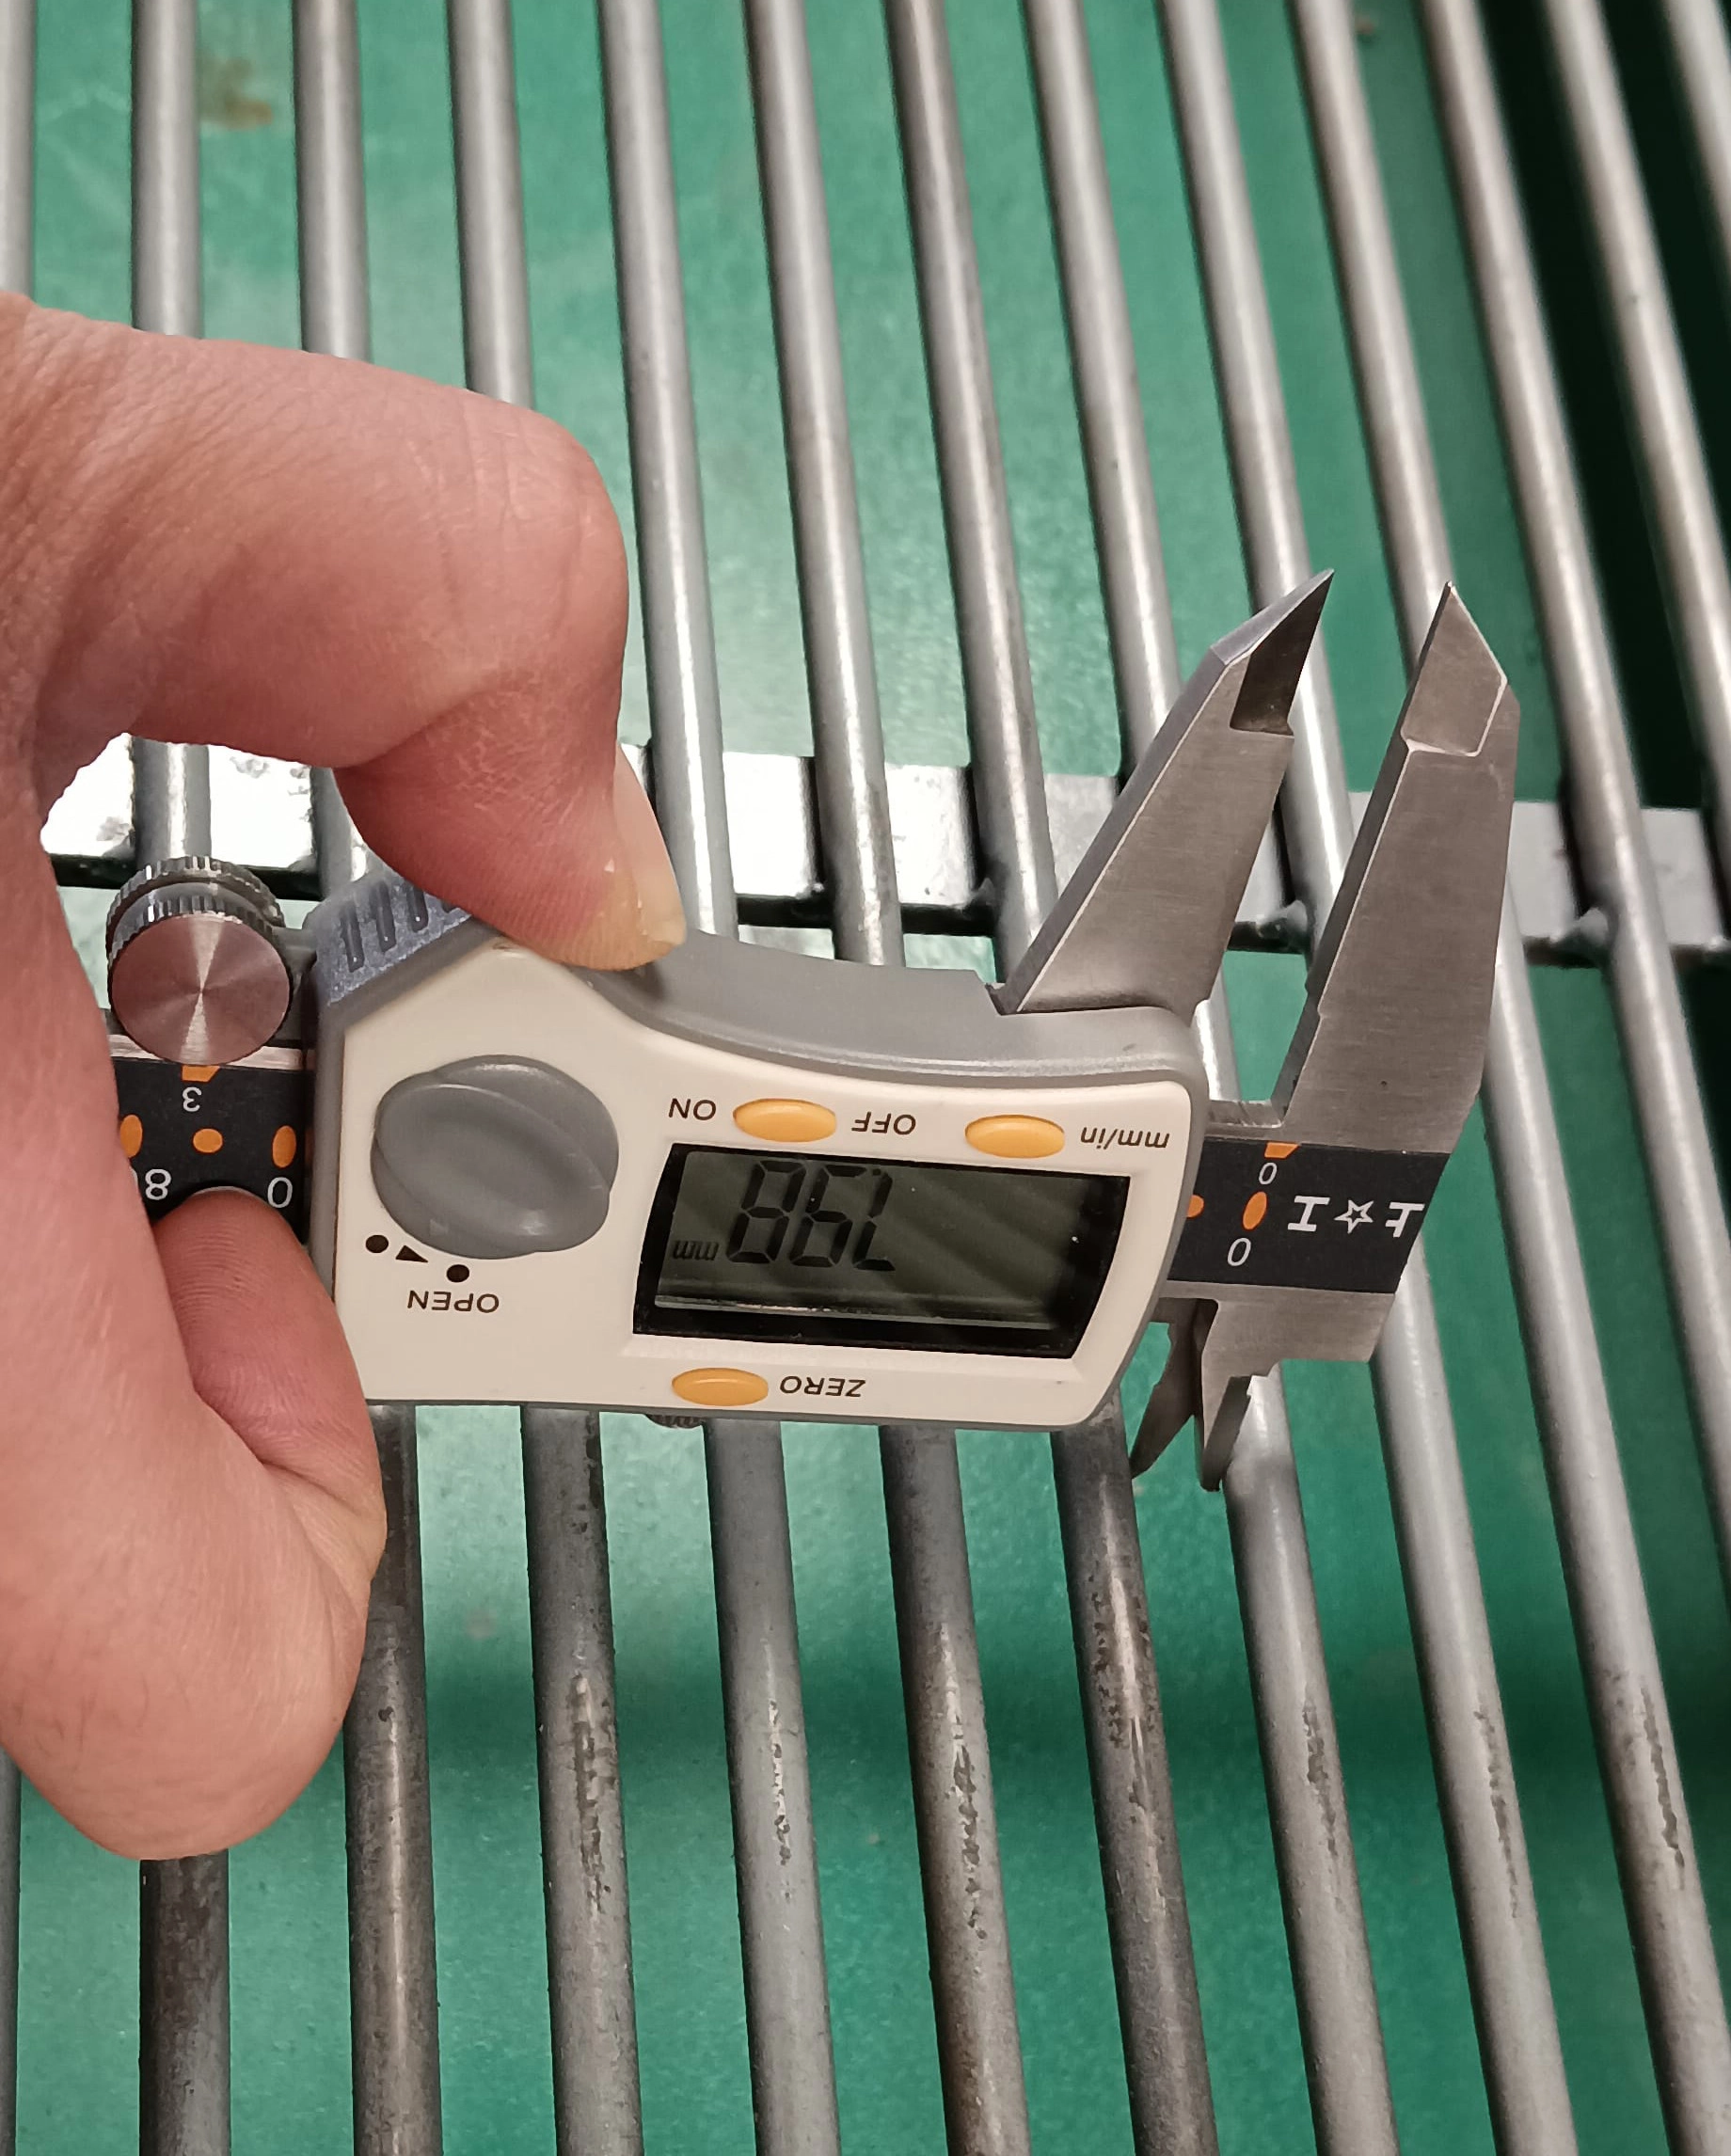
A satin finish is a controlled texture, and its direction matters. Straight-line marks and orbital haze plate differently, so the intermediate must control both the texture and its direction.
This intermediate guide covers satin finish control: abrasive sequence, surface direction and how the finish responds under plating.


Common Mistakes and How to Avoid Them
The pitfalls that show up most often in real projects, with the cause and the practical fix.
| Mistake | Why It Happens | Practical Fix |
|---|---|---|
| 1. Grit guessed | Finish varies | Set per spec |
| 2. Direction random | Patchy under plate | Control the pass |
| 3. Orbital on straight spec | Haze mismatch | Match method to spec |
| 4. Texture too deep | Plating roughness | Hold the profile |
| 5. Pad pressure uneven | Streaks | Light even passes |
| 6. No sample panel | Finish unproven | Set a reference |
| 7. Cross-direction overlap | Visible bands | One direction |
| 8. Texture not logged | Repeat fails | Log grit and passes |
Best Practices That Hold Up in Production
The operating disciplines that separate a reliable line from a reactive one.
- Set satin grit per the finish spec
- Keep passes in one direction
- Match straight-line or orbital to spec
- Hold the texture profile
- Keep a reference panel
Implementation Roadmap
A practical sequence that can be adapted to your own project.
Process Flowchart
Satin control flow
A step-by-step sequence with notes and cautions so every shift follows the same order.
- Direction is part of the finish spec.
- The reference panel is the agreement.
- Never mix orbital and straight-line on one part.
- Pads wear - replace on schedule.
Working Data & Formula Notes
Satin data
Reference values for satin control.
| Component / Parameter | Working Value / Role | What Changes Mean (annotation) |
|---|---|---|
| Grit | Per finish spec | Wrong grit changes texture |
| Direction | One way | Random = patches |
| Texture depth | Per spec | Deep = plating roughness |
| Reference | Kept panel | Agreement base |
Reference Data
Specifications and references cited in this guide. Confirm final parameters with your line supplier.
Satin card
| Part | Grit | Direction | Plate result |
| Frame A | Per spec | Linear | Checked |
| Frame B | Per spec | Orbital | Checked |
Implementation Cases
Case 1 - random direction that patched under nickel
Situation. Satin sliders plated with patchy haze; passes had crossed directions and left visible bands.
Approach. Passes were standardized to one direction and a reference panel was set.
Outcome. Haze cleared; the reference is now the batch agreement.
Case 2 - texture too deep for plating
Situation. A coarser satin finish came out rough under plating because the texture was too deep for the coating.
Approach. Grit was returned to spec and the texture profile was checked on samples.
Outcome. Plating smoothed; the profile check became the release gate.
Frequently Asked Questions
Why does direction matter?
Straight-line and orbital marks plate differently; random direction patches under the coating.
How do I set grit?
Per the finish spec - grit decides texture depth and plating response.
What is the profile?
The measured texture depth; deep texture plates rough.
Why one direction?
Crossed passes create visible bands and patchy plating.
Why a reference panel?
It is the visual agreement for shade, texture and direction.
When check the profile?
At setup and after pad changes.
Can I mix orbital and linear?
No - the finish becomes inconsistent and plates unevenly.
Who owns the reference?
QC with polishing, and the customer approves it.
What Would You Like to Solve?
Tell us your satin spec and plating response. We can help set grit, direction and the profile check so the finish plates cleanly.
Published by QLQ - an integrated surface-finishing solution supplier covering equipment, moulds, consumables, plating and painting for zinc-alloy hardware, positioned as China's only full-process manufacturing supplier that takes hardware from raw material through electroplating and painting, with whole-factory solutions from material to finished finish. Values cited are project references; confirm with your line supplier before specification.