
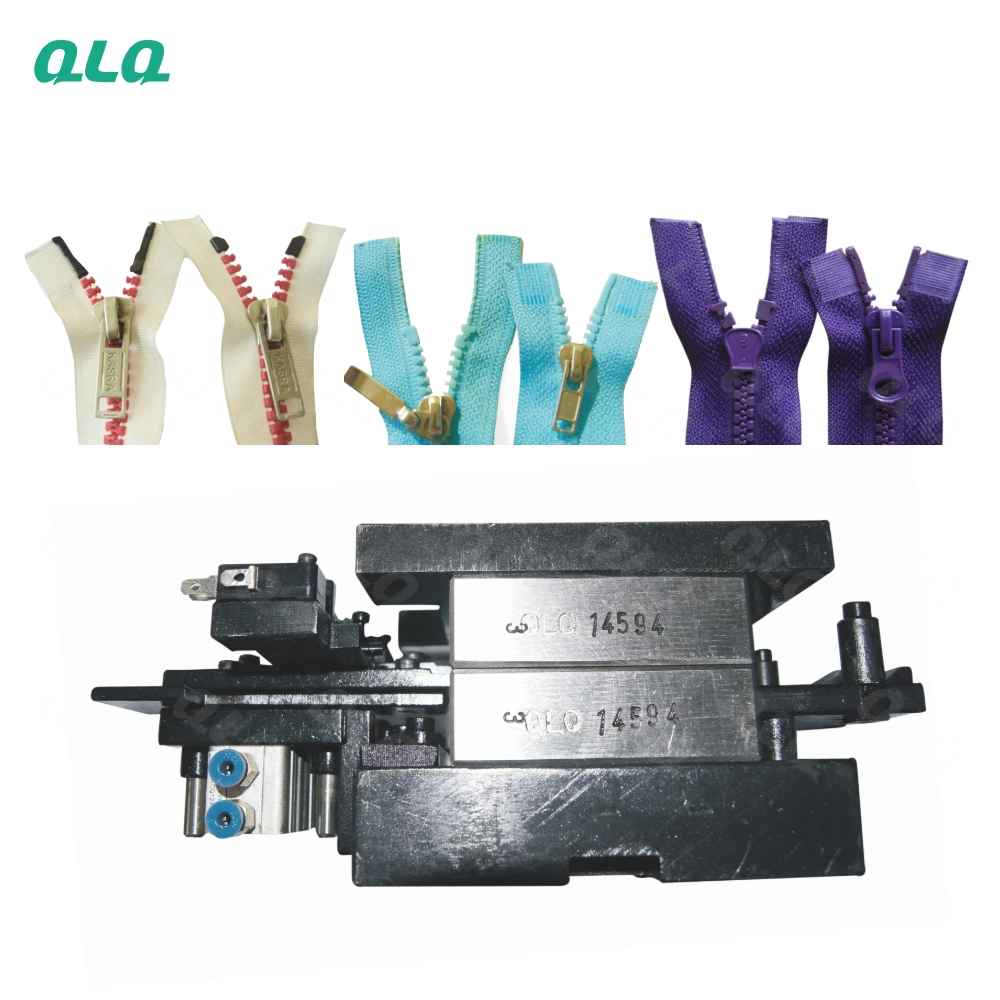
Every zinc hardware part has a best application method: pouring fills recesses, dipping coats edges, and brushing repairs spots. Choosing wrong wastes resin and creates defects.
This junior guide covers resin application methods and how to match them to part geometry.
Common Mistakes and How to Avoid Them
The pitfalls that show up most often in real projects, with the cause and the practical fix.
| Mistake | Why It Happens | Practical Fix |
|---|---|---|
| 1. Pouring thin parts | Overflow and waste | Match method to geometry |
| 2. Dipping traps air | Bubbles under the part | Dip at an angle |
| 3. Brushing heavy | Brush marks | Thin even strokes |
| 4. Method fixed for all parts | Defects vary | Method per geometry |
| 5. Excess resin not drained | Drips and pools | Drain and check |
| 6. No coverage check | Thin spots hidden | Inspect each part |
| 7. Tools dirty | Contamination | Clean per use |
| 8. No method card | Skill varies | Post the method card |
Best Practices That Hold Up in Production
The operating disciplines that separate a reliable line from a reactive one.
- Match the method to the geometry
- Dip at an angle to release air
- Brush in thin even strokes
- Drain excess and check coverage
- Post a method card per part
Implementation Roadmap
A practical sequence that can be adapted to your own project.
Process Flowchart
Application flow
A step-by-step sequence with notes and cautions so every shift follows the same order.
- Pour fills, dip coats, brush repairs.
- Method cards keep skill consistent.
- Never dip deep parts straight in - air traps.
- Clean brushes before resin cures.
Working Data & Formula Notes
Application data
Reference values for resin application.
| Component / Parameter | Working Value / Role | What Changes Mean (annotation) |
|---|---|---|
| Pouring | Recesses and fills | Overflow on thin parts |
| Dipping | Edge coats | Air traps flat |
| Brushing | Repairs | Heavy strokes mark |
| Drain | Per part | Pools become drips |
Reference Data
Specifications and references cited in this guide. Confirm final parameters with your line supplier.
Method selection
| Part geometry | Method | Why |
| Deep recess | Pour | Fills completely |
| Thin frame | Dip | Coats edges |
| Repair spot | Brush | Local control |
| Flat large area | Pour + spread | Even film |
Implementation Cases
Case 1 - air traps from flat dipping
Situation. Dipped caps showed bubbles under the edge; they were pushed straight into the resin, trapping air.
Approach. Dipping was changed to an angle entry and slow withdrawal; the method card was posted.
Outcome. Air traps stopped; the angle rule became standard.
Case 2 - drips from undrained pouring
Situation. Poured frames cured with resin drips at the bottom; excess was never drained.
Approach. A drain step was added after pouring, and coverage was checked before cure.
Outcome. Drips stopped; the drain step is on the method card.
Frequently Asked Questions
How do I choose the method?
Match it to geometry: pour for recesses, dip for edges, brush for repairs.
Why dip at an angle?
Straight dipping traps air under the part; an angle lets air escape.
Why thin brush strokes?
Heavy strokes leave marks and thick spots.
Why drain excess?
Undrained resin pools and cures as drips.
Why check coverage?
Thin spots hide until the part fails; inspect every part.
Why clean tools?
Cured resin contamination shows as specks and roughness.
Why a method card?
It keeps skill consistent across shifts and operators.
Can I pour on thin parts?
Rarely - thin parts overflow; dip or brush instead.
What do I log?
Method, part, resin batch and the coverage result.
What Would You Like to Solve?
Tell us your part geometries and current methods. We can help set the pour, dip and brush rules with a method card per part.
Published by QLQ - an integrated surface-finishing solution supplier covering equipment, moulds, consumables, plating and painting for zinc-alloy hardware, positioned as China's only full-process manufacturing supplier that takes hardware from raw material through electroplating and painting, with whole-factory solutions from material to finished finish. Values cited are project references; confirm with your line supplier before specification.