

Rack plating quality is set at the rack: where the part hangs, how the contact grips, and how the current reaches every face. Junior technicians who rack well make the plating line look easy.
This guide is the junior-level standard for rack loading and contact: racking rules, contact care and the checks before the tank.
Common Mistakes and How to Avoid Them
The pitfalls that show up most often in real projects, with the cause and the practical fix.
| Mistake | Why It Happens | Practical Fix |
|---|---|---|
| 1. Rack tips worn | Burns and thin spots | Dress tips |
| 2. Anode distance uneven | Current varies | Balance spacing |
| 3. Rack not matched | Coverage suffers | Match geometry |
| 4. Unload marks | Scratches | Careful handling |
| 5. No rack card | Setups drift | Card per type |
| 6. Bath load wrong | Density drifts | Check per load |
| 7. Skipping the standard checklist | Steps skipped, quality varies | Follow the rack plating checklist every time |
| 8. Guessing instead of asking | Faults compound silently | Ask the senior before guessing |
| 9. No shift log | History lost at hand-over | Log readings, actions and faults |
Best Practices That Hold Up in Production
The operating disciplines that separate a reliable line from a reactive one.
- Dress rack tips
- Balance anode distance
- Keep rack cards
- Handle parts carefully
- Follow the standard checklist
- Log every shift and ask early
Implementation Roadmap
A practical sequence that can be adapted to your own project.
Process Flowchart
Junior racking routine
A step-by-step sequence with notes and cautions so every shift follows the same order.
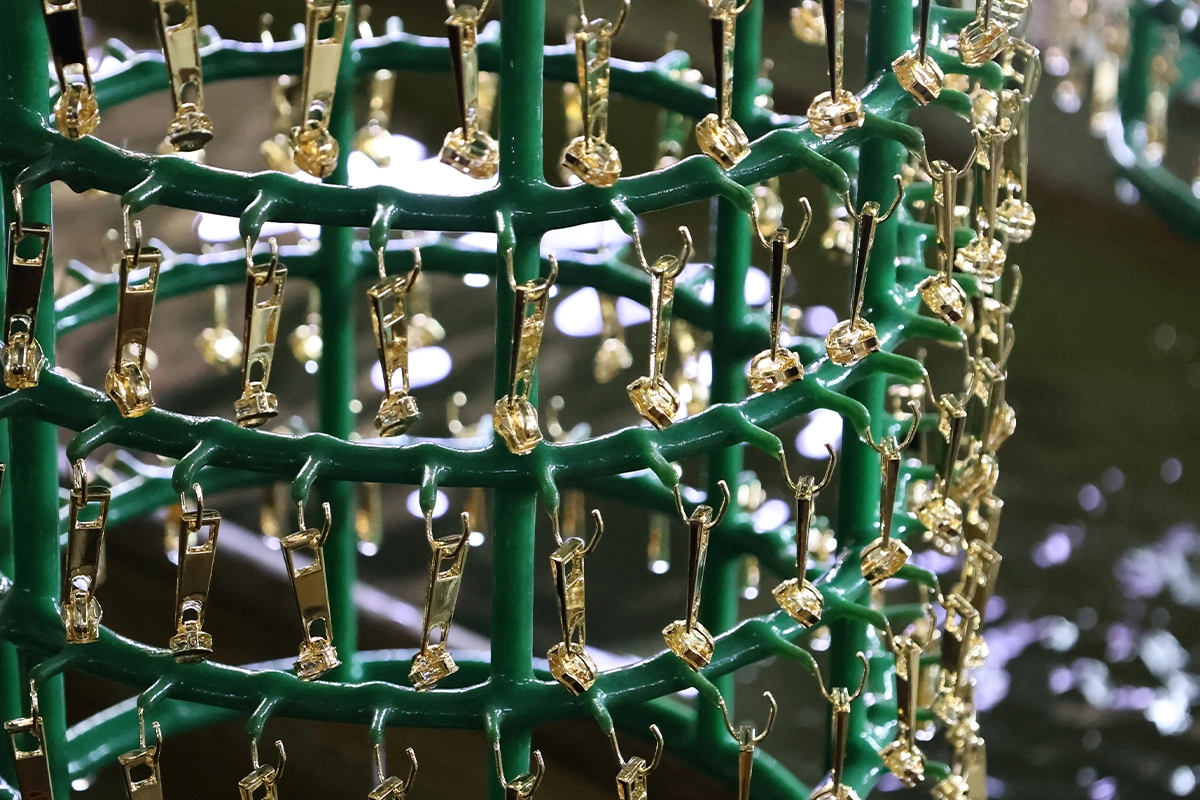
- The rack is the fixture that decides coverage.
- Rack damage hides until it burns a part.
- Racks are heavy - use correct handling.
- Keep hands clear of tank movements.
Working Data & Formula Notes
Working data - junior racking controls
Reference values for rack loading zinc-alloy hardware.
| Component / Parameter | Working Value / Role | What Changes Mean (annotation) |
|---|---|---|
| Contact position | Hidden or non-critical face | Keeps marks off visible surfaces. |
| Contact force | Firm, repeatable | Loose contact drops current. |
| Part spacing | No touching | Shadowing hides coverage faults. |
| Current | From loaded surface area | The rack load sets the rectifier. |
| Rack tip care | Clean per schedule | Dirty tips burn and starve. |
Reference Data
Specifications and references cited in this guide. Confirm final parameters with your line supplier.
Racking gate
| Contact position | Per part | Hidden faces |
| Contact tightness | Per part | Firm, repeatable |
| Spacing | Per rack | No touching |
| Water-break | Per rack | Before entry |
| Rack inspection | Per schedule | Tips and damage |
Implementation Cases
Case 1 - marks on the visible face
Situation. A rack line rejected parts with contact marks on the front face.
Approach. The junior racked parts on the back edge instead, keeping the visible face clear.
Outcome. Contact marks disappeared.
Case 2 - thin spots from touching parts
Situation. Buckles plated thin where they touched on the rack.
Approach. Spacing was corrected and the rack card updated.
Outcome. Coverage returned across the rack.
Frequently Asked Questions
Where should I make contact?
On hidden or non-critical faces. Contact marks show after plating, so keep them off visible surfaces.
How tight should contacts be?
Firm and repeatable. Loose contact drops current and leaves thin spots.
Why do parts touch?
Overloaded racks or wrong rack choice. Space parts so they never touch.
Why do dirty contacts burn?
Resistance heats the tip and steals current. Clean rack tips on schedule.
Should I water-break before racking?
Before the tank - five parts per rack. Oily parts fail adhesion.
How do I set current?
From loaded surface area per the rack card. Overloaded racks drop current density.
Why inspect racks?
Worn tips and damage fail quietly until they burn a part.
What should a junior log?
Rack choice, contact check, spacing and any marks seen. Logs improve the rack card.
What Would You Like to Solve?
Rack hidden faces, keep contacts clean and tight, space the parts and water-break before entry. The rack is the first tool of rack plating.
Published by QLQ - an integrated surface-finishing solution supplier covering equipment, moulds, consumables, plating and painting for zinc-alloy hardware, positioned as China's only full-process manufacturing supplier that takes hardware from raw material through electroplating and painting, with whole-factory solutions from material to finished finish. Values cited are project references; confirm with your line supplier before specification.