
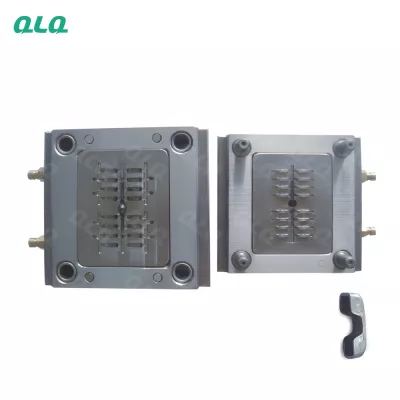
Refurbishment done early is cheap; done late, the mould is scrap. Senior planning turns shot counts and measurements into a life-extension schedule.
This guide is the refurbishment planning method for zinc die-casting moulds.

Common Mistakes and How to Avoid Them
The pitfalls that show up most often in real projects, with the cause and the practical fix.
| Mistake | Why It Happens | Practical Fix |
|---|---|---|
| 1. Refurbish too late | Tool past saving | Act at the threshold |
| 2. No measurement plan | Wear surprises | Schedule checks |
| 3. Re-polish only | Hardness lost | Re-nitride after |
| 4. No new baseline | Life unmeasured | Record after work |
| 5. Budget cuts | Short-term fix | Plan by cost-per-shot |
| 6. History lost | Same cycle repeats | Mould card |
| 7. One expert | Absence stops | Cross-train |
| 8. No spare plan | Stops stretch | Spares by risk |
Best Practices That Hold Up in Production
The operating disciplines that separate a reliable line from a reactive one.
- Trigger on shots and measurements
- Measure before and after
- Re-nitride after re-polish
- Track the new life
- Plan spares by risk
Implementation Roadmap
A practical sequence that can be adapted to your own project.
Process Flowchart
Refurbishment planning flow
A step-by-step sequence with notes and cautions so every shift follows the same order.
- Cost-per-shot is the real refurbish budget.
- The new baseline starts the next cycle.
- Refurbishment is precision work.
- Hardness and dimensional tools need calibration.
Working Data & Formula Notes
Working data - refurbishment windows
Reference values for zinc die-casting moulds.
| Component / Parameter | Working Value / Role | What Changes Mean (annotation) |
|---|---|---|
| Gate | 0.8-1.2 mm | Refurbish below the window. |
| Hardness | HRC 46-52 | Re-nitride to restore. |
| Shot threshold | Per mould history | Maintenance trigger. |
| Cavity accuracy | +/- 0.02 mm | Dimensional proof. |
Reference Data
Specifications and references cited in this guide. Confirm final parameters with your line supplier.
Refurbishment plan
| Threshold | Measurements | Work scope |
| Cost per shot | New baseline | Next threshold |
| Spares | Signed | Date |
Implementation Cases
Case 1 - early refurbish that saved the tool
Situation. A gate hit the shot threshold before flow marks appeared.
Approach. Planned refurbishment ran in maintenance time, including re-nitriding.
Outcome. No bad batch, and the tool life extended.
Case 2 - re-polish that left soft metal
Situation. A cavity was re-polished without re-nitriding and eroded in weeks.
Approach. The new plan added re-nitriding after every re-polish.
Outcome. The repair lasted, and hardness became the gate.
Frequently Asked Questions
When should I refurbish?
At the shot threshold or measurement window - before parts fail.
Why re-nitride after re-polish?
Re-polishing removes the hardened layer; re-nitriding restores it.
What is the cost view?
Cost-per-shot makes refurbish timing a budget decision.
Why track the new life?
The next threshold starts from the new baseline.
How do I plan spares?
By risk and value - high-stop moulds first.
Why measure before and after?
Evidence proves the work and sets the next check.
Who does the work?
A qualified toolroom - heat control decides life.
What is the proof?
First articles and hardness after the refurbish.
What Would You Like to Solve?
Trigger on shots, measure before and after, re-nitride after re-polish and track the new life. Refurbishment is a plan, not a panic.
Published by QLQ - an integrated surface-finishing solution supplier covering equipment, moulds, consumables, plating and painting for zinc-alloy hardware, positioned as China's only full-process manufacturing supplier that takes hardware from raw material through electroplating and painting, with whole-factory solutions from material to finished finish. Values cited are project references; confirm with your line supplier before specification.