
Why this keeps coming up
Rack Insulation Aging And Stray Current is one of the recurring questions on finishing forums — and answers online usually jump to a single fix. There isn't one: the symptom has several causes, each confirmed differently, each fixed differently. This is the diagnostic sequence our lines run.
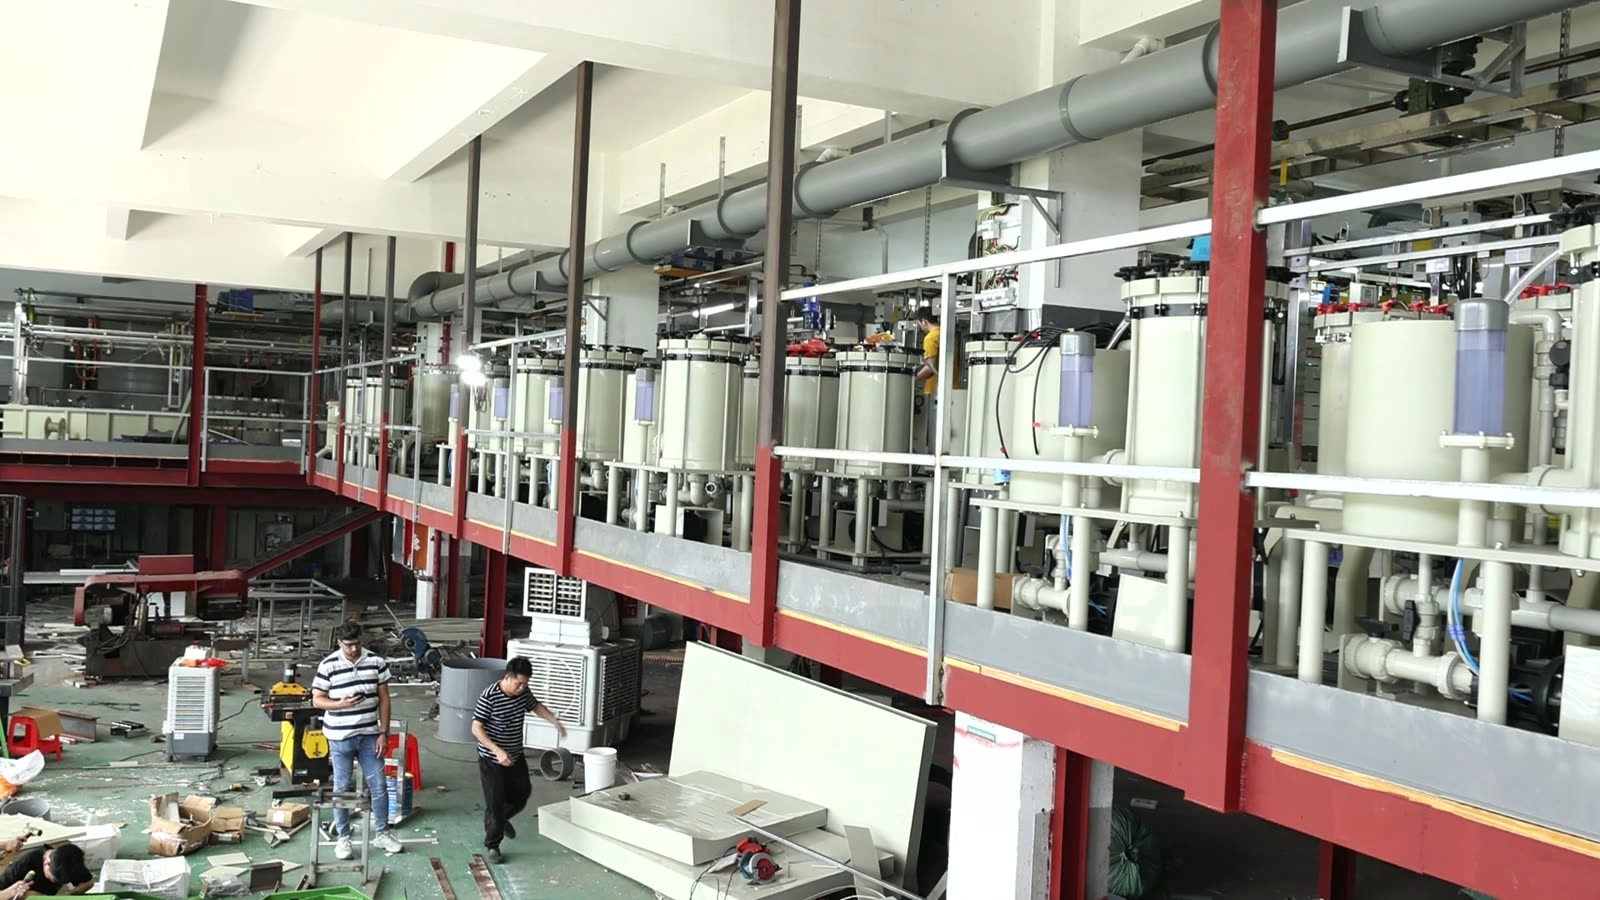
Triage: symptom → confirm → first move
| Symptom | Likely root | Confirm by | First move |
|---|---|---|---|
| Plating where nothing should plate | Insulation chipped/cracked | Visual under load | Tag rack for rebuild |
| Thickness low on good positions | Current leaking to leaks elsewhere | Position thickness map | Find and retire leaking rack |
| Bath slowly heating / amps drift up | Leak paths multiplying | Amps vs parts trend | Audit racks, not the rectifier |
| Burn marks at rack tips | Contacts arcing | Tip condition photos | Dress contacts, check springs |
| Recurring after one rebuild | Rebuild quality or tape grade | By-rack failure history | Standardise tape spec |
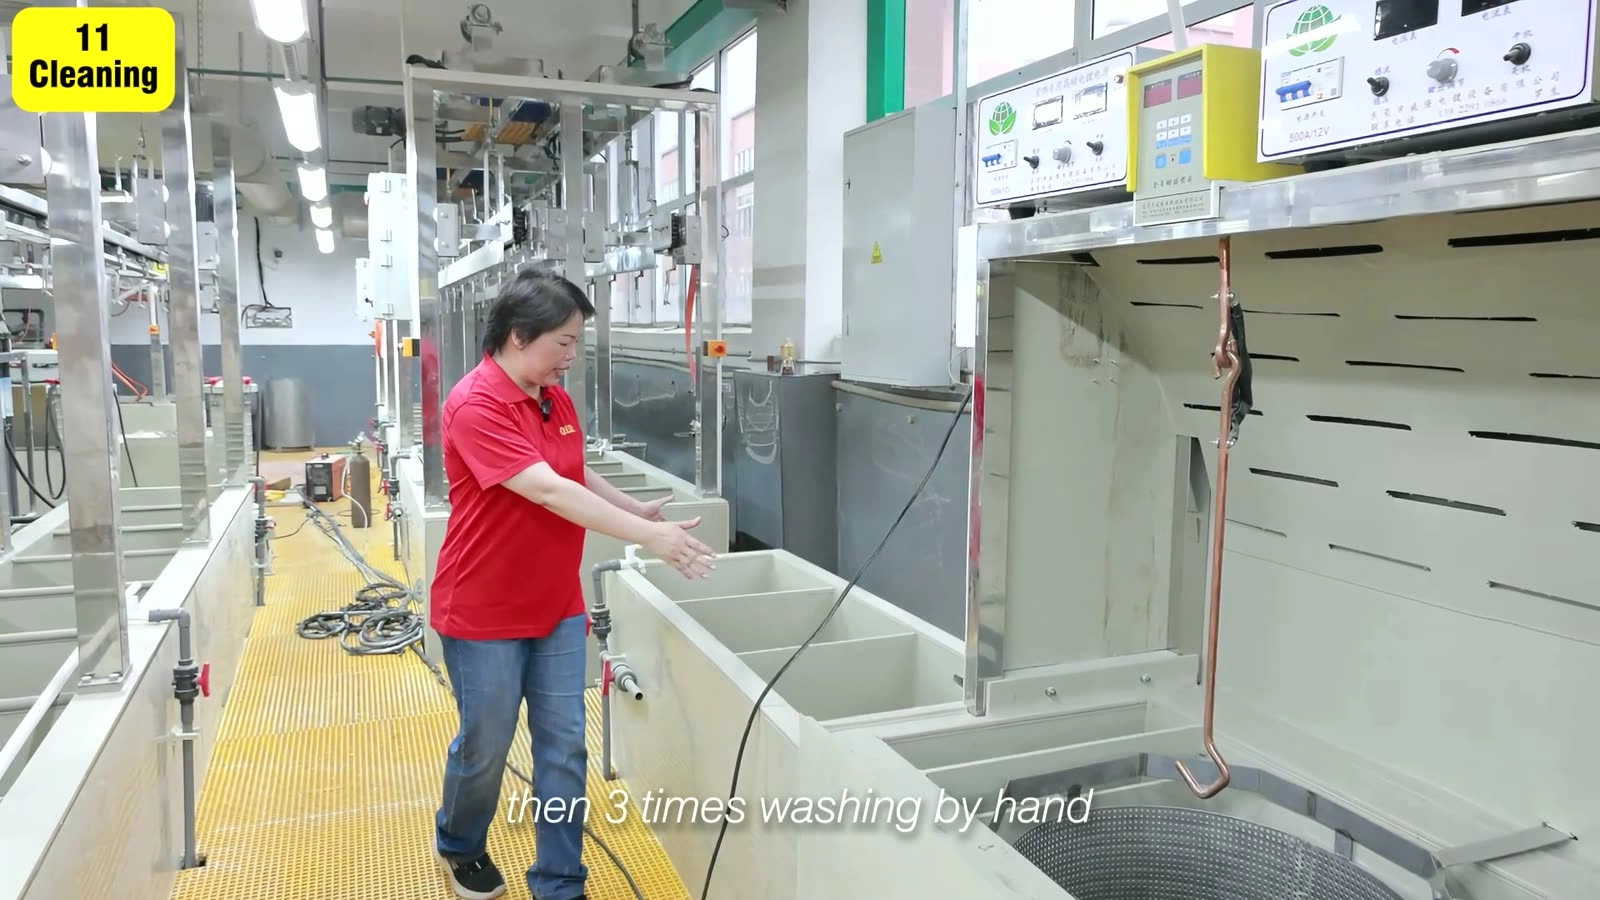
The fix set with windows
- Fix 1 — visual under load — Weekly walk: bubbles where nothing should plate = leak point; tag and pull the rack
- Fix 2 — tape spec — Plating-grade tape/coating per bath chemistry; hardware-store tape dissolves
- Fix 3 — rebuild schedule — Rack age ledger; rebuild by cycles, not by failure
- Fix 4 — tip discipline — Contact tips dressed and sized; arcing tips over-work the rectifier
- Fix 5 — audit gate — New/rebuilt racks get a leak check before entering production
Case method
A line chased low thickness on one position for weeks. The cause was a neighbor rack leaking through cracked tape: current split, the good parts went thin. A leak walk found it in minutes; a rack age ledger kept it from returning. (Method illustration: your own thickness map by rack will show the split.)
On the floor: recognise, record, escalate
| You see | You do | You never do |
|---|---|---|
| Plating on tape area | Photograph, tag rack number, report | Peel the plating off by hand in-tank |
| Cracked coating | Flag rack for rebuild | Wrap more tape over it mid-shift |
| Arcing at tips | Cut load, report | Tighten contacts while live |
| Any leak suspicion | Tank card entry with rack number | Wait to see if it gets worse |
Engineer notes
- One variable per corrective action; verify with the confirm-by column.
- Records beat memory: log every trial on the tank card.
- Two failed actions in a row is a senior call — escalate with your log.
Safety: Safety: racks carry live current in acid and alkaline baths. Lock-out before touching, insulate tools, and never straddle two tanks with a rack.
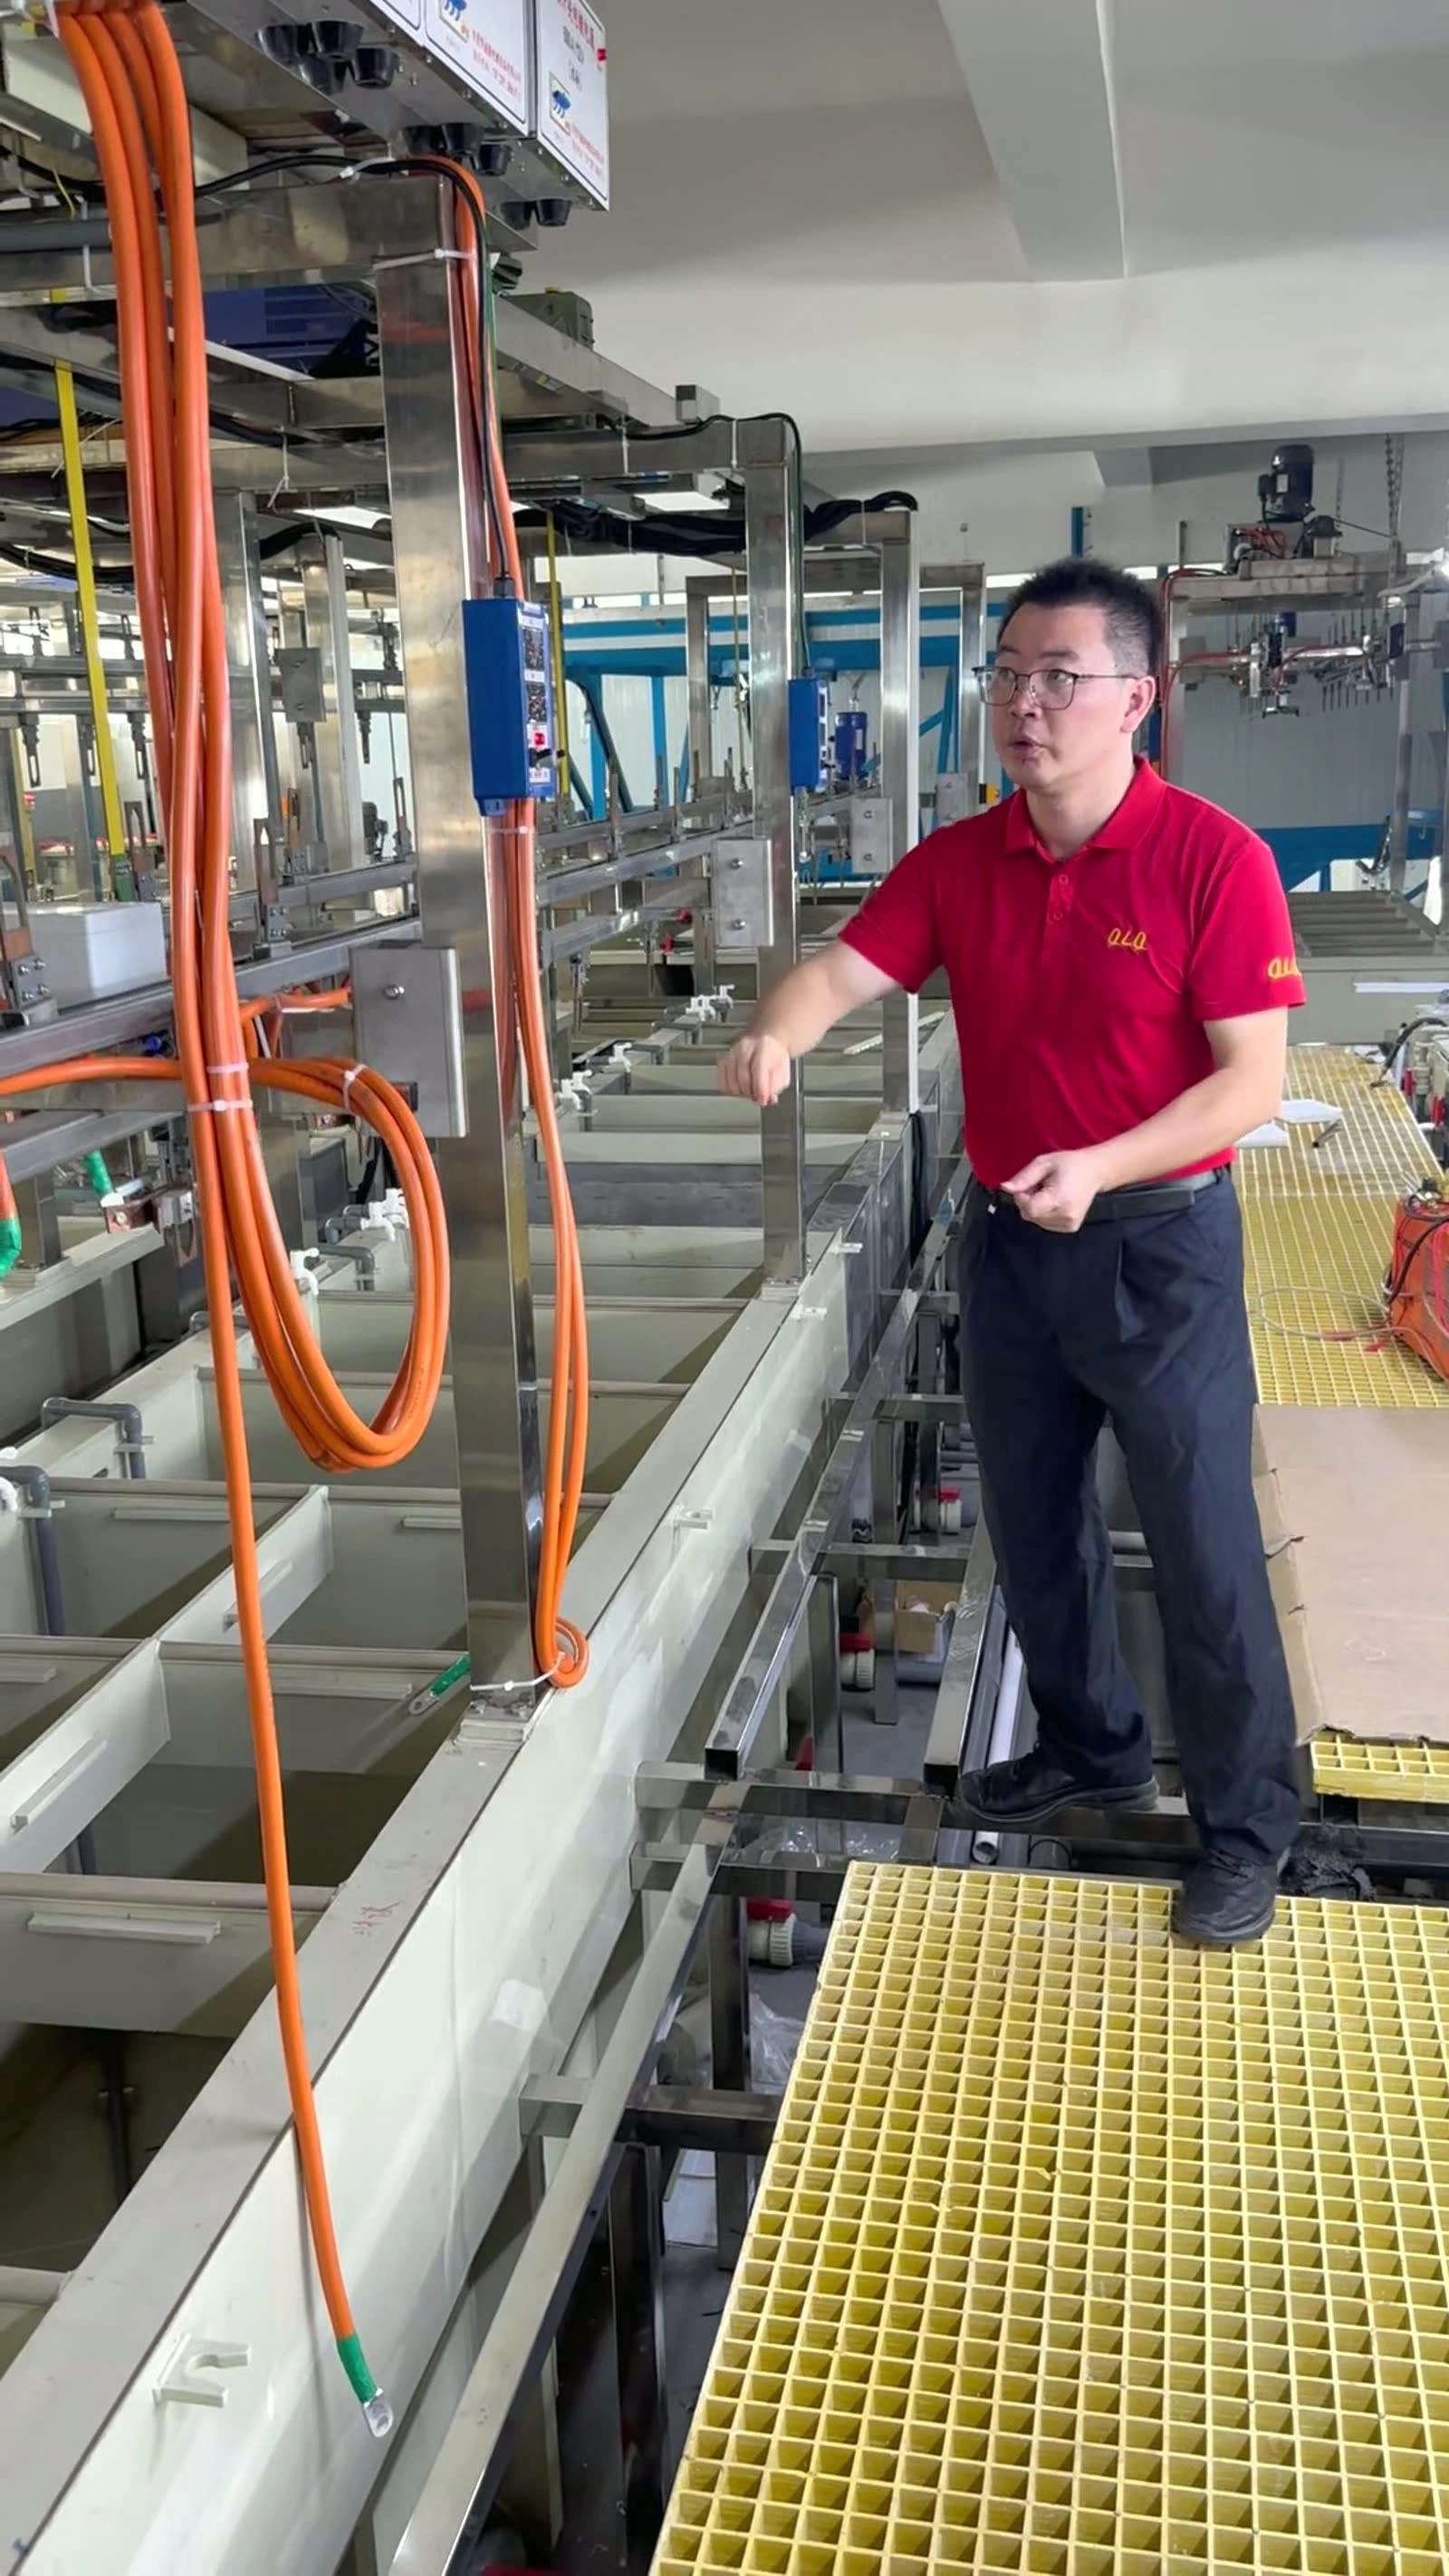
FAQ
Why is plating growing on the tape?
The insulation is cracked and conducting. Tag the rack — it will steal current from real parts.
Thickness low on good positions — where does current go?
Look for a neighbor rack leaking: bubbles on tape under load mark the spot.
How do you run a leak walk?
Weekly, under load: watch for plating/bubbles on non-conducting areas, tag racks, pull the worst.
What does stray current cost?
Energy into leaks, thin deposits at packing, rectifier stress — all traceable to rack age.