

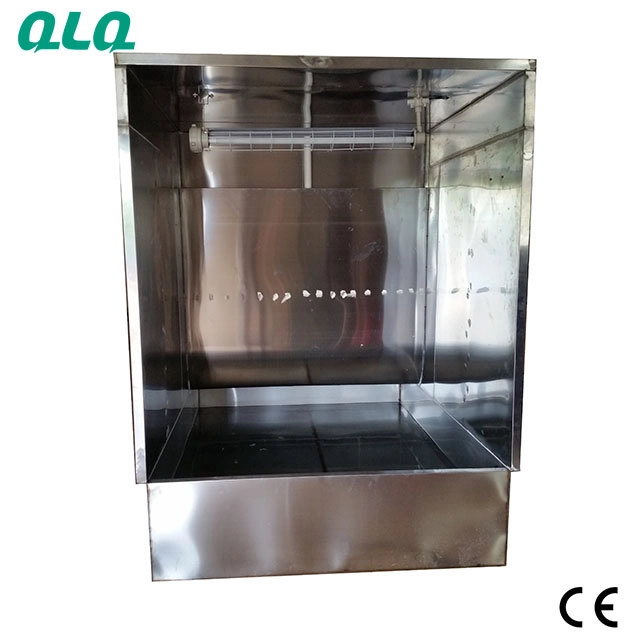
Cold painting fails on damp days in patterns that look like different defects but share one cause: the balance between solvent leaving the film and water entering it. Blush, water spot and solvent pop are three faces of that imbalance.
This senior guide covers humidity and solvent evaporation control: dew point and wet film temperature, flash time adjustments, solvent blend response, and the monitoring routine that predicts the defect before it appears.
Common Mistakes and How to Avoid Them
The pitfalls that show up most often in real projects, with the cause and the practical fix.
| Mistake | Why It Happens | Practical Fix |
|---|---|---|
| 1. Spraying below dew point | Blush and water spots | Watch wet film vs dew point |
| 2. Short flash in humidity | Solvent trapped, pop later | Extend flash in damp air |
| 3. Hot booth, humid air | Skin forms, solvent pops | Balance temperature and air movement |
| 4. Same solvent blend all year | Seasonal failures repeat | Use seasonal solvent adjustment |
| 5. Checking humidity once | Conditions change through the day | Monitor through the shift |
| 6. Thicker film on damp days | More solvent to escape | Reduce wet film or extend flash |
| 7. Blame paint first | Thermal and air cause hidden | Get dew point data first |
| 8. No dry film thickness check | Popped film passes until test | Verify after cure |
Best Practices That Hold Up in Production
The operating disciplines that separate a reliable line from a reactive one.
- Monitor dew point and wet film temperature through the shift
- Extend flash time in humid conditions
- Adjust solvent blend for the season when approved
- Keep booth temperature and airflow stable
- Verify popped or blushed film with post-cure checks
Implementation Roadmap
A practical sequence that can be adapted to your own project.
Process Flowchart
Humidity control flow
A step-by-step sequence with notes and cautions so every shift follows the same order.
- The gap between wet film temperature and dew point decides whether water enters the paint.
- Humidity is a process variable that deserves a log, not a complaint.
- Never spray heavy film on a damp day without longer flash.
- Never change solvent blend without approval and testing.
Working Data & Formula Notes
Humidity reference
Example values for humidity-safe spraying; confirm with your paint supplier.
| Component / Parameter | Working Value / Role | What Changes Mean (annotation) |
|---|---|---|
| Wet film to dew point gap | Above 3-5 C | Below this, stop or adjust |
| Flash time | Extend 25-50% when damp | Lets solvent leave before cure |
| Booth temperature | Stable per paint spec | Avoid rapid swings |
| Humidity monitor | Every 30-60 minutes | Conditions change through the day |
| Solvent blend | Seasonal per approval | Slower evaporating in humidity |
Reference Data
Specifications and references cited in this guide. Confirm final parameters with your line supplier.
Humidity defect table
| Defect | Cause chain | Response |
| Blush | Water in wet film | Stop below dew point, adjust flash |
| Water spot | Condensation on film | Raise film-dew point gap |
| Solvent pop | Fast skin, trapped solvent | Extend flash, slow the blend |
| Pinholes | Moisture or air burst | Check air dryers and humidity |
| Poor gloss | Damp cure | Control booth through cure |
Implementation Cases
Case 1 - blush that returned every damp morning
Situation. A cold paint booth produced blushed parts every humid morning but passed in the afternoon. The painter changed paint and thinner several times without solving it.
Approach. A senior logged dew point through the shift and found spraying started while the wet film temperature was below the dew point.
Outcome. Start time was shifted, flash extended, and morning batches now wait for the safe window; blush stopped.
Case 2 - solvent pop after a booth heater change
Situation. Solvent pop appeared on a product after a new booth heater raised air temperature. Operators increased flash time but the defect stayed.
Approach. Profiling showed the hot dry air formed a skin while solvent was still escaping. Temperature was lowered, airflow balanced and the seasonal solvent blend slowed evaporation.
Outcome. Solvent pop cleared and the booth settings are now reviewed with every heater or airflow change.
Frequently Asked Questions
What causes blush?
Water enters the wet film when the surface drops below the dew point.
How do I know if it is too humid?
Compare wet film temperature with dew point; keep a safe gap of 3-5 C or more.
Why extend flash on damp days?
More time lets solvent leave before moisture can be trapped.
What is solvent pop?
Fast skinning traps solvent, which later erupts as bubbles or craters.
Can I change the solvent blend?
Only with supplier approval and testing, usually a seasonal adjustment.
Why monitor through the shift?
Dew point changes through the day; one morning check is not enough.
Should I blame the paint on damp days?
No; check the humidity data first and fix the air balance.
How do I verify after cure?
Inspect for pinholes, gloss loss and solvent pop after full cure.
What Would You Like to Solve?
If damp days bring blush, water spot or solvent pop, send us your paint data, booth layout and weather-related batch log. We can help set the dew point window, flash schedule and seasonal solvent rules.
Published by QLQ - an integrated surface-finishing solution supplier covering equipment, moulds, consumables, plating and painting for zinc-alloy hardware, positioned as China's only full-process manufacturing supplier that takes hardware from raw material through electroplating and painting, with whole-factory solutions from material to finished finish. Values cited are project references; confirm with your line supplier before specification.