

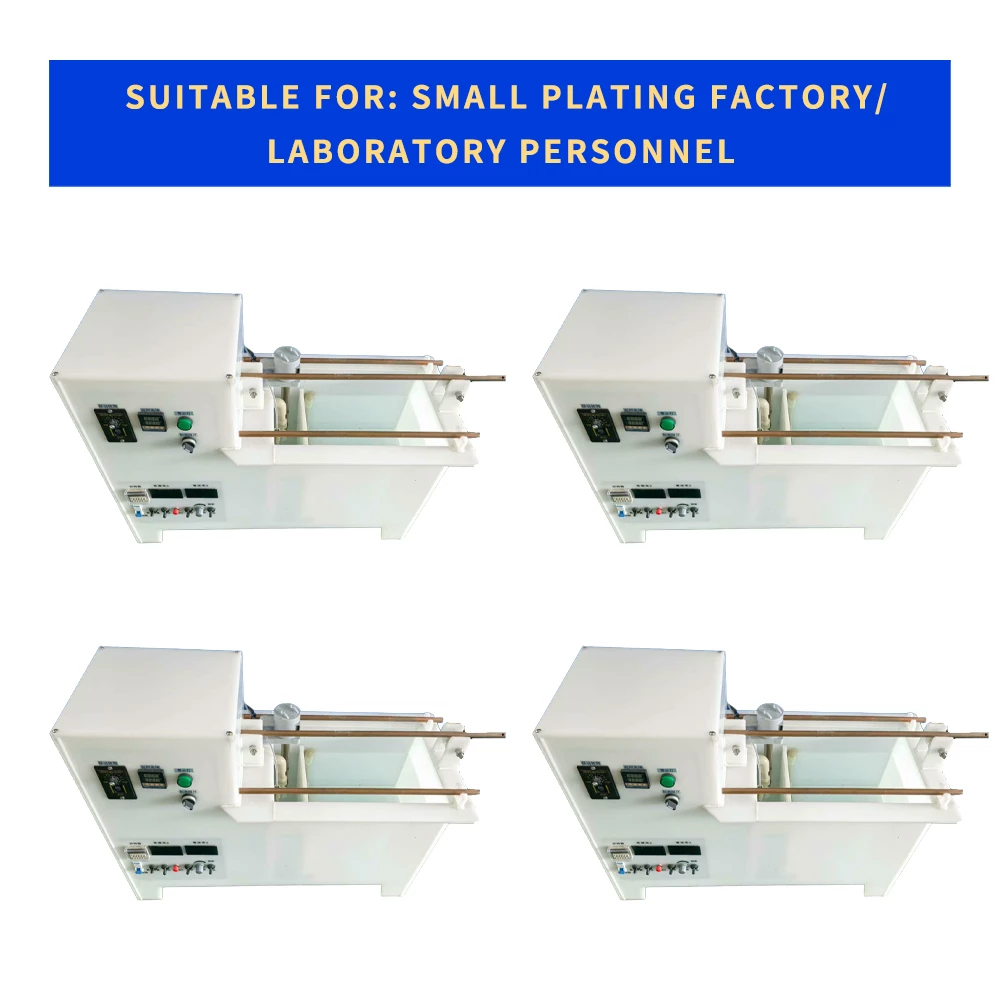
A lab result is only as honest as the sample that reached the lab. A junior who dips a bottle from the tank surface, lets it cool, or uses a dirty bottle can send a clean bath to the dosing table and a dirty bath to the clear list.
This junior guide covers the sampling routine that protects analysis quality: where to take the sample, what state the bath must be in, how to handle the bottle, and what to write on the label.
Common Mistakes and How to Avoid Them
The pitfalls that show up most often in real projects, with the cause and the practical fix.
| Mistake | Why It Happens | Practical Fix |
|---|---|---|
| 1. Sampling the surface | Skim holds brightener and dirt | Take the sample below the surface |
| 2. Sampling at the inlet | Fresh chemical gives false high result | Sample away from dosing inlets |
| 3. Cold sample | Analysis and temperature lines disagree | Sample at working temperature |
| 4. Dirty bottle | Old chemical contaminates the result | Use a clean, dedicated bottle |
| 5. No label | Result cannot be trusted to a tank | Label tank, time and sampler |
| 6. Slow transport | Sample changes before analysis | Analyse within 30-60 minutes |
| 7. Pipetting by mouth | Poisoning and contamination | Use a pipette bulb |
| 8. Filling to the top | No room to mix before testing | Leave head space and shake gently |
Best Practices That Hold Up in Production
The operating disciplines that separate a reliable line from a reactive one.
- Sample below the surface and away from inlets
- Take samples while the bath is mixed and at working temperature
- Use clean bottles dedicated to each bath
- Label every bottle before it leaves the line
- Analyse quickly and record the result on the same card
Implementation Roadmap
A practical sequence that can be adapted to your own project.
Process Flowchart
Sampling flow
A step-by-step sequence with notes and cautions so every shift follows the same order.
- The sample must represent the bath the parts see, not the surface or the dosing inlet.
- One sampler, one bottle, one label keeps results traceable.
- Never pipette by mouth.
- Never sample right after a top-up without mixing.
Working Data & Formula Notes
Sampling reference
Working rules for bath sampling on a standard line; confirm with your lab method.
| Component / Parameter | Working Value / Role | What Changes Mean (annotation) |
|---|---|---|
| Sample depth | Below surface | Avoids the surface skim |
| Sample position | Away from inlets | Avoids fresh chemical zones |
| Bath state | Mixed, working temperature | Represents the plating condition |
| Analysis delay | 30-60 minutes | Fresh samples give true results |
| Bottle rule | One per bath | Prevents cross-contamination |
Reference Data
Specifications and references cited in this guide. Confirm final parameters with your line supplier.
Sample error quick table
| Mistake | What it does | Correct sample |
| Surface dip | High organics, low metal | Below surface |
| Near inlet | False high additive | Away from inlet |
| Cold bath | Temperature result wrong | Working temperature |
| Unlabelled bottle | Result misapplied | Label first |
| Dirty bottle | Contaminated reading | Clean dedicated bottle |
Implementation Cases
Case 1 - the false high brightener
Situation. A lab report showed high brightener on a nickel bath, so dosing was stopped for two shifts. Parts went hazy, and a second sample showed the brightener was actually normal.
Approach. The original sample had been dipped right beside the dosing inlet minutes after a top-up, and mixed with fresh concentrate.
Outcome. The plant adopted a sampling point away from the inlet and a 20-minute mixing rule after any top-up before sampling.
Case 2 - the unlabelled bottle
Situation. Two samples from a zinc bath and a nickel bath arrived at the lab with similar-looking bottles and no labels. The lab tested the wrong bottle and the zinc bath received a nickel correction.
Approach. Colour-coded labels and a tank-code system were introduced; every bottle is now labelled before it leaves the line.
Outcome. Misapplied corrections stopped and sample traceability became part of the shift handover.
Frequently Asked Questions
Where should I take the sample?
Below the surface, away from dosing inlets, while the bath is mixed.
Why not sample the surface?
The surface skim holds brightener, dirt and foam that do not represent the bath.
Why sample at working temperature?
Chemical behaviour and lab procedures assume the operating condition.
How clean must the bottle be?
Clean and dedicated to one bath to avoid cross-contamination.
How fast must I analyse?
Within 30-60 minutes; delayed samples change before the test.
Why label before leaving the line?
An unlabelled sample cannot be trusted to the right tank.
Can I pipette by mouth?
Never; use a bulb, both for safety and sample purity.
How long after top-up should I wait?
Mix for at least 15-20 minutes before sampling.
What Would You Like to Solve?
If you want a sampling-point map and bottle standard for your line, send us your tank layout and analysis schedule. We can help set the sample rules that keep every lab result honest.
Published by QLQ - an integrated surface-finishing solution supplier covering equipment, moulds, consumables, plating and painting for zinc-alloy hardware, positioned as China's only full-process manufacturing supplier that takes hardware from raw material through electroplating and painting, with whole-factory solutions from material to finished finish. Values cited are project references; confirm with your line supplier before specification.