
Phase I: Mechanical Polishing (The Art of the Mirror)
Objective: Remove die-casting parting lines (flash) and create a defect-free, mirror-smooth surface.
Challenge: Zinc alloy is soft. Over-polishing creates "Orange Peel" (waviness) or melts the surface.
1. Equipment & Tools Setup
Manual Polishing Jacks: Variable speed motors (Frequency converter required).
Zinc Speed: 1800–2200 RPM (Slower than steel to prevent burning).
Automatic Polishing Machines: Disc-type rotary tables or Robotic Arms.
Best for: Flat belt buckles, standard geometric shapes.
Note: Complex zipper pulls still require manual touch-up.
2. The Wheel & Compound System
Sourcing: [Purchase Locally] for Wheels; [QLQ Product] for Compounds.
Step A: Rough Cutting (The "Sisal" Step)
Wheel: Sisal Wheel or Treated Cloth Wheel (Hard).
Compound: [QLQ Product] Purple/Green Polishing Bar (Coarse grit).
Purpose: Aggressively remove the parting line/burr and flatten the surface.
Master's Tip: Do not apply heavy pressure! Let the compound do the cutting. Heavy pressure generates heat $\rightarrow$ Deforms the zinc $\rightarrow$ Causes blistering later.
Step B: Fine Coloring (The "Cloth" Step)
Wheel: Cotton Cloth Wheel (Soft, loose-stitched or bias-cut).
Compound: [QLQ Product] White Polishing Bar (Fine alumina).
Purpose: Remove the scratch lines from Step A and bring out the deep mirror shine.
Master's Tip: The wheel must be kept "dressed" (clean). If the wheel gets hard with old black wax, rake it out.
Phase II: Advanced Dewaxing (The "Zero-Residue" Standard)
The Problem: Polishing compounds contain paraffin wax and stearic acid. These get packed tightly into the internal cavity of the zipper pull (where the spring sits) and the logo engraving.
The Old Way: Trichloroethylene (TCE). Toxic, carcinogenic, and banned in many EU/USA supply chains.
The Modern Way: High-Temp Saponification + Ultrasonic Cavitation.
1. The 4-Stage Ultrasonic Dewaxing Line (Layout)
You do not need TCE. You need Heat + Mechanics.
Tank 1: Hot Soak (Pre-wash)
Chemicals: [QLQ Product] Liquid Wax Remover (A).
Temp: 75°C – 85°C (Must be ABOVE the melting point of the wax, which is usually ~60°C).
Action: Melts the bulk wax. The surfactant prevents redeposition.
Time: 5–10 mins.
Tank 2: Ultrasonic Cleaning (The "Internal" Cleaner)
Equipment: Industrial Ultrasonic Transducers (28kHz or 40kHz).
Chemicals: [QLQ Product] Ultrasonic Dewaxing Agent (B).
Temp: 65°C – 75°C.
Mechanism: "Cavitation" bubbles explode inside the zipper pull cavity and spring area, physically blasting the wax out.
Master's Tip: Rack the parts so the holes face UP or SIDEWAYS, never down. Trapped air pockets prevent the liquid from entering the hole.
Tank 3: Ultrasonic Rinse (Polishing Powder Removal)
Chemicals: Pure Water + [QLQ Product] Mild Surfactant.
Temp: 50°C – 60°C.
Purpose: Remove the fine abrasive powder left behind after the wax is dissolved.
Tank 4: Hot Pure Water Rinse
Temp: 60°C.
QC Check: Parts should be hydrophilic (water spreads evenly, no beads).
Phase III: Master's SOP (Real-World Execution)
1. The "Hidden Killer" Checks
The Spring Check: Before plating, take 5 random zipper pulls after Dewaxing. Pry them open.
Fail: If you see white/black paste inside the spring area. This will leach out during electroplating and ruin the whole tank.
Fix: Increase Tank 1 Temperature or increase Ultrasonic Power.
The "Cloudy" Check: If polished parts sit in the air for >2 hours, the wax hardens and oxidizes the zinc.
Rule: "Polish $\rightarrow$ Clean $\rightarrow$ Plate" flow must happen within 4 hours. Do not store polished parts overnight without cleaning.
2. QC Standards (The "White Glove")
White Cloth Test: Wipe the polished surface firmly with a white cloth soaked in alcohol.
Pass: No grey/black residue.
Fail: Residue means the Ultrasonic concentration is too low.
3. Equipment Maintenance
Buffing Wheels: Must be dedicated. Do not use the "Iron" polishing wheel on "Zinc" parts. Iron particles embedded in the wheel will scratch the zinc and cause rust spots later.
Ultrasonic Tank: Drain and clean the sludge from the bottom every 2 days. The sludge absorbs ultrasonic energy, making the machine weak.
FAQ - Perfect Surface
Straight answers from the shop floor. Ask us on WhatsApp if your case is different.
What is the step-by-step procedure?
Which standard or check confirms the result?
What is the practical takeaway for the workshop?
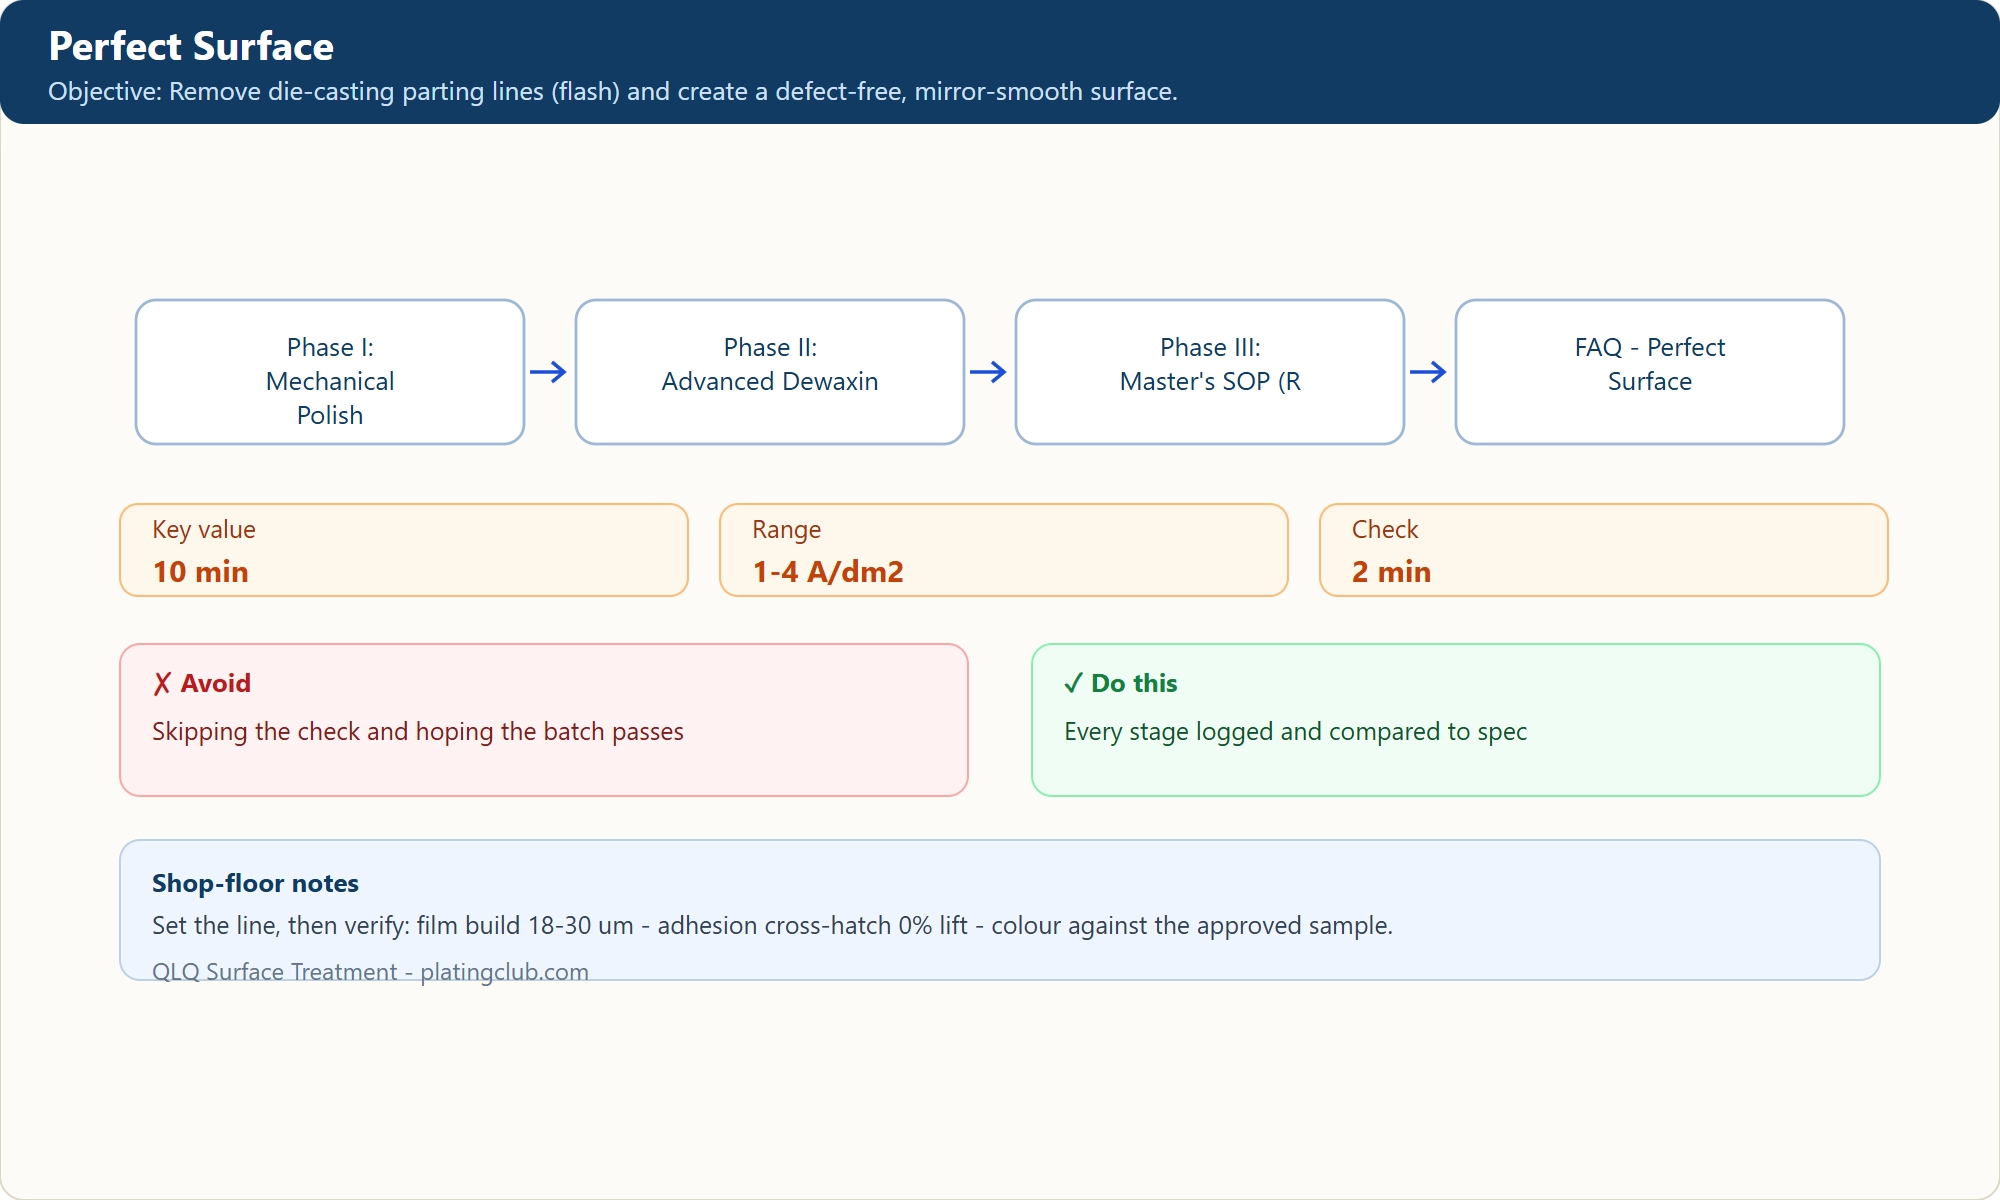
Quick reference - what to check and why
| Stage | What it means on the line |
|---|---|
| Phase I: Mechanical Polishing (The Art of the Mirror) | Objective: Remove die-casting parting lines (flash) and create a defect-free, mirror-smooth surface. |
| Phase II: Advanced Dewaxing (The "Zero-Residue" Standard) | The Problem: Polishing compounds contain paraffin wax and stearic acid. |
| Phase III: Master's SOP (Real-World Execution) | ||H3|| 1. |
| FAQ - Perfect Surface | Straight answers from the shop floor. |