Professional Zinc Alloy Surface Finishing Solutions
Resin Dripping
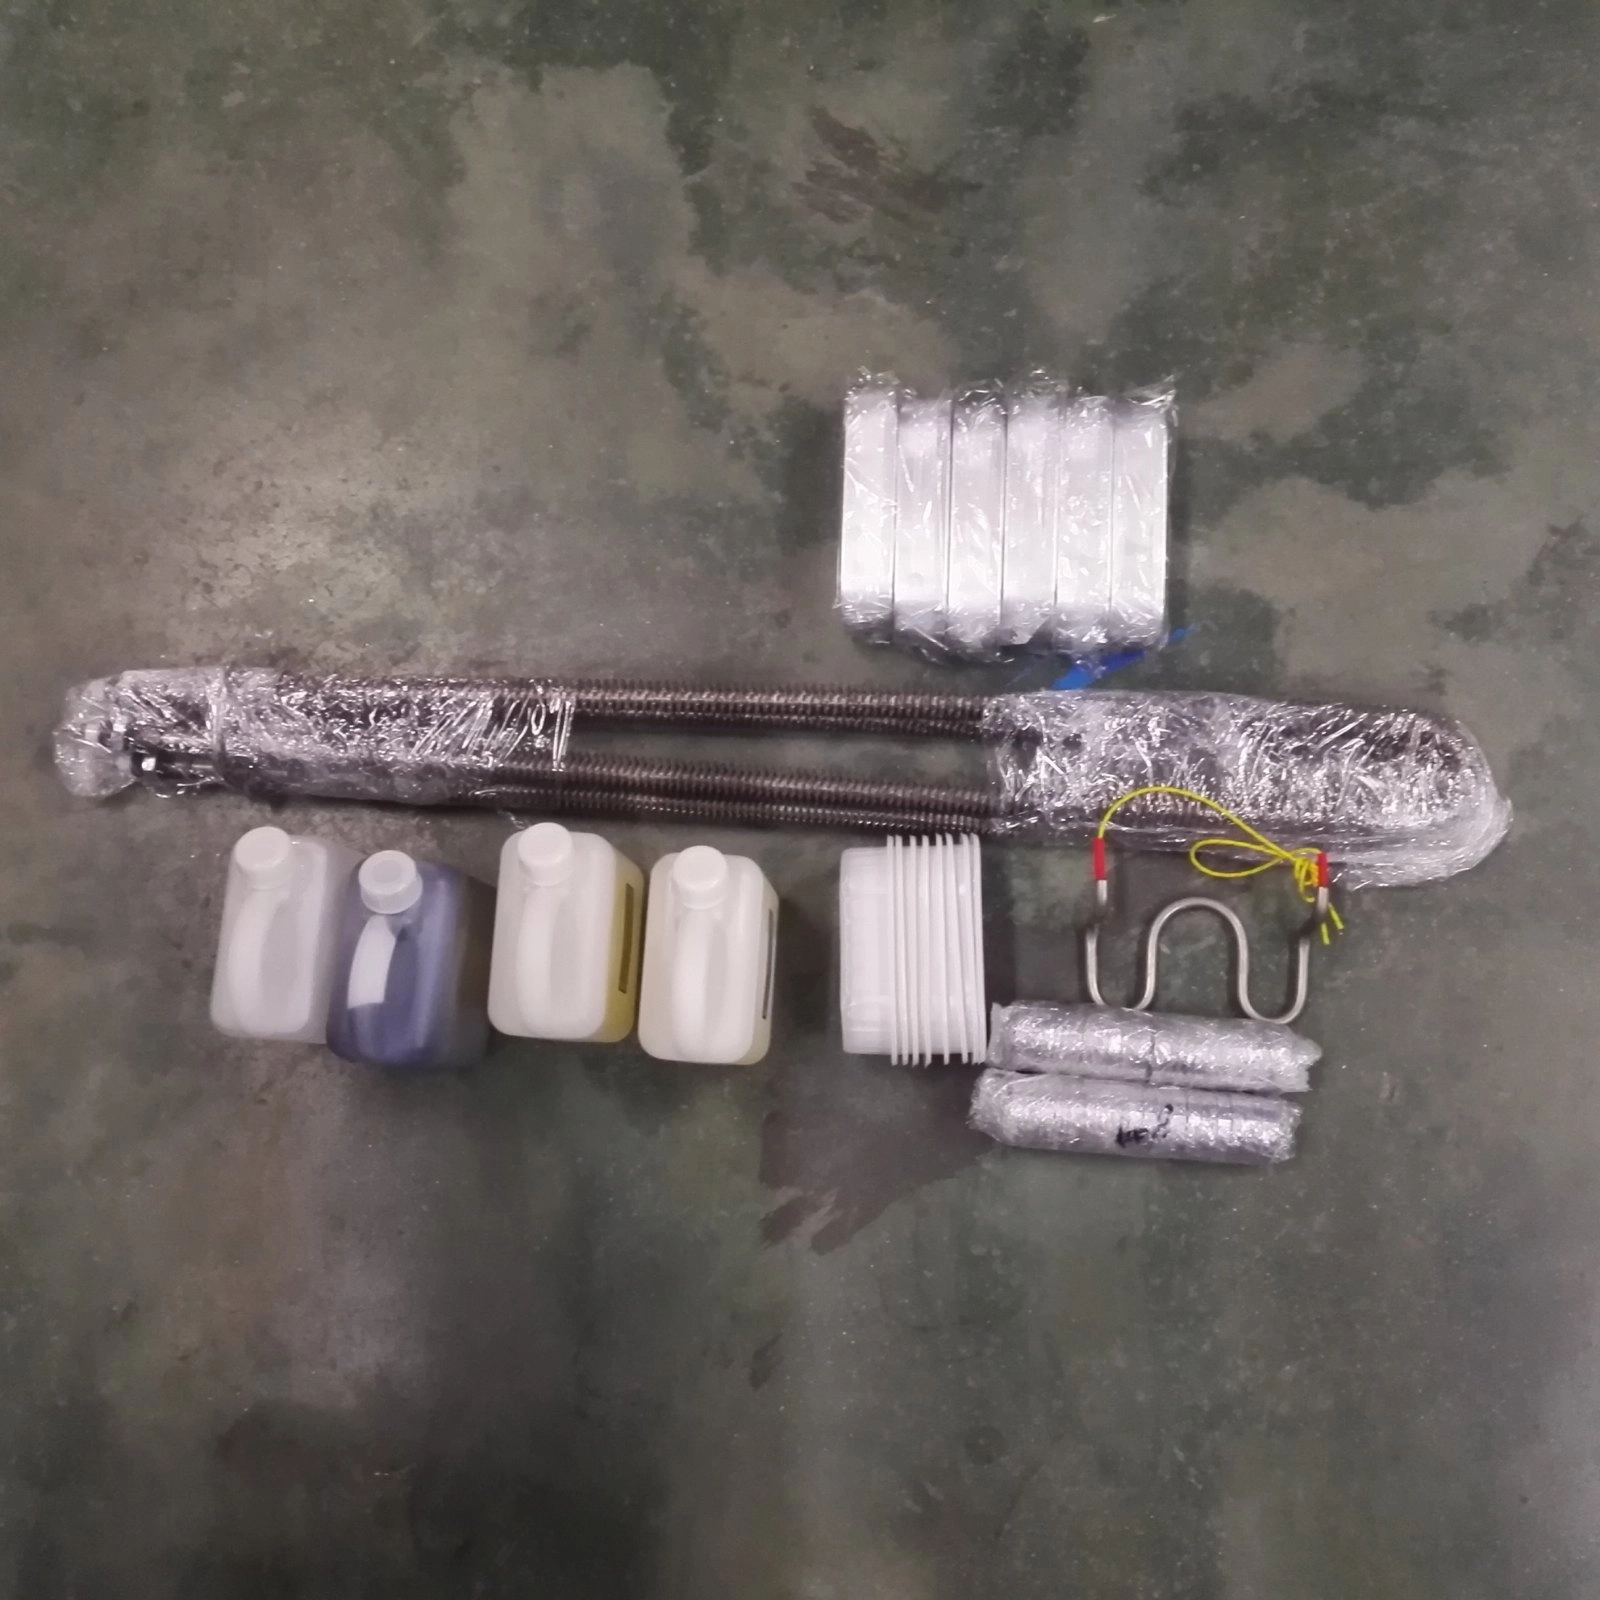
Crystal resin (lacquer) equipment and materials in the QLQ workshop - resin, hardener, moulds and heating parts ready for a dripping batch - QLQ workshop photo
Epoxy Resin Dripping — Crystal-Clear Logo Inserts & Nameplates for Hardware
Create high-gloss 3D logo inserts for zipper pulls, badges and nameplates using epoxy resin. AB ratio, degassing and curing — the complete guide.
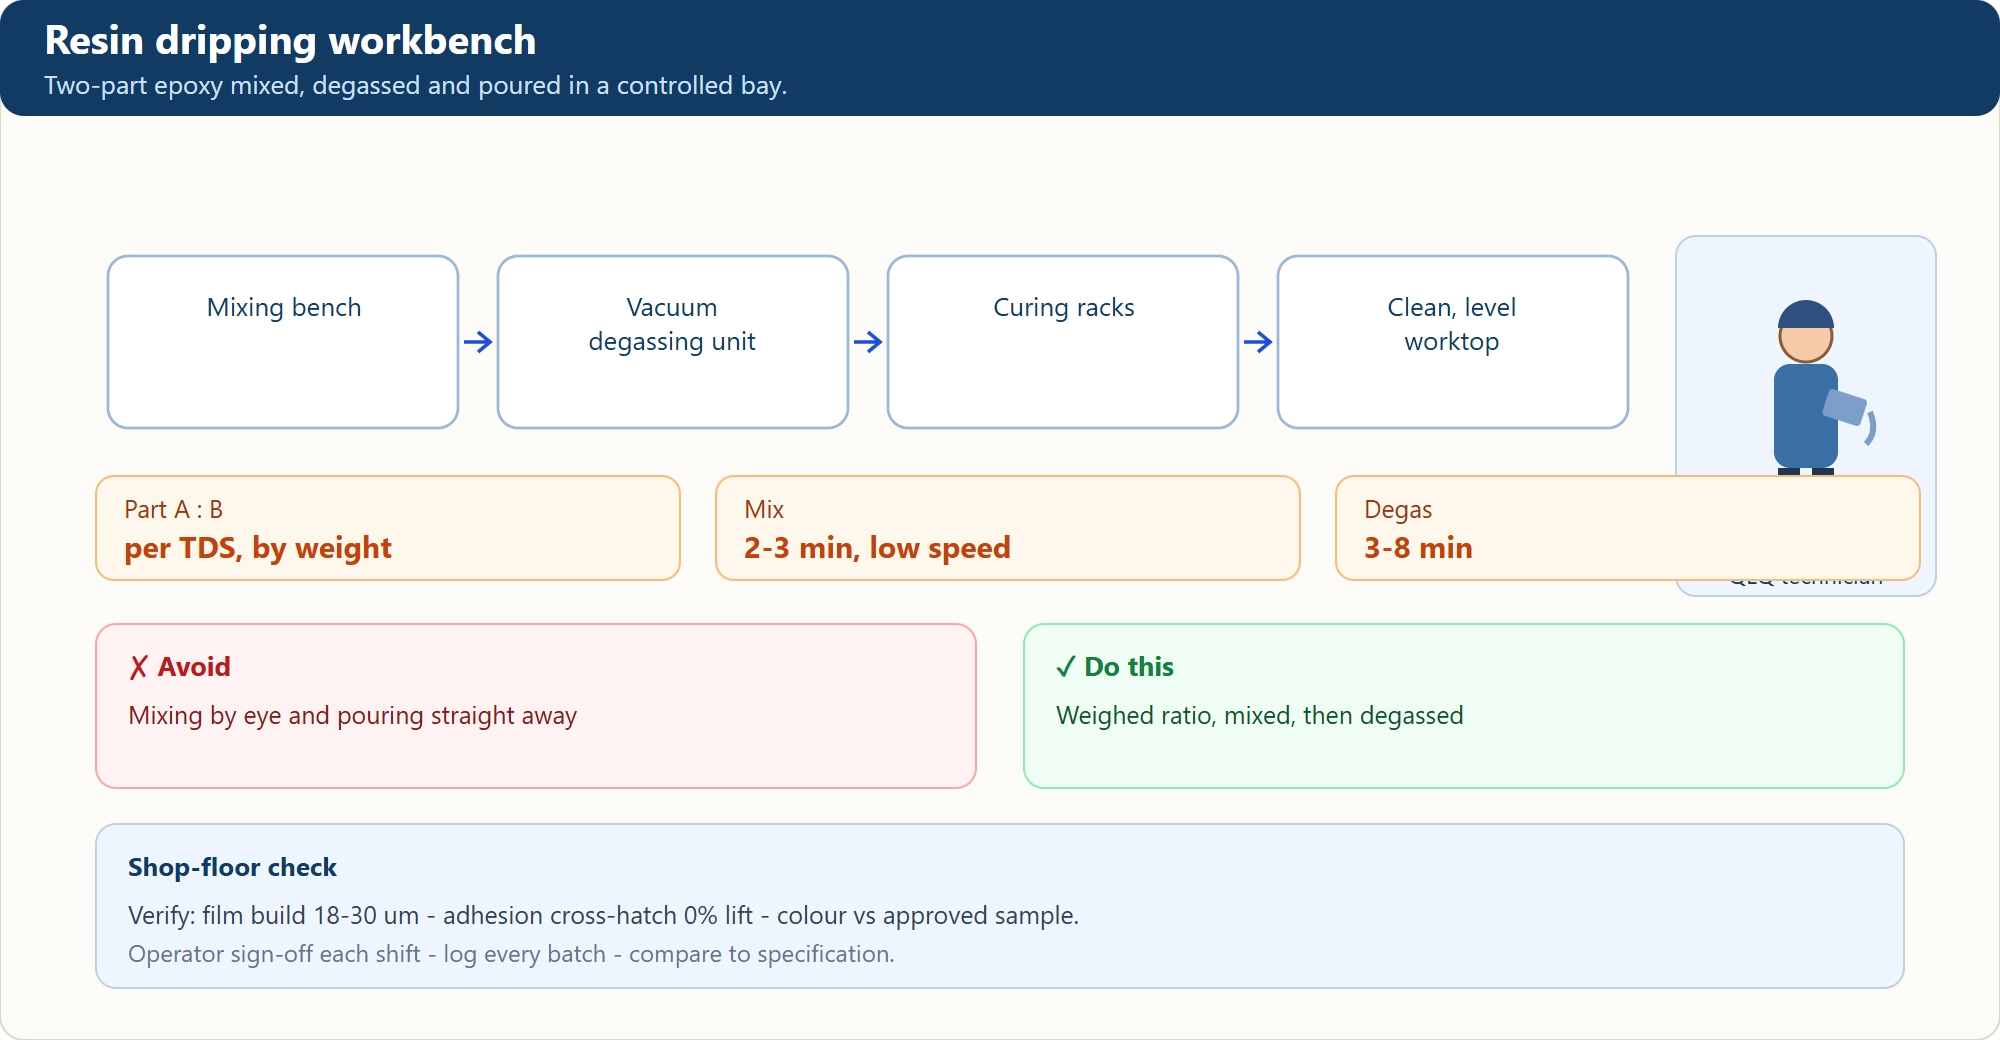
Resin dripping workbench - Two-part epoxy mixed, degassed and poured in a controlled bay.
The Epoxy Resin Dripping Process
Weigh → Mix → Degas → Fill → Cure → Demold — precision at every step
1AB Ratio Formulation
Epoxy resin (Part A) + hardener (Part B). Common weight ratios: 3:1 or 1:1 depending on formulation. Accuracy matters — ±2% ratio error changes viscosity, cure time and final hardness. Zero-conductivity measuring cup prevents bubbles.
Key Parameters
Common ratio: 3:1 or 1:1 by weight
Tolerance: ±2%
Mix time: 2–3 min slow stir
Pot life: 20–40 min @ 25 °C
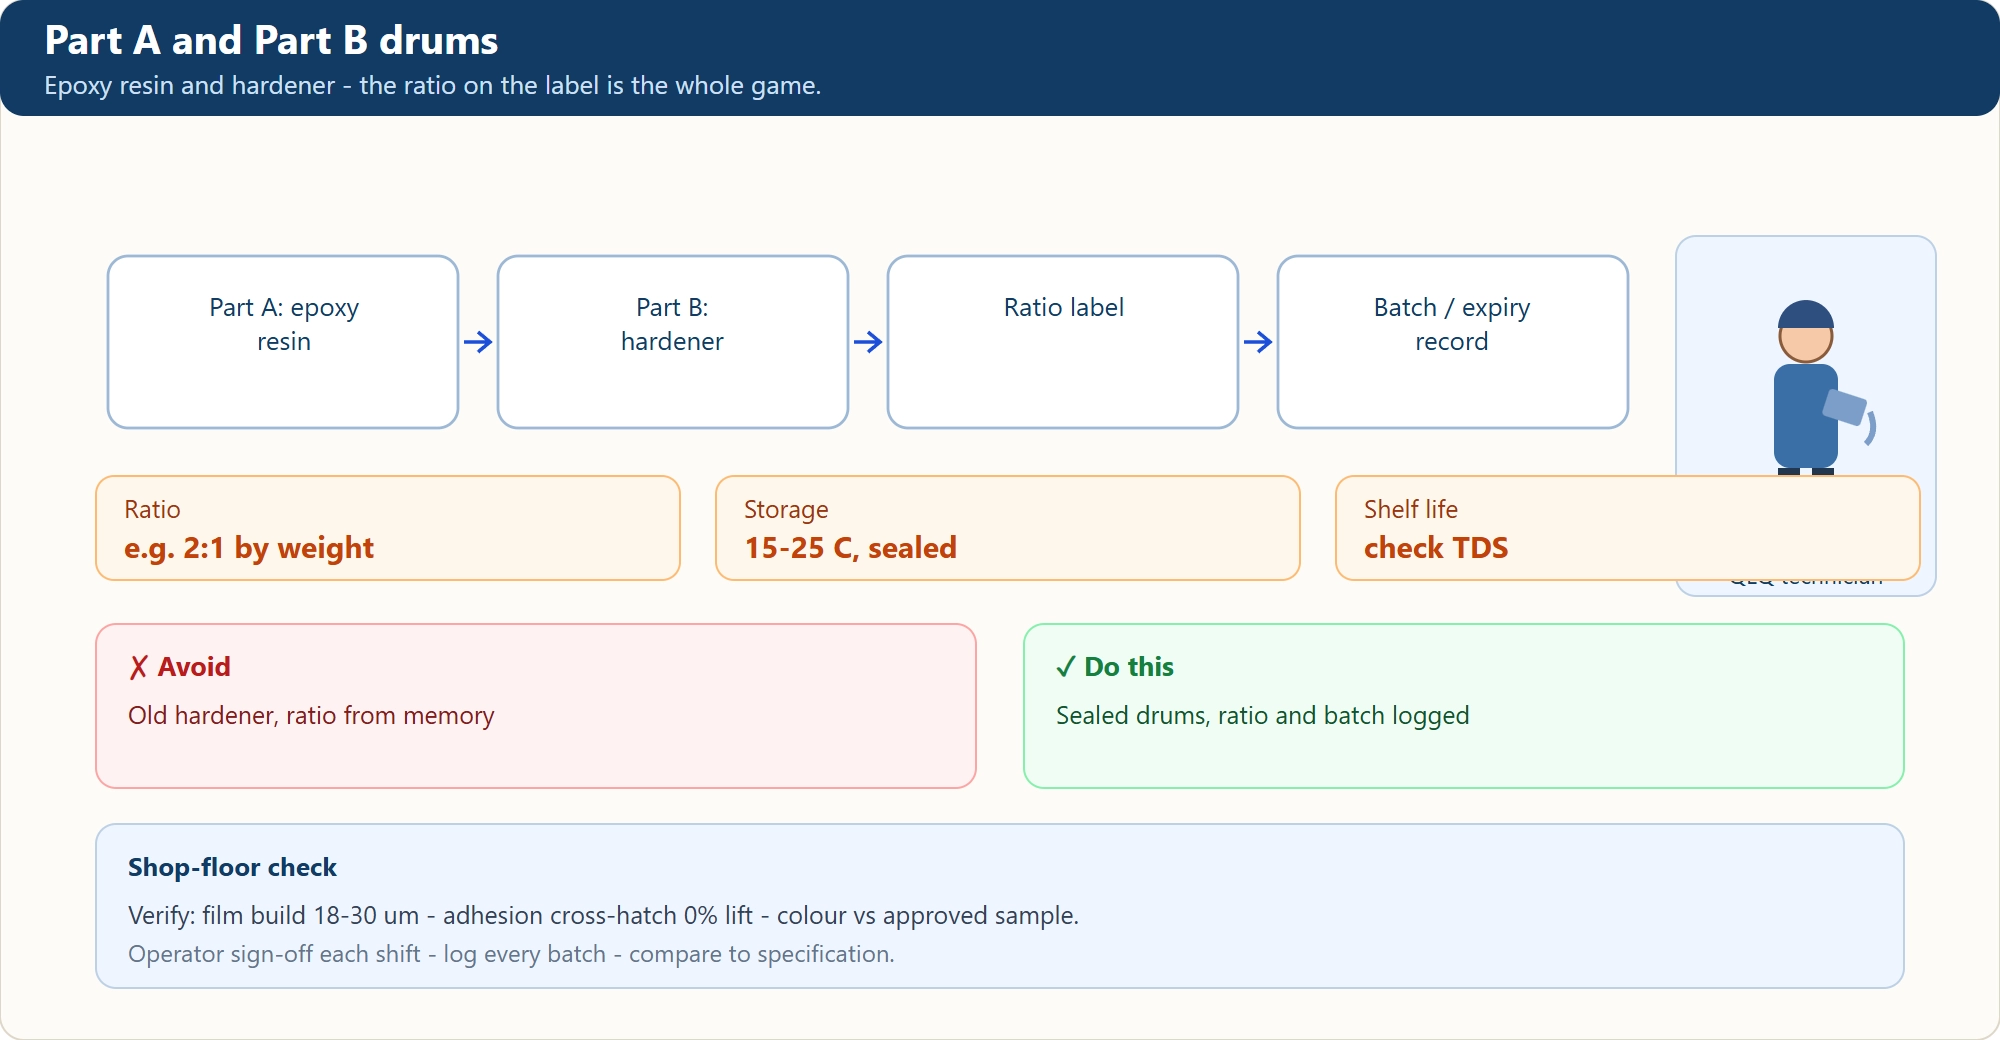
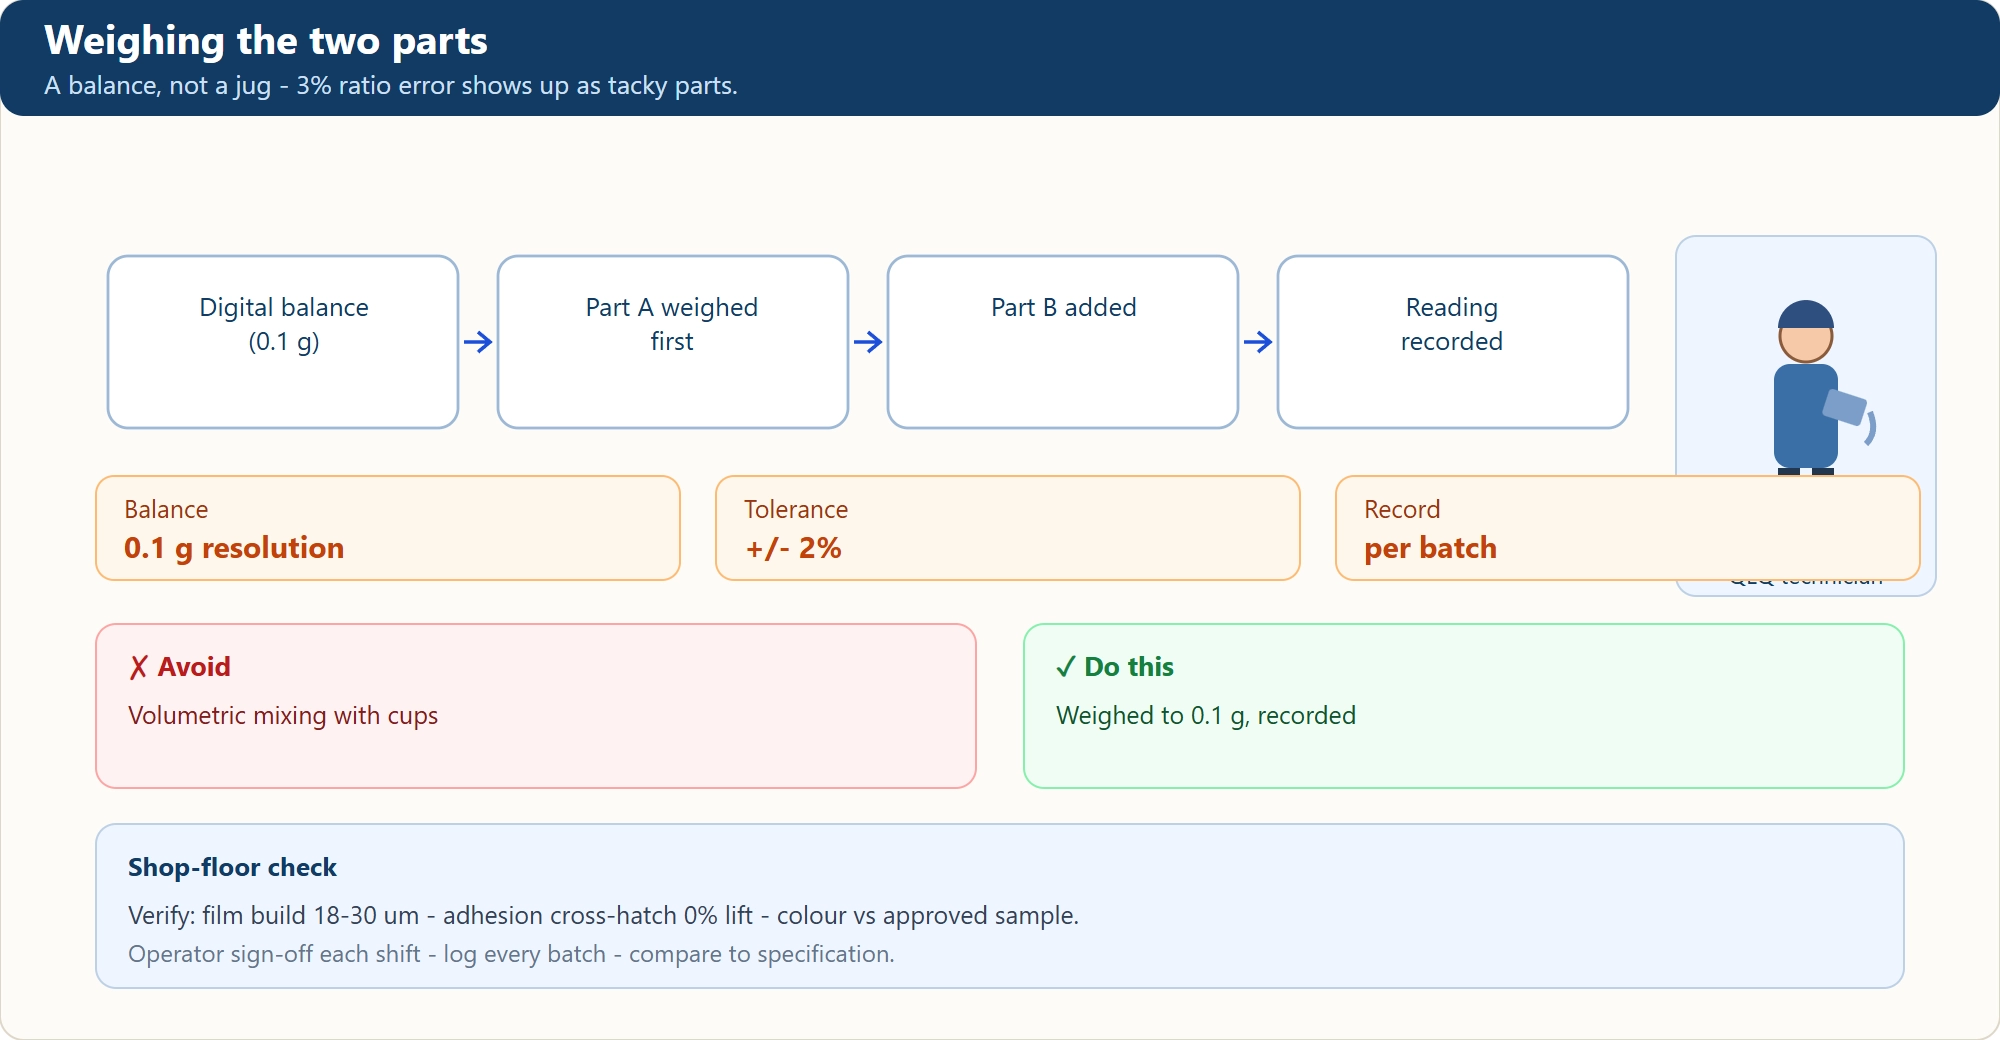
Part A and Part B drums - Epoxy resin and hardener - the ratio on the label is the whole game.Weighing the two parts - A balance, not a jug - 3% ratio error shows up as tacky parts.
2Degassing (Vacuum or Still Degas)
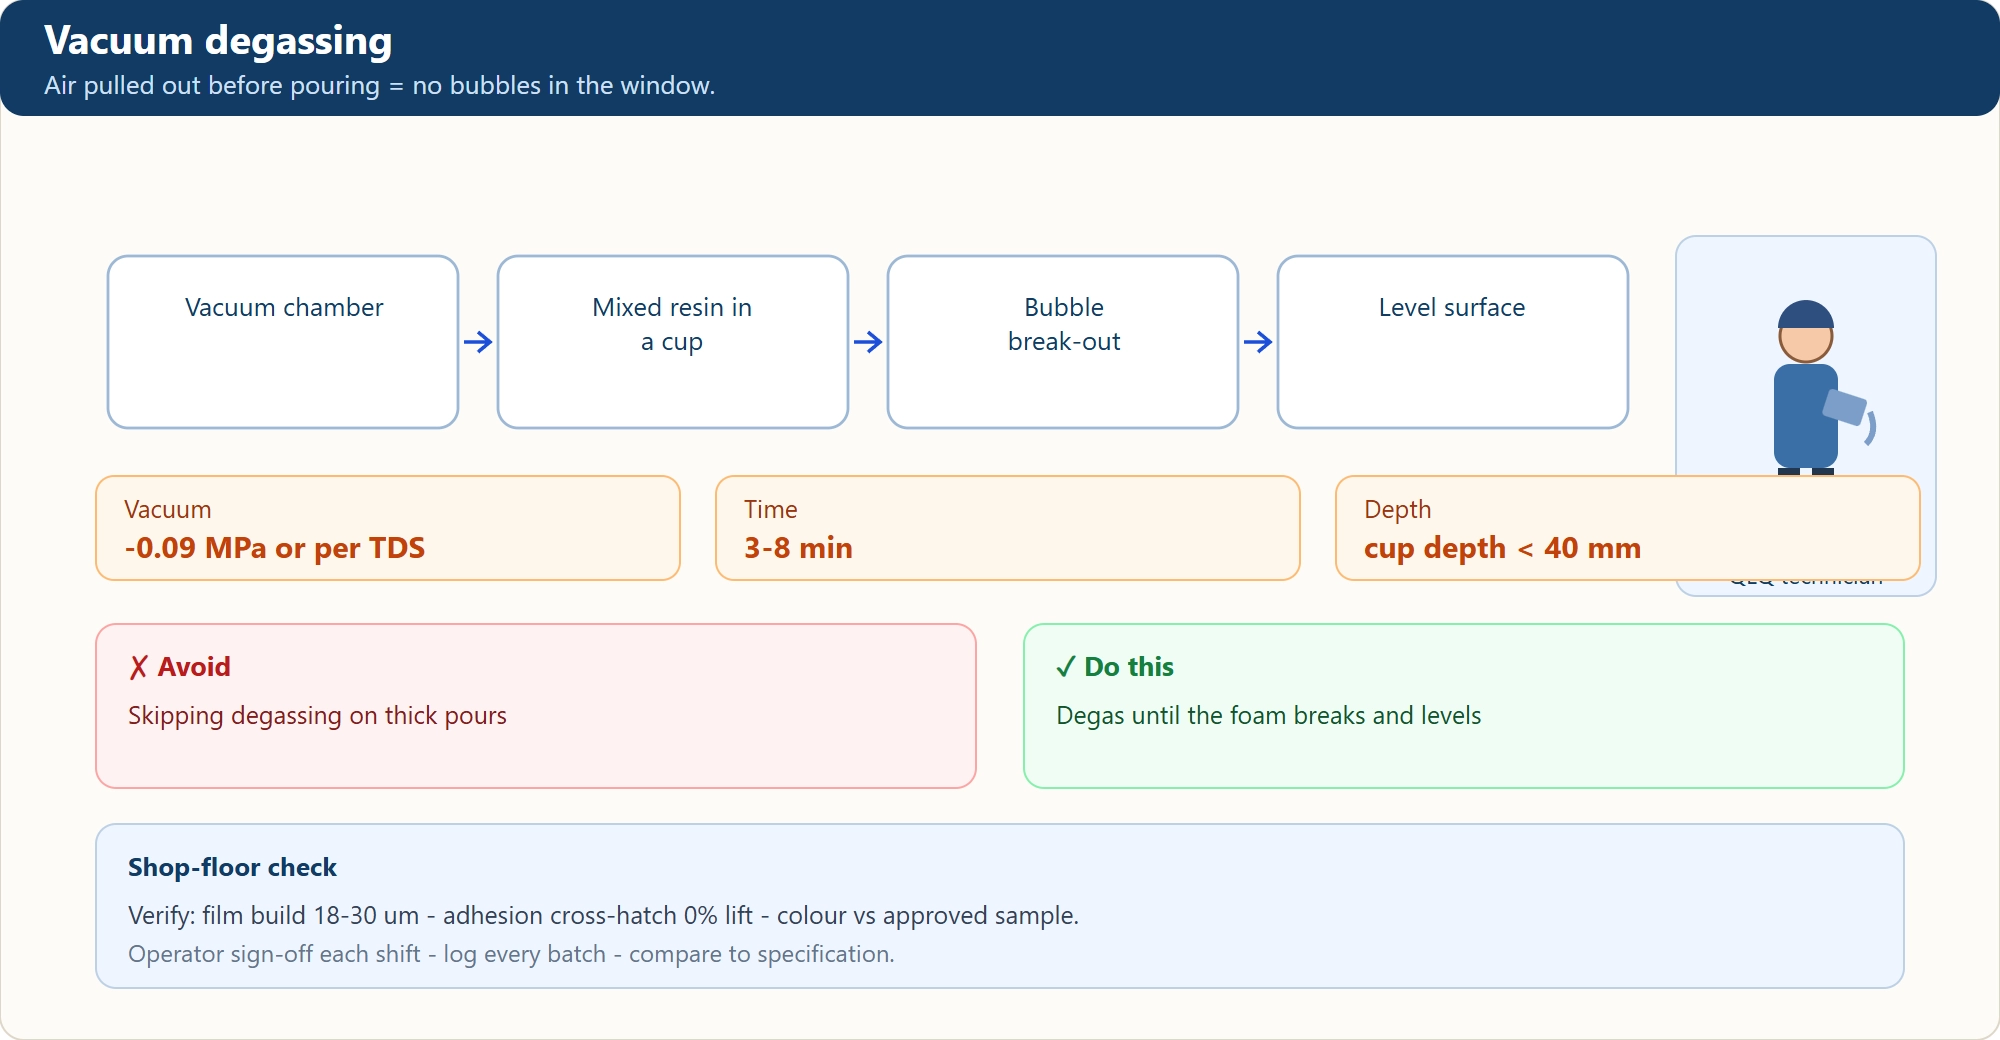
Mixed resin traps micro-bubbles during stirring. Vacuum chamber at −0.08 to −0.1 MPa for 3–5 min pulls bubbles out. Alternative: let the cup sit still for 10–15 min — bubbles rise naturally, but slower.
Key Parameters
Vacuum level: −0.08 to −0.1 MPa
Vacuum time: 3–5 min
Still degas: 10–15 min
Result: Bubble-free clear resin
Vacuum degassing - Air pulled out before pouring = no bubbles in the window.
3Resin Dripping into Molds
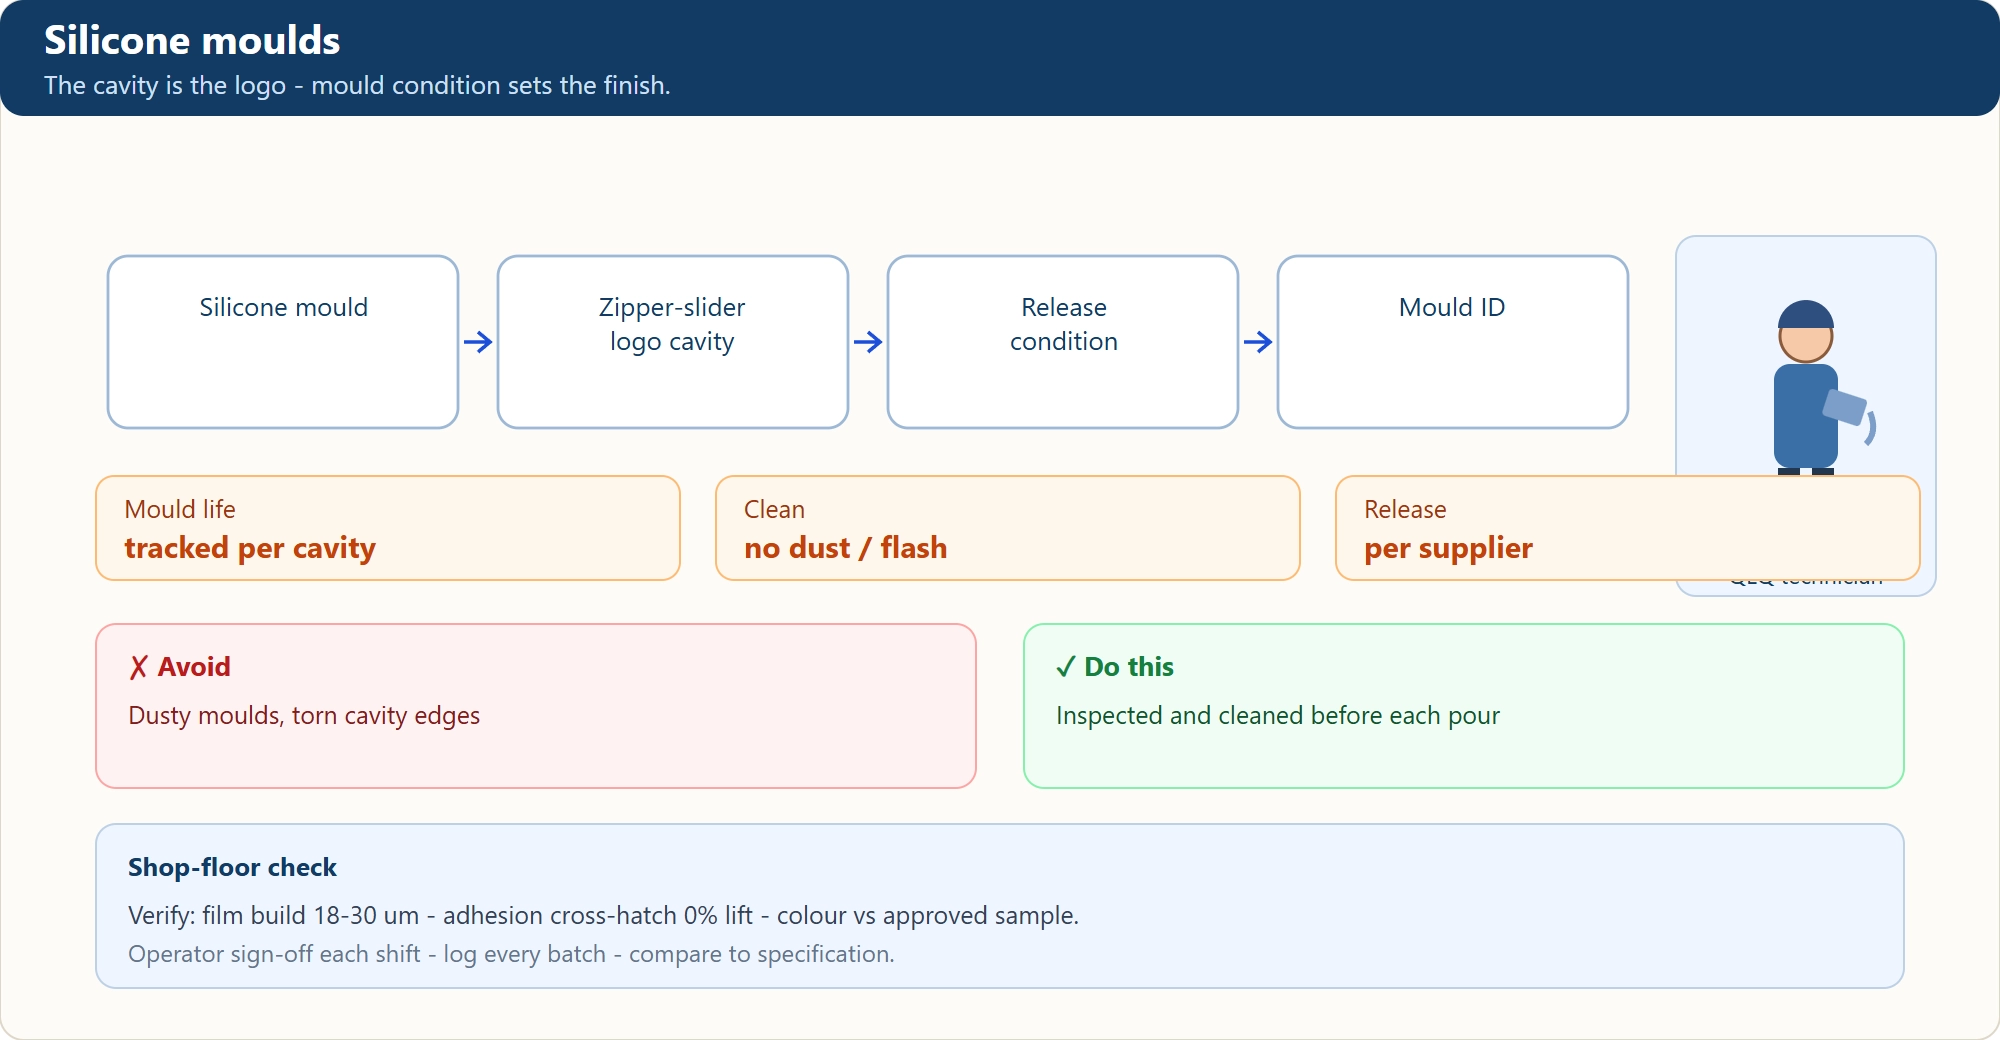
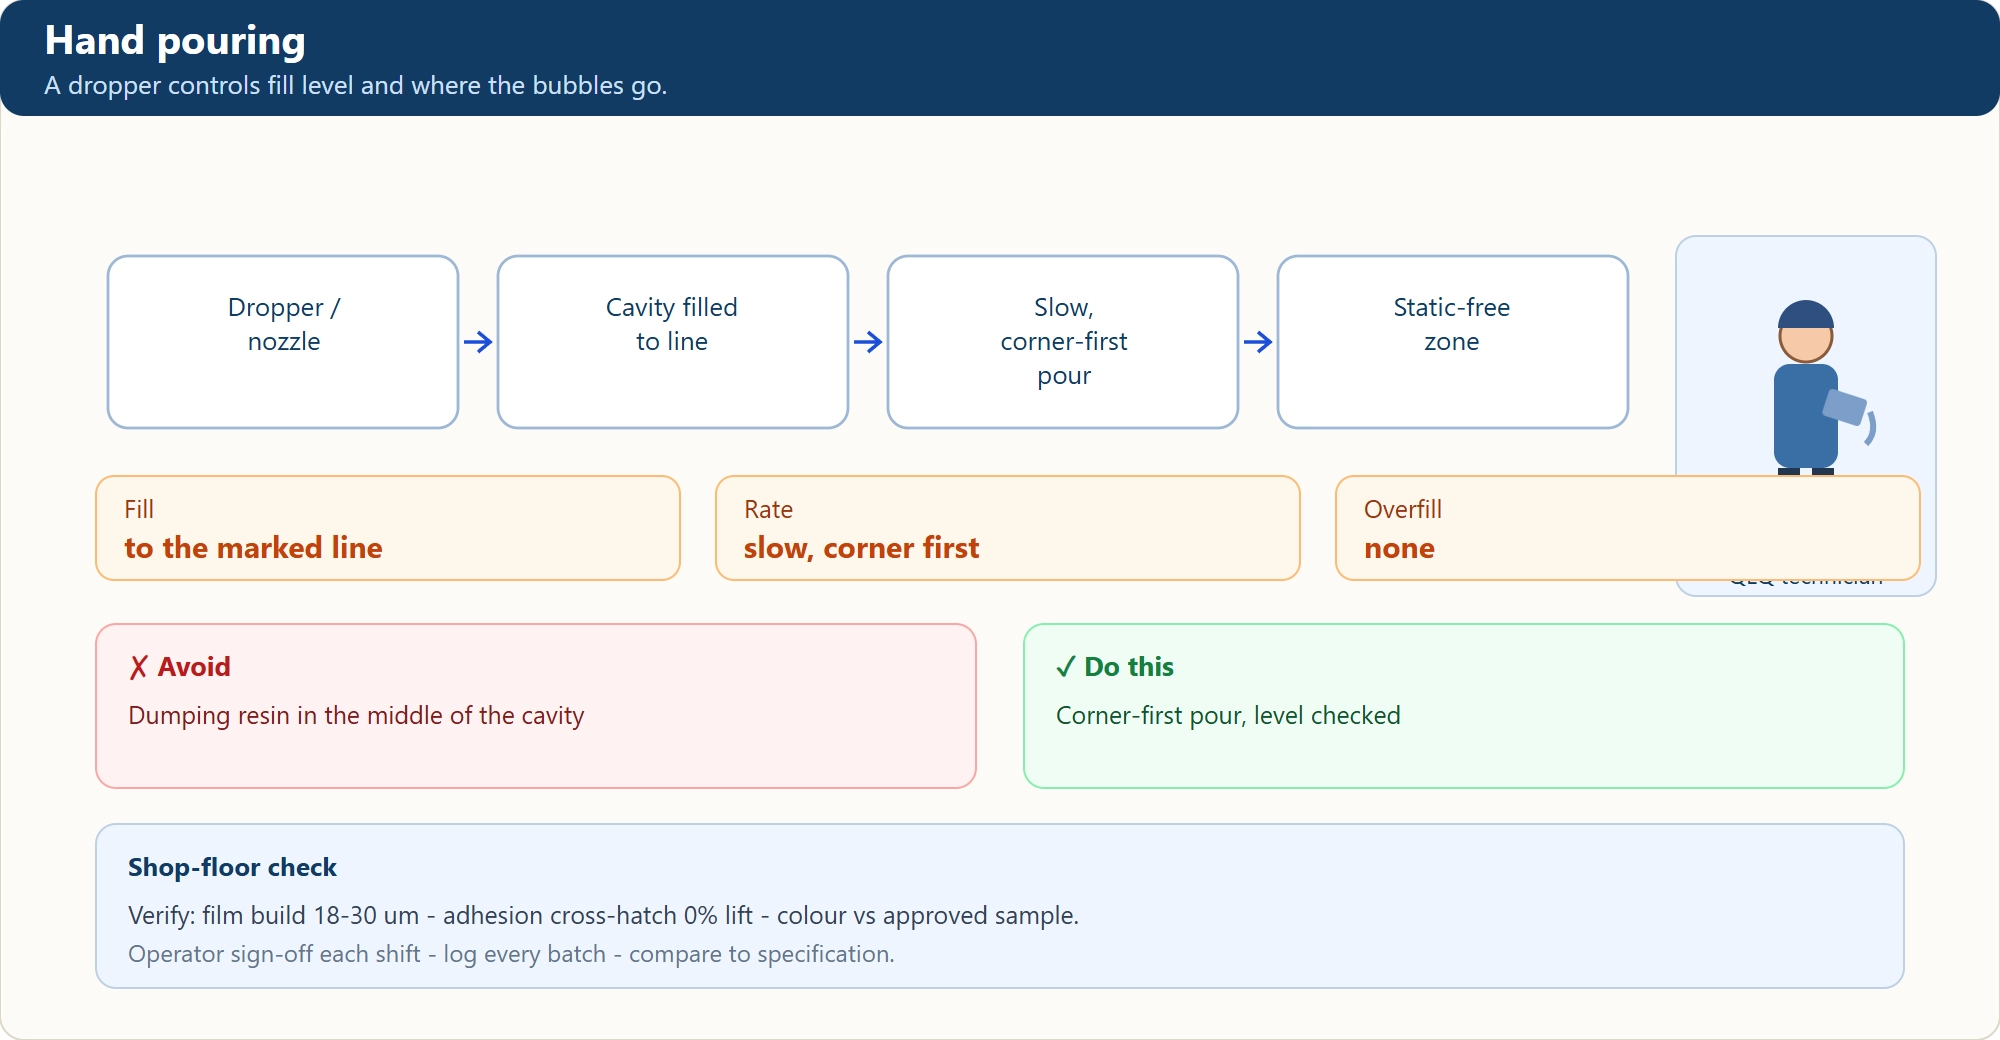
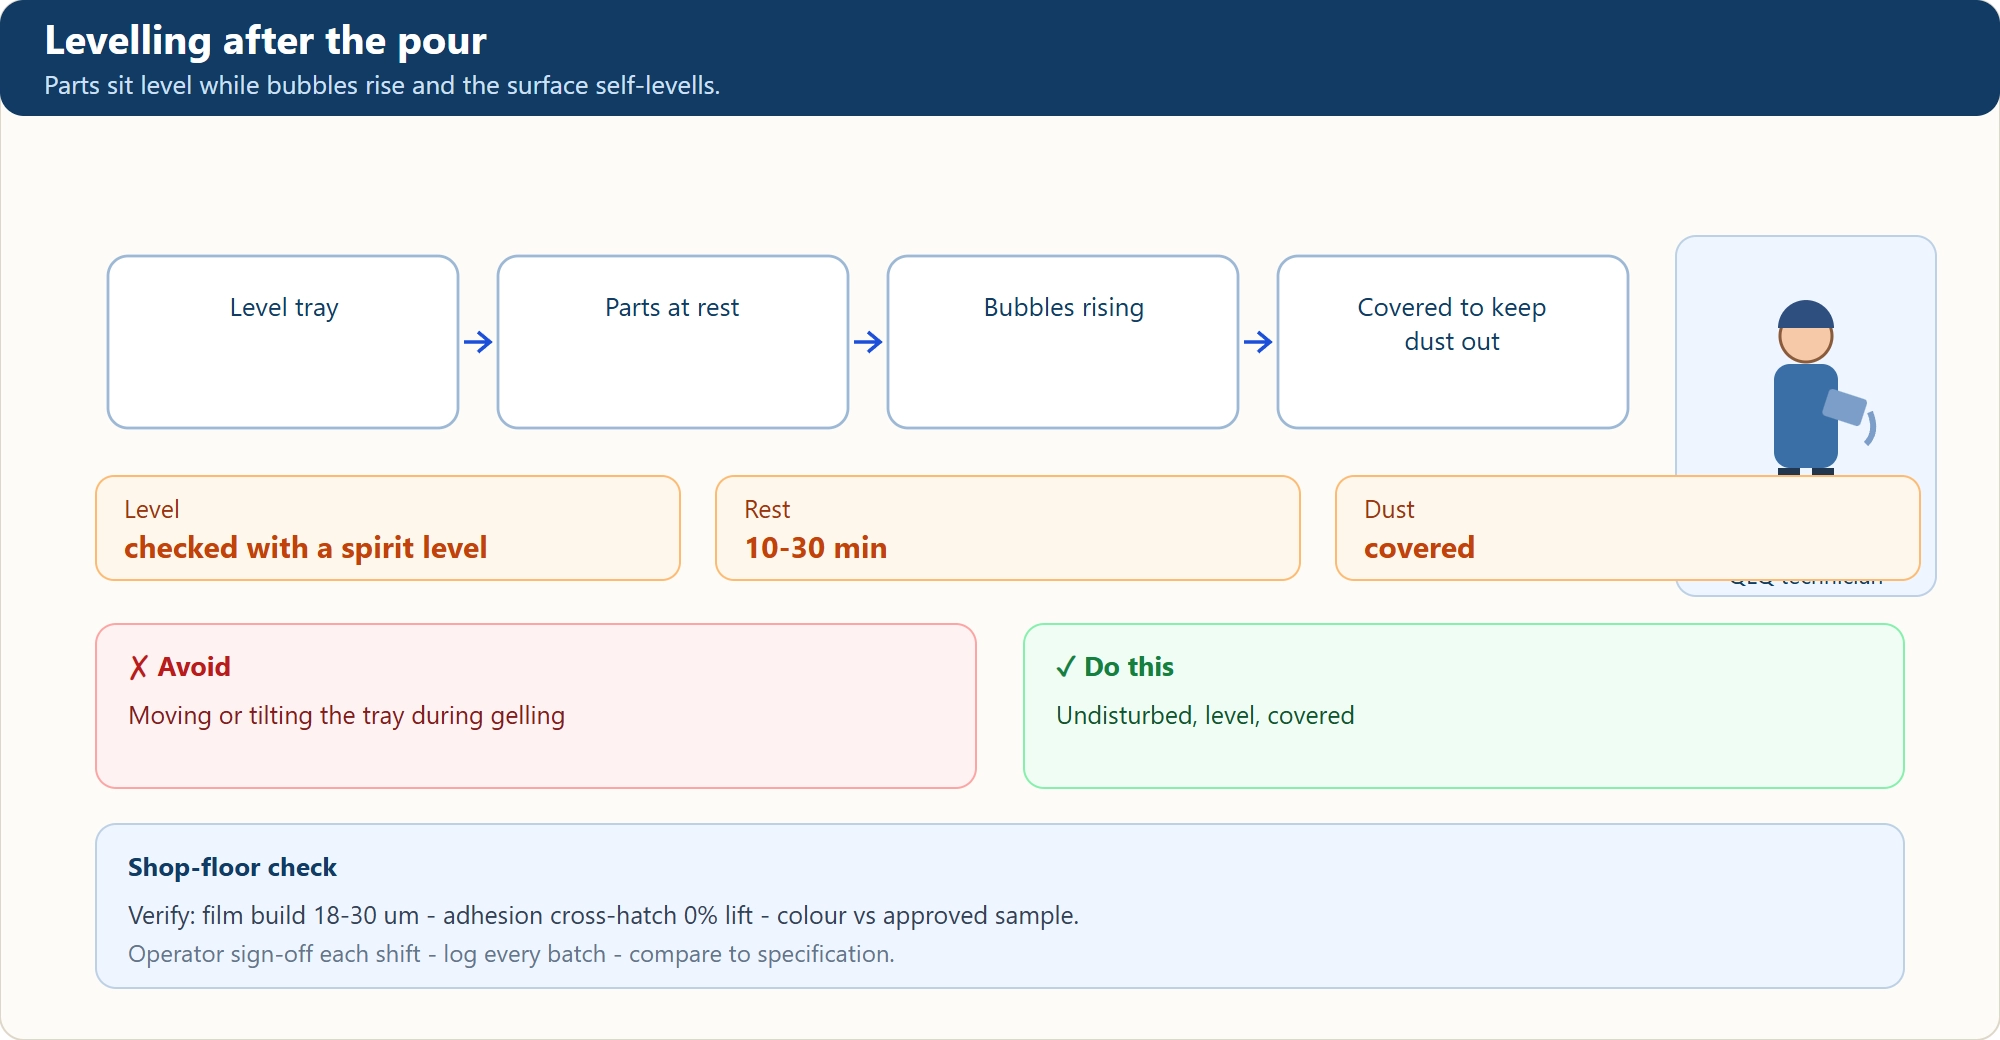
Silicone mold with engraved logo cavitiy. Use a dispensing needle or syringe for precise volume control. Fill in one continuous motion to avoid trapped air layers. Allow 5 min still degas after filling for any remaining bubbles to surface.
Key Parameters
Mold material: Silicone rubber
Fill method: Needle / syringe
Fill speed: Slow, one continuous flow
Post-fill degas: 5 min still
Silicone moulds - The cavity is the logo - mould condition sets the finish.Hand pouring - A dropper controls fill level and where the bubbles go.Levelling after the pour - Parts sit level while bubbles rise and the surface self-levells.
4Curing — Room Temp vs Accelerated
Room temp (25 °C): 24 hours to demold, 72 hours full cure. Accelerated (60 °C): 2 hours in oven, then cool slowly. Fast heating causes thermal shock = internal cracks. Never exceed 80 °C — resin yellows.
Key Parameters
Room temp cure: 24 h demold / 72 h full
Accelerated cure: 60 °C × 2 h
Max temp: 80 °C (yellowing risk)
Cooling: Slow, in oven
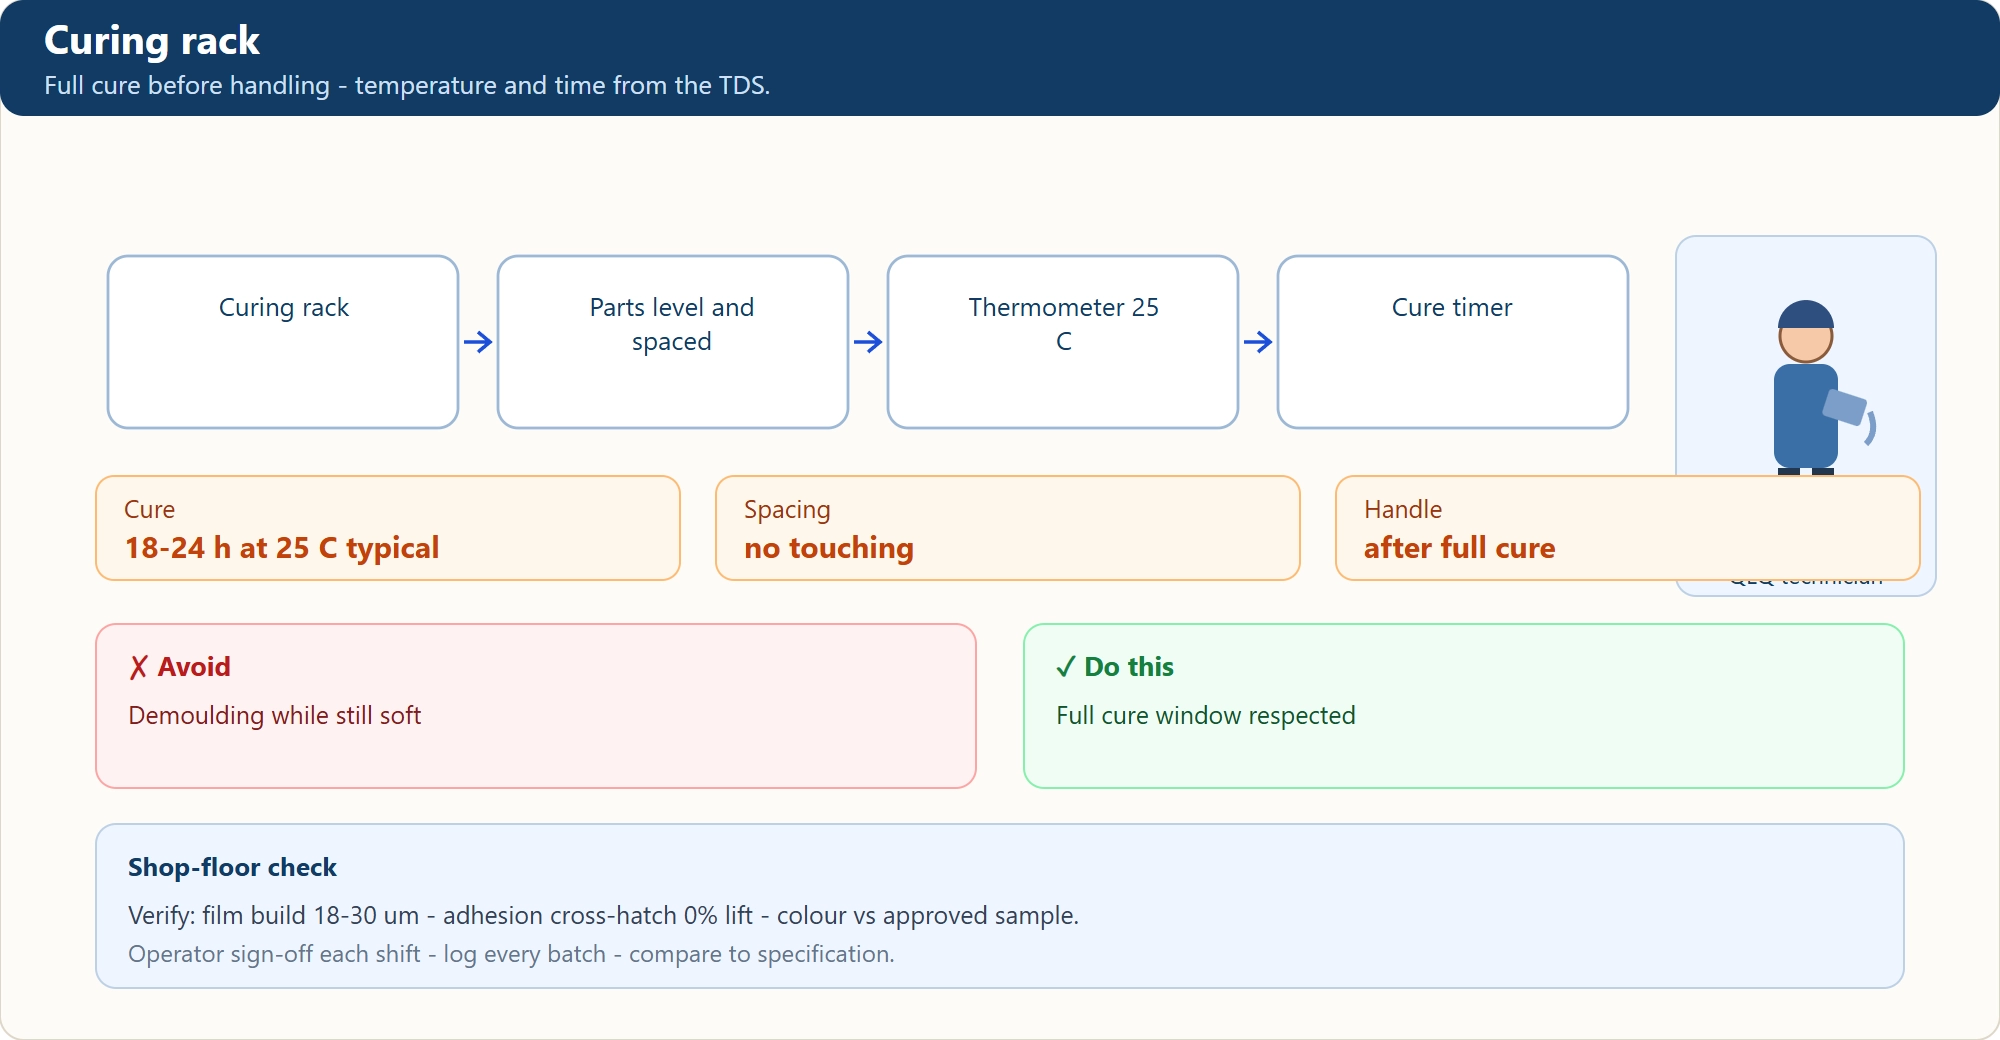
Curing rack - Full cure before handling - temperature and time from the TDS.
5Demolding & Finishing
Peel silicone mold away. Examine for bubbles, incomplete fill or contamination. Crystal-clear result with >90% light transmission. Optional: UV-blocking topcoat to prevent yellowing over time.
Key Parameters
Light transmission: > 90%
Gloss (60°): > 85 GU
Yellowing resistance: Standard / UV-block
Touch-up: Clear coat on surface if needed
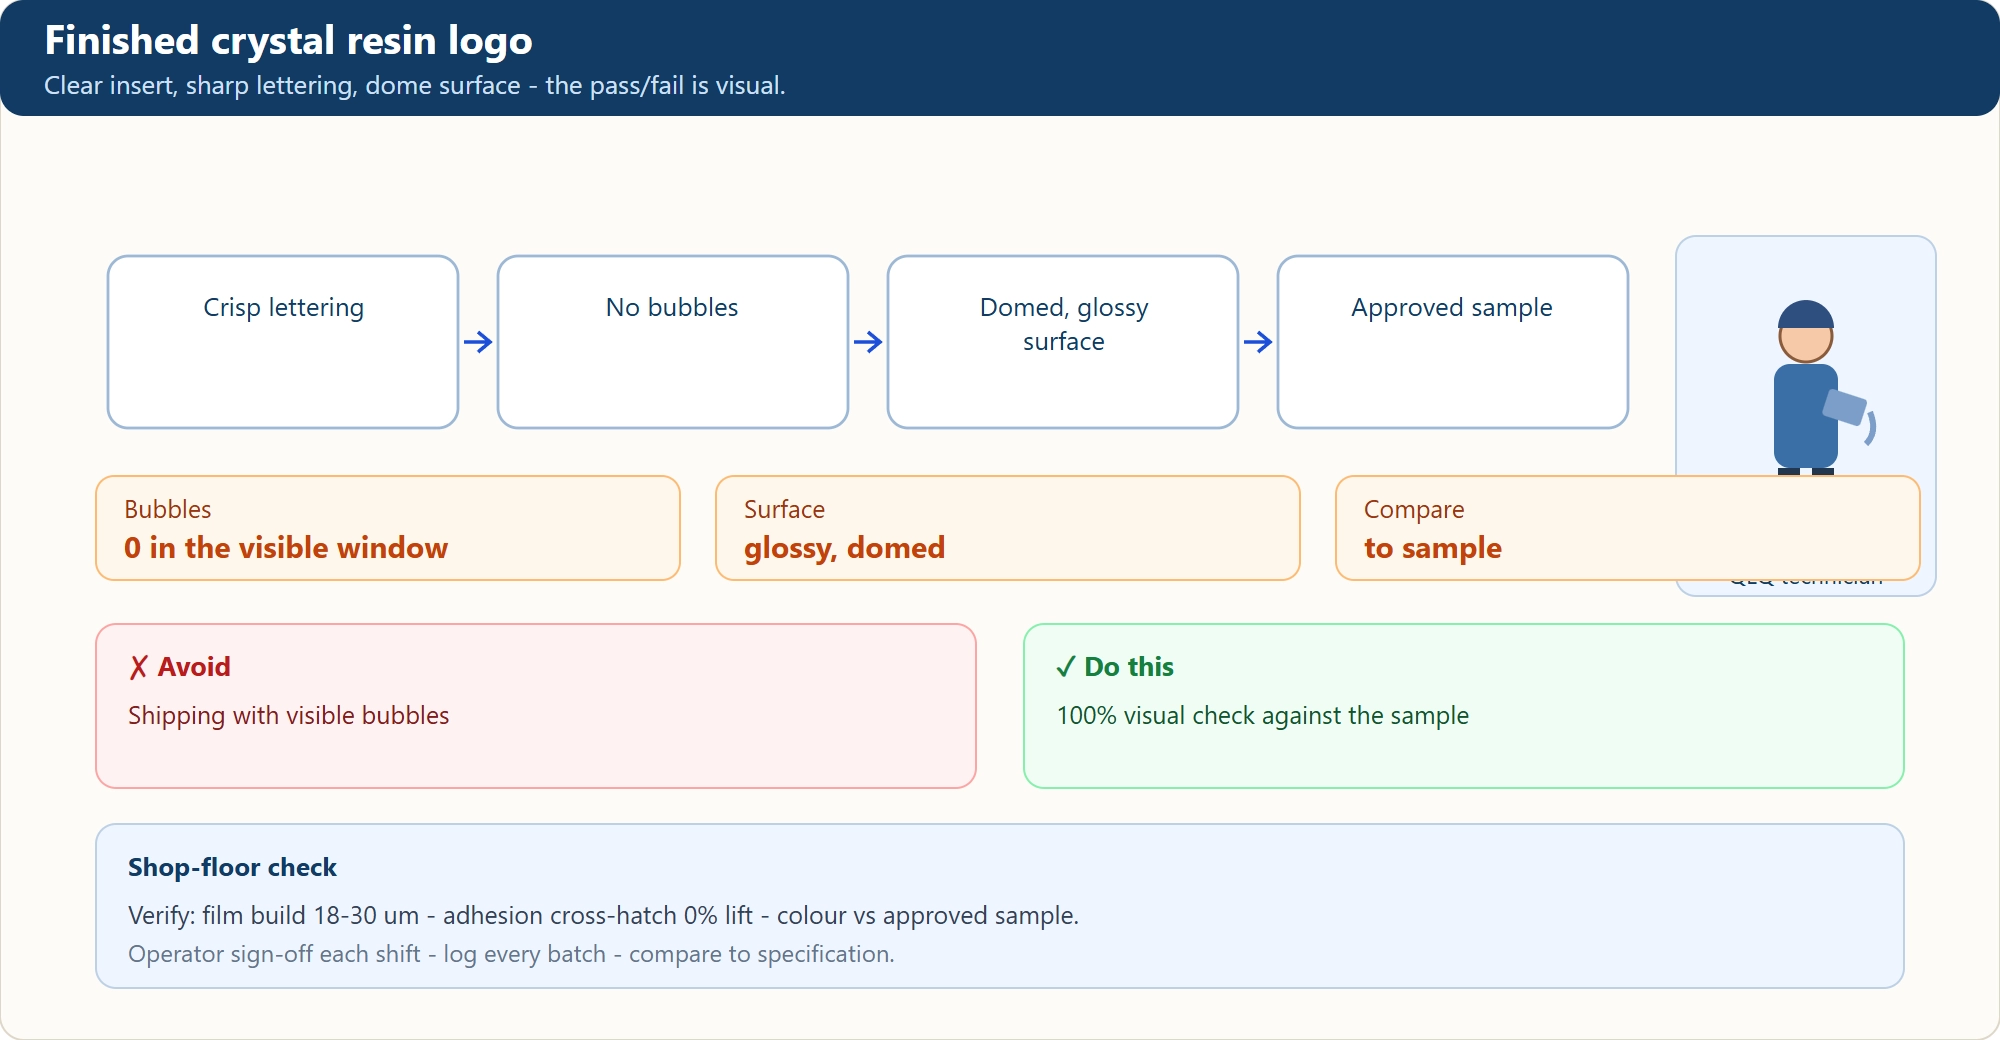
Finished crystal resin logo - Clear insert, sharp lettering, dome surface - the pass/fail is visual.
▼
Epoxy vs Other Clear Coatings
Why epoxy dripping gives the best 3D gloss for logo inserts
Property
Epoxy Resin
UV-Cure Resin
Acrylic Clear Coat
3D dome effect
Excellent
Good (thin only)
Poor
Gloss (60°)
> 85 GU
> 80 GU
60–75 GU
Full cure time
24–72 h
2–10 s
24 h
Hardness
Shore D 75–85
Shore D 80–90
HB–2H pencil
Yellowing resistance
Good (UV-grade)
Excellent
Fair
Bubble sensitivity
High
Low
Low
Max thickness per pour
3–5 mm (can layer)
0.5–1 mm
0.1–0.2 mm
📌 Resin Dripping Cheat Sheet
AB ratio tolerance±2% by weight
Vacuum degas−0.08 to −0.1 MPa, 3–5 min
Room temp cure24 h demold / 72 h full
Accelerated cure60 °C × 2 h
Light transmission> 90%
Gloss (60°)> 85 GU
Max pour thickness3–5 mm
⚠ Never mix AB ratio by volume — always weigh itEpoxy hardener and resin have different densities. A 3:1 ratio by volume can be 4:1 or 2.5:1 by weight, leading to soft, tacky or brittle cured resin. Use a digital scale with 0.1 g resolution. The pot life clock starts the moment you start mixing, not when you finish.
FAQ
Why does my epoxy stay tacky after 24 hours?
Wrong AB ratio — too much hardener or not enough. Check your scale calibration. Temperature below 18 °C slows cure dramatically. Heat the room to 25 °C for 4 hours and see if it finishes curing.
How to remove bubbles that form after pouring?
Bubbles that appear after pouring are usually from air trapped under the mold surface or released from the resin as it warms. Use a heat gun (700–800 °C) passed quickly over the surface — bubbles pop instantly. Or use a pressure pot (0.3–0.5 MPa) during cure to collapse bubbles.
Can I pour epoxy over painted surfaces?
Yes, but the paint must be fully cured and clean. Some paint chemistries inhibit epoxy cure (amine blush). Test on a sample first. A thin sealer coat of the same epoxy or a clear primer prevents compatibility issues.
How to prevent yellowing of clear epoxy?
Use UV-stabilized epoxy (aliphatic or cycloaliphatic hardener). Add UV absorber additive (e.g., Tinuvin) at 0.5–1%. Avoid direct sunlight exposure. For outdoor nameplates, specify a UV-block clear topcoat.
What is the maximum practical logo size for dripping?
Logo area up to 20 × 30 mm for single-pour. Larger than that → exothermic heat builds up and causes cracking. For larger logos, pour in 2–3 mm layers with 4 h between pours, or use a lower-exotherm formulation.
Get a Free Quote Today
Send us your samples or drawings — our engineers reply within 24 hours with pricing and technical advice.