
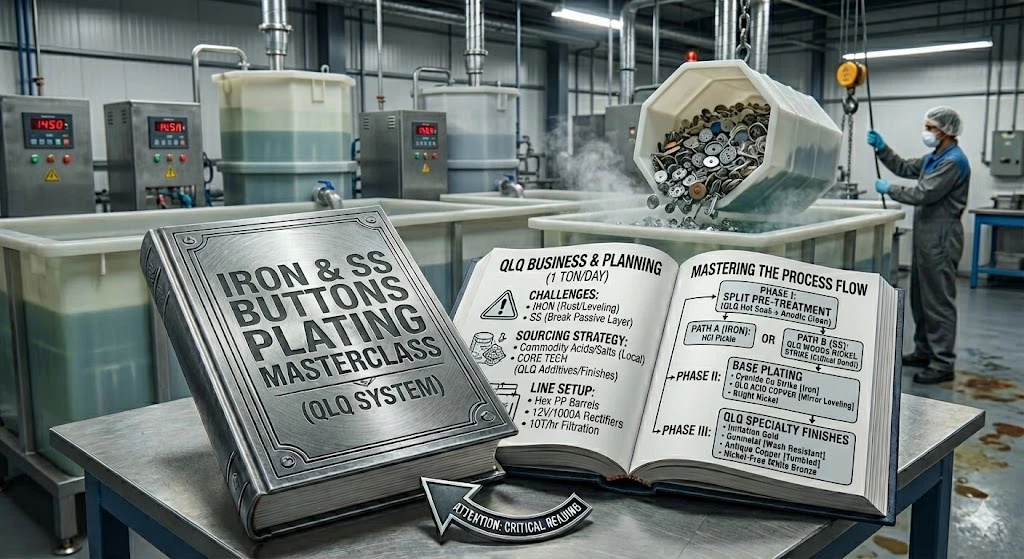
Professional Barrel Plating Workshop Planning: Iron & Stainless Steel Buttons (QLQ System)
Application: Jeans Buttons, Snap Fasteners, Rivets, Eyelets.
Base Materials: Iron (Carbon Steel) and Stainless Steel (304/316).
Capacity: 1 Ton/Day (High-Throughput Semi-Automatic Line).
Key Challenge:
Iron: Preventing rust and ensuring leveling (smoothing out rough stamping marks).
Stainless Steel: Breaking the "Passive Layer" to ensure the plating doesn't peel off.
Sourcing Strategy:
Commodities (Acids, Anodes, Base Salts): [Purchase Locally] to save costs.
Core Technology (Additives, Activation, Finishes): [QLQ Product] for performance and technical guarantee.
Production Line Overview
Barrel Configuration:
Iron: Standard PP Hexagonal Barrel ($\phi300 \times 600$mm).
Stainless Steel: High-mesh PP Barrel (to prevent small buttons from sticking).
Rectifiers: 12V/1000A (Iron needs higher current density than Zinc).
Filtration: 10 Tons/hr continuous filtration for Copper and Nickel tanks.
Phase I: Pre-treatment (The "Split" Process)
Iron and Stainless Steel require different activation paths. The line should be designed to handle both.
Step 1: Hot Soak Degreasing (Common for Both)
Purpose: Remove heavy stamping oils and polishing compounds.
Chemicals:
[QLQ Product] Steel/SS Degreasing Powder: 60–80 g/L (High alkalinity).
Parameters: 70–80°C, 10–15 mins.
Step 2: Anodic Electrolytic Degreasing (Common for Both)
Difference from Zinc Alloy: We use Anodic (+) cleaning here. Iron/SS does not dissolve like Zinc, and Anodic cleaning removes smut better.
Chemicals:
[QLQ Product] Anodic Electro-cleaner Salt: 50–70 g/L.
[Purchase Locally] Sodium Hydroxide: (If needed for pH adjustment).
Parameters: 60–70°C, Current: 5–8 A/dm², Time: 1–3 mins.
Polarity: Workpiece as Anode (+).
Step 3: Acid Pickling / Activation (The Critical Divergence)
PATH A: For Iron (Carbon Steel)
Purpose: Remove Rust and Scale.
Chemicals: [Purchase Locally] Hydrochloric Acid (HCl): 30–50% concentration + [QLQ Product] Acid Mist Inhibitor.
Time: 1–3 mins (Until surface is clean and grey).
PATH B: For Stainless Steel (The "Woods Nickel" Strike)
Purpose: Stainless steel is passive. Standard acid won't work. You must use a Woods Nickel Strike to bond to the surface.
Chemicals:
[Purchase Locally] Nickel Chloride: 200–240 g/L.
[Purchase Locally] Hydrochloric Acid: 100–120 ml/L.
[QLQ Product] Woods Nickel Additive: (Improves coverage).
Parameters: Room Temp. High Current Impact (5–10 A/dm²) for 2–5 minutes.
Phase II: Base Plating (Leveling & Protection)
Step 4: Cyanide Copper Strike (Mandatory for Iron)
Note: Acid Copper cannot be plated directly onto Iron (it will create loose "immersion copper").
Chemicals:
[Purchase Locally] Copper Cyanide: 40–50 g/L.
[Purchase Locally] Sodium Cyanide: 60–70 g/L.
[QLQ Product] Copper Grain Refiner: Consult QLQ.
Parameters: 50–55°C, 20 mins.
Step 5: Acid Copper Plating (High Leveling)
Crucial for Buttons: Buttons often have rough stamped edges. QLQ Acid Copper provides "Mirror Leveling."
Chemicals:
[Purchase Locally] Copper Sulfate: 200–220 g/L.
[Purchase Locally] Sulfuric Acid: 50–70 g/L.
[QLQ Product] Acid Copper Brightener (B) & Leveler (A): Use automatic dosing.
Parameters: 25°C (Chiller required), 3–5 A/dm², 40–50 mins.
Step 6: Bright Nickel Plating
Chemicals:
[Purchase Locally] Nickel Sulfate/Chloride/Boric Acid.
[QLQ Product] Nickel Brightener System: Consult QLQ.
Parameters: 55°C, pH 4.0–4.5, 20 mins.
Phase III: Color Finishes (QLQ Specialty Processes)
Iron/SS buttons are often fashion items, requiring specific trends.
A. Imitation Gold (Brass Alloy)
Description: Replaces real gold. Matches 18K/24K color.
Chemicals: [QLQ Product] Imitation Gold Salts.
Parameters: 35°C, 30-60 seconds.
B. Gunmetal / Black Nickel (Tin-Alloy)
Description: High wear resistance for jeans buttons (which go through washing machines).
Chemicals: [QLQ Product] Gunmetal Salts.
Parameters: 60°C, 8–10 mins.
C. Antique Copper / Bronze (Vintage Look)
Process:
Plate Thick Copper (Cyanide or Acid).
Blacken with [QLQ Product] Antique Blackener.
Tumble/Burnish: Use a tumbling barrel to wear off the black from the raised logos/text, revealing the copper underneath.
D. Nickel-Free Finishes (EU Standard)
Important: If the client requires "Nickel Free," replace the Bright Nickel (Step 6) with [QLQ Product] White Bronze (Copper-Tin-Zinc).
Phase IV: Post-Treatment
Step 7: Passivation
Chemicals: [QLQ Product] Anti-Tarnish Dip.
Step 8: Baking (Hydrogen Embrittlement Relief)
Note: Only necessary for High Carbon Steel or Spring Steel parts. Standard low-carbon iron buttons do not usually require this.
Temp: 200°C for 2 hours.
Step 9: Lacquering
Chemicals: [QLQ Product] Water-based Clear Lacquer.
FAQ - Iron & Stainless Steel Buttons
Straight answers from the shop floor. Ask us on WhatsApp if your case is different.
What does this document cover?
What must be checked before running?
What result should I expect?
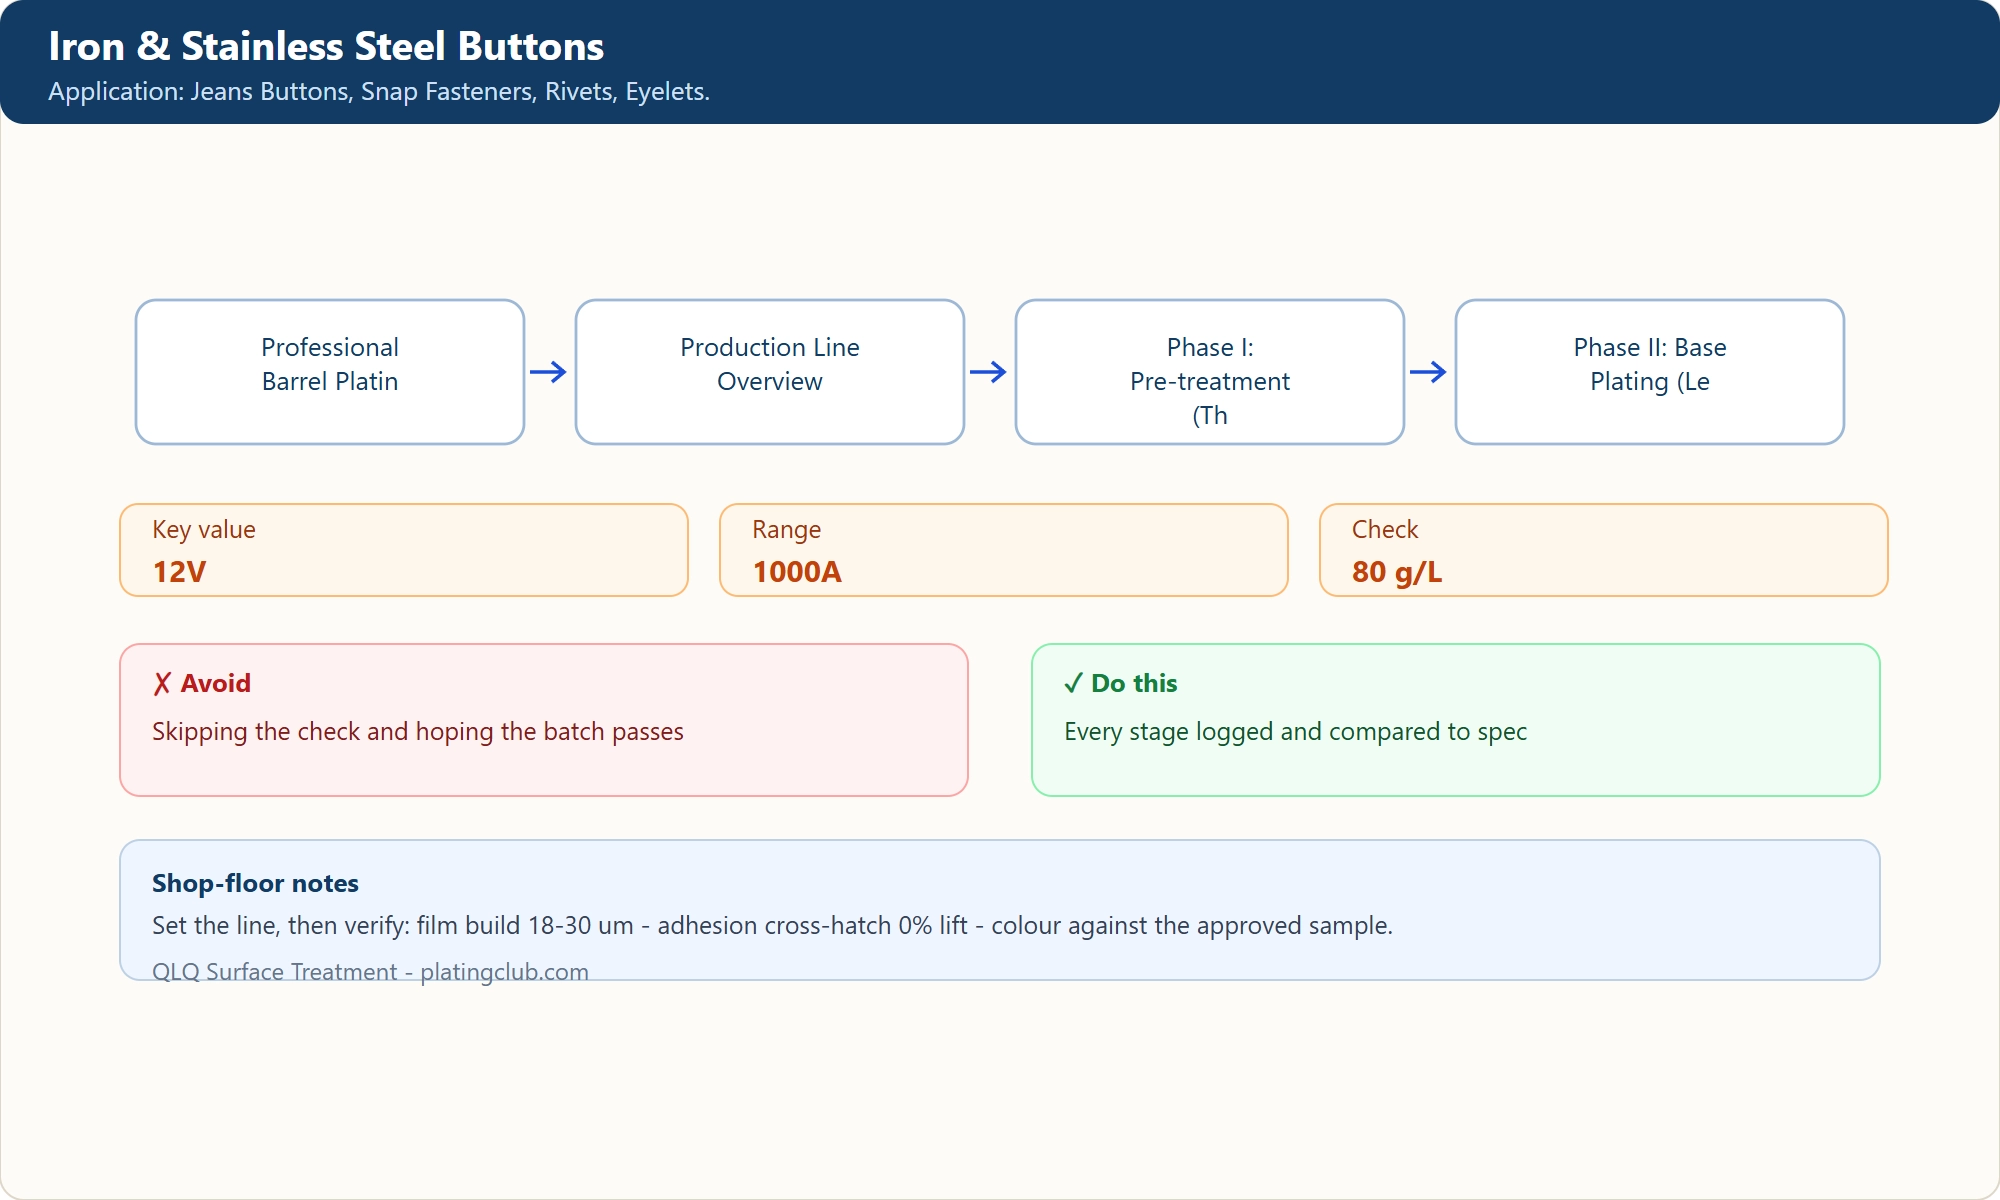
Quick reference - what to check and why
| Stage | What it means on the line |
|---|---|
| Professional Barrel Plating Workshop Planning: Iron & Stainless Steel Buttons (QLQ System) | Application: Jeans Buttons, Snap Fasteners, Rivets, Eyelets. |
| Production Line Overview | Barrel Configuration: Iron: Standard PP Hexagonal Barrel ( $\phi300 \times 600$ mm). |
| Phase I: Pre-treatment (The "Split" Process) | Iron and Stainless Steel require different activation paths. |
| Phase II: Base Plating (Leveling & Protection) | ||H4|| Step 4: Cyanide Copper Strike (Mandatory for Iron) Note: Acid Copper cannot be plated directly onto Iron (it will create loose "immersion copper"). |
| Phase III: Color Finishes (QLQ Specialty Processes) | Iron/SS buttons are often fashion items, requiring specific trends. |
| Phase IV: Post-Treatment | ||H4|| Step 7: Passivation Chemicals: [QLQ Product] Anti-Tarnish Dip . |