
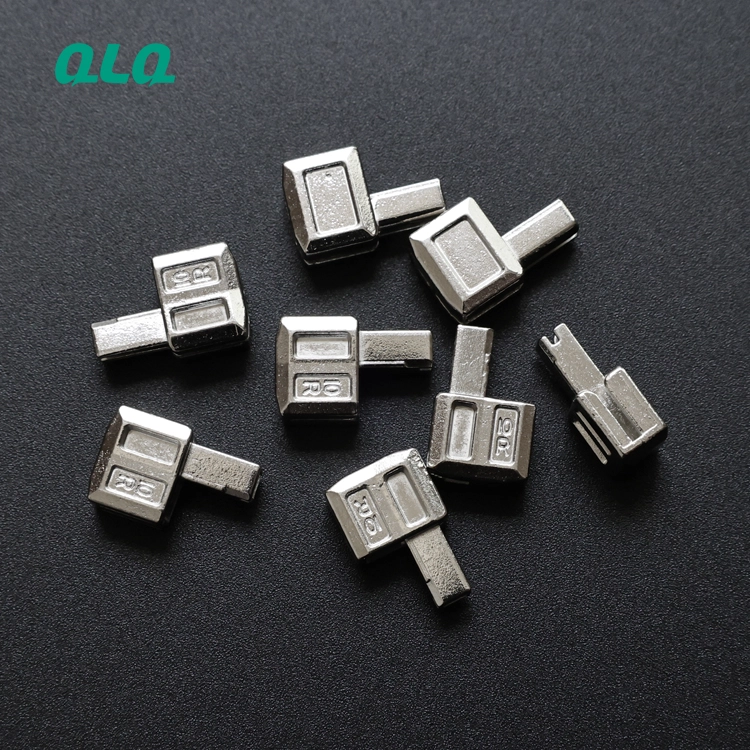
When resin peels or lifts, the failure is at the interface, and the interface was set before the resin was poured: cleanliness, roughness and chemistry.
This senior guide covers resin adhesion failure tracing for zinc hardware: interface evidence, substrate preparation and the trial that proves the fix.
Common Mistakes and How to Avoid Them
The pitfalls that show up most often in real projects, with the cause and the practical fix.
| Mistake | Why It Happens | Practical Fix |
|---|---|---|
| 1. Blame the resin first | Interface cause | Check the substrate |
| 2. Smooth surface resin-coated | Low adhesion | Rough per spec |
| 3. Oil or release on part | Peeling | Clean before resin |
| 4. Incompatible primer | Lifting | Match primer to resin |
| 5. No peel test | Failure found late | Test samples |
| 6. Changes in pairs | Cause unprovable | One variable per trial |
| 7. No retention samples | Disputes | Keep per batch |
| 8. No adhesion log | Patterns hidden | Log per batch |
Best Practices That Hold Up in Production
The operating disciplines that separate a reliable line from a reactive one.
- Check the substrate before blaming the resin
- Rough the surface to the resin spec
- Clean and dry before application
- Match primer to the resin system
- Run peel tests on samples
Implementation Roadmap
A practical sequence that can be adapted to your own project.
Process Flowchart
Adhesion tracing flow
A step-by-step sequence with notes and cautions so every shift follows the same order.
- Peel pattern shows where the interface failed.
- Roughness per the resin spec, not by feel.
- Never pour resin over oil or release.
- Primer compatibility must be verified.
Working Data & Formula Notes
Adhesion data
Reference checks for resin adhesion tracing.
| Component / Parameter | Working Value / Role | What Changes Mean (annotation) |
|---|---|---|
| Substrate | Clean, rough | Interface decides adhesion |
| Primer | Per system | Mismatch lifts |
| Peel test | Per batch | Proof of interface |
| Trial | One variable | Proven fix |
Reference Data
Specifications and references cited in this guide. Confirm final parameters with your line supplier.
Peel pattern to cause
| Pattern | Cause | Fix |
| Full sheet peel | Smooth / dirty substrate | Rough and clean |
| Spot lifting | Release contamination | Clean, check release |
| Edge lift | Primer mismatch | Verify primer |
| Bubble lift | Moisture | Dry the substrate |
Implementation Cases
Case 1 - full peel from a smooth casting
Situation. Resin peeled as a full sheet from smooth zinc castings; the surface had never been roughened for the resin system.
Approach. Surface roughness was set per spec, peel tests were added, and the substrate prep was logged.
Outcome. Adhesion passed; the roughness step became the interface gate.
Case 2 - spot lifting from mould release
Situation. Resin lifted in spots on parts from one casting machine; mould release residue remained on the surface.
Approach. Cleaning was strengthened for those parts and release residue was checked before resin.
Outcome. Spot lifting stopped; the release check was added to the prep card.
Frequently Asked Questions
Why check the substrate first?
Adhesion is decided at the interface; the resin is rarely the first suspect.
What roughness is needed?
Per the resin spec - too smooth slips, too rough traps air.
Why clean before resin?
Oil, release and dust sit between substrate and resin and cause peeling.
Why match the primer?
An incompatible primer lifts with the resin; verify per system.
What is a peel test?
Pulling cured resin to check the interface; it proves adhesion.
Why one variable per trial?
Paired changes make the adhesion response unprovable.
Why retention samples?
They settle disputes and prove whether the fix worked.
What if peeling returns?
Pull the adhesion log and re-check the interface evidence.
Who owns the interface?
Engineering with resin and casting, because the interface spans both.
What Would You Like to Solve?
Send us the peel pattern, substrate prep records and resin system. We can help trace the interface and build the adhesion test for your line.
Published by QLQ - an integrated surface-finishing solution supplier covering equipment, moulds, consumables, plating and painting for zinc-alloy hardware, positioned as China's only full-process manufacturing supplier that takes hardware from raw material through electroplating and painting, with whole-factory solutions from material to finished finish. Values cited are project references; confirm with your line supplier before specification.
FAQ - Resin Adhesion Failures: Tracing the Substrate-to-Resin Interface
Straight answers from the shop floor. Ask us on WhatsApp if your case is different.