
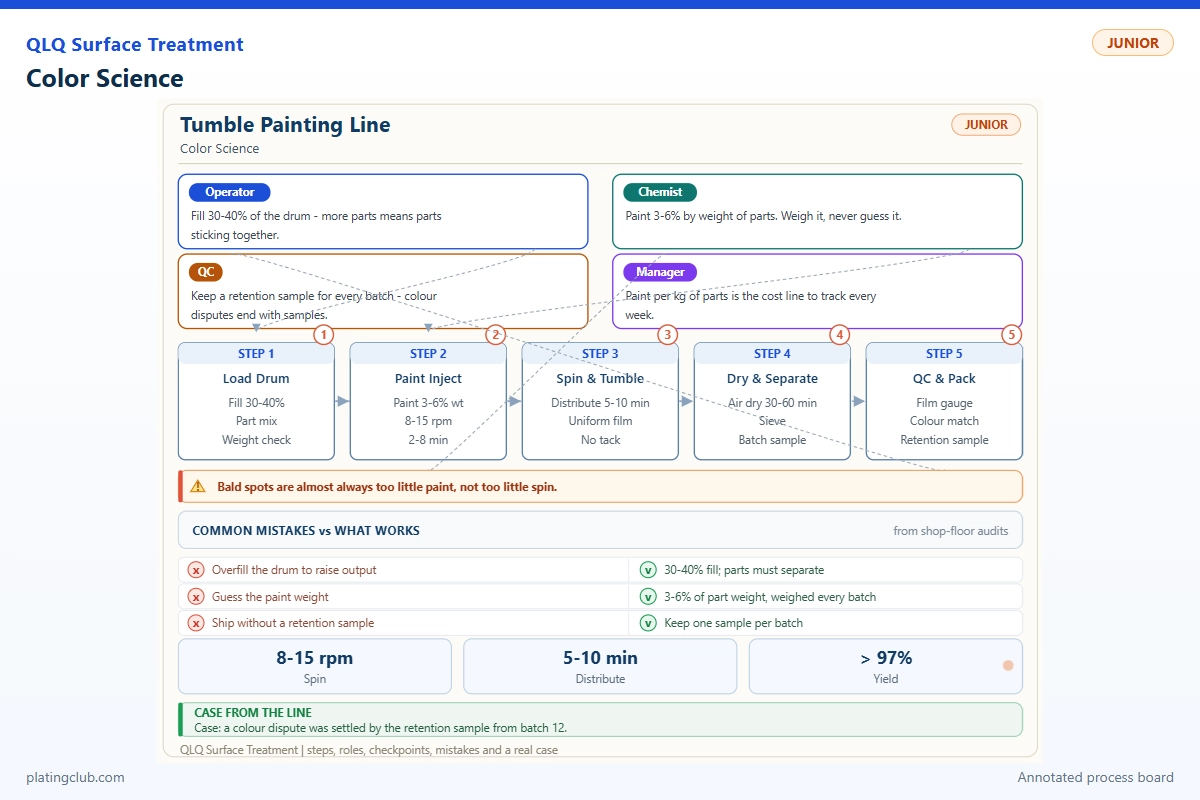
🎨 The Paint Master’s Manual: Mixing & Troubleshooting
Target: Zinc Alloy (Complex Shapes).
Standard: 2K Polyurethane (PU) or Epoxy Enamel.
Goal: Zero "Orange Peel," Class 0 Adhesion, Exact Color Match.
Phase I: The Science of Paint Mixing (The "Kitchen")
Rule #1: Never mix by "feeling." Use a scale.
Rule #2: Viscosity is King.
1. Standard 2K Mixing Ratio (Example Data)
For a high-gloss PU Enamel:
[QLQ Product] Paint Base (Resin): 100 Parts (by weight).
[Purchase Locally] Hardener (Curing Agent): 50 Parts (or as per QLQ spec).
[Purchase Locally] Thinner: 40 – 60 Parts (Variable based on viscosity).
2. The Viscosity Standard (Ford Cup #4)
You cannot eyeball this. You must use a stopwatch.
Matte / Rubber Paint: Target 20 – 24 seconds. (Thicker, needs body).
Gloss / Metallic Paint: Target 16 – 18 seconds. (Thinner, needs flow).
Tumble Spraying: Target 14 – 16 seconds. (Must be thin to penetrate holes inside the drum).
3. Pot Life (The "Ticking Clock")
Once Hardener is added, the chemical reaction starts.
Standard Pot Life: 4 Hours at 25°C.
Master's Tip: Never mix more than you can spray in 2 hours. Old paint gets thick $\rightarrow$ causes Orange Peel.
4. Filtration
Action: Every drop of mixed paint must pass through a 300 Mesh (Paper Filter) before going into the gun cup.
Reason: Dried skin or dust in the paint = Clogged Gun = Spitting = Rework.
Phase II: Common Production Defects & Solutions (The "Clinic")
Here is the data-driven troubleshooting table for the Spray Room.
Defect 1: Orange Peel (Textured surface like a fruit skin)
Diagnosis: The paint dried before it could "flow out" flat.
Root Cause A: Viscosity too High. (e.g., > 25 sec).
Fix: Add 5-10% more Thinner. Aim for 18 sec.
Root Cause B: Thinner Evaporating too Fast. (Using "Summer Thinner" in Winter, or vice versa).
Fix: Use [QLQ Product] Retarder Solvent (Slow drying agent) to keep the paint wet longer (add 3-5%).
Root Cause C: Gun Distance. Spraying too far (> 25cm), paint dries in the air.
Fix: Keep gun 15-20cm from the zipper pull.
Defect 2: Sagging / Runs (Curtains)
Diagnosis: Gravity pulling wet paint down.
Root Cause A: Viscosity too Low. (e.g., < 14 sec).
Fix: Add more Base Resin.
Root Cause B: Heavy Hand. Application is too thick in one pass.
Fix: Apply a "Mist Coat" (Flash off 2 mins) $\rightarrow$ Then a "Full Coat."
Root Cause C: Flash-off Time. Putting parts in the oven immediately after spraying.
Fix: Let parts sit for 5-10 mins (Leveling time) before entering the oven.
Defect 3: Pinholes / Solvent Pop (Tiny bubbles/craters)
Diagnosis: Gas trapped under the skin of the paint. Common in Zinc Alloy.
Root Cause A: Die-Cast Outgassing. Zinc is porous. Heat expands trapped air, which bursts through the paint.
Fix: Pre-Bake the raw zinc parts at 150°C for 30 mins before painting to drive out the gas.
Root Cause B: Oven Ramp-up. Heating too fast (Room Temp $\rightarrow$ 150°C instantly). Solvent boils.
Fix: Use a "Step Cure": 60°C (10 mins) $\rightarrow$ 120°C (20 mins).
Defect 4: Adhesion Failure (Tape Test Fail)
Diagnosis: Paint peels off the metal.
Root Cause A: No Primer/Pre-treatment.
Fix: Dip in [QLQ Product] Adhesion Promoter before spraying.
Root Cause B: Moisture. Condensation on the metal (common in humid mornings).
Fix: Ensure parts are warm (40°C) before painting.
Root Cause C: Under-Curing. Oven temp was 120°C, but hardener needs 150°C.
Fix: Calibrate the oven with a thermometer probe, not just the digital display.
Defect 5: Blushing (White Haze/Fog)
Diagnosis: High humidity causes moisture to trap in the paint.
Environment: Humidity > 85%.
Master's Fix: Add [QLQ Product] Anti-Blush Agent (Slow solvent) @ 5%. Raise the spray room temperature.
Phase III: The Master's Seasonality Adjustments (Real Experience)
A paint formula that works in July will FAIL in December. You must adjust the Thinner.
| Season | Temp | Thinner Selection | Why? |
| Summer | > 30°C | Slow Dry Thinner | Prevents "Dry Spray" and dust. Allows leveling. |
| Winter | < 15°C | Fast Dry Thinner | Prevents "Sagging." Helps paint set in cold air. |
| Rainy Season | High Humidity | Extra Slow + Retarder | Prevents "Blushing" (Moisture whitening). |
Phase IV: Daily Gun Maintenance (SOP)
End of Shift Ritual:
Back-Flush: Block the nozzle with a rag, pull the trigger. Air flows back into the cup, clearing the passage.
Needle Cleaning: Remove the needle. Wipe it with solvent. Do not use metal pliers to pull the tip (scratches = distorted spray pattern).
Air Cap: Soak in solvent. Use a wooden toothpick to clean the holes. Never use wire (it enlarges the holes and ruins atomization).
FAQ - Color Science
Straight answers from the shop floor. Ask us on WhatsApp if your case is different.