
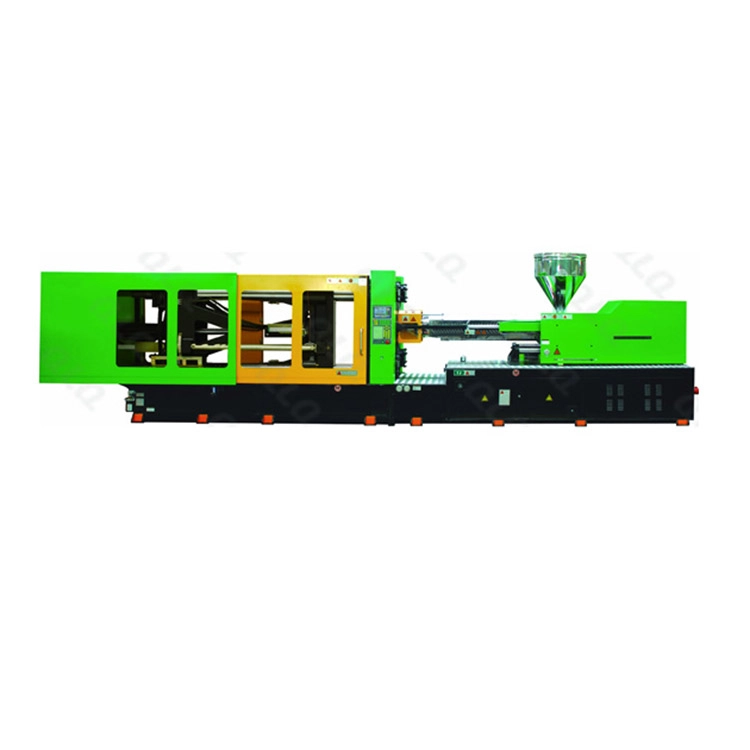
Edges are where resin work passes or fails: a thin edge fails in use, and a drip edge fails the look. Both are controlled by coverage windows and the drain point.
This intermediate guide covers edge cover and drip control in resin application for zinc hardware.
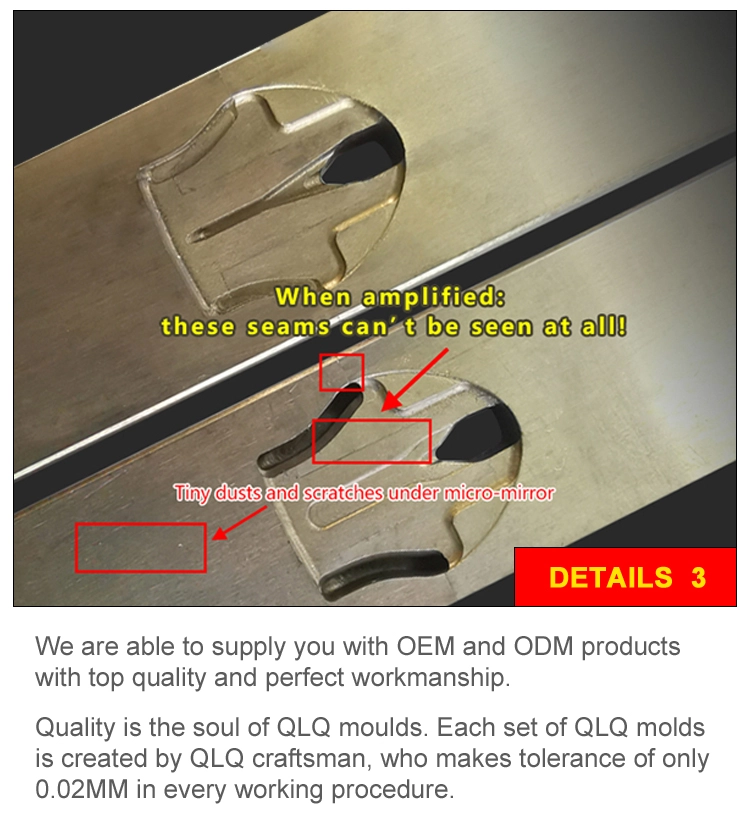
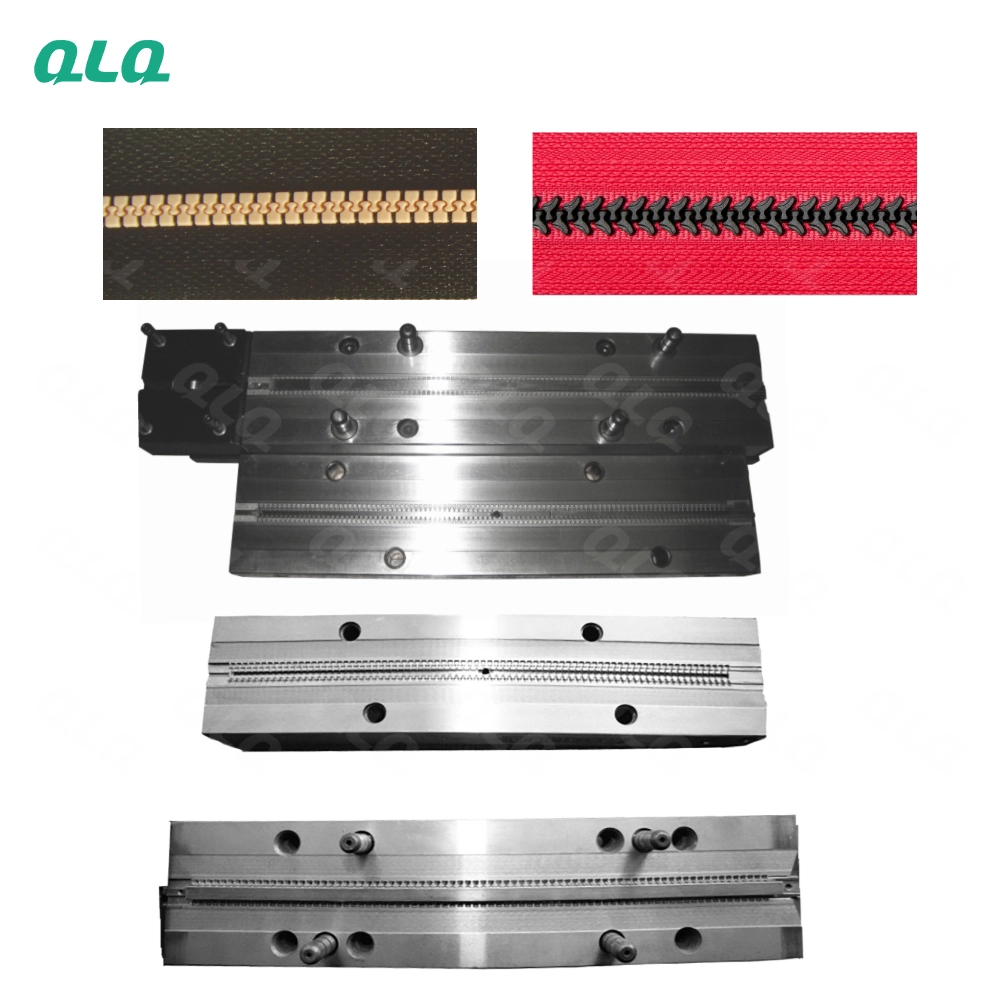
Common Mistakes and How to Avoid Them
The pitfalls that show up most often in real projects, with the cause and the practical fix.
| Mistake | Why It Happens | Practical Fix |
|---|---|---|
| 1. Edges skipped | Thin edge fails | Check edge cover |
| 2. Drips cured | Look and fit fail | Drain before cure |
| 3. Coverage window guessed | Variation | Set per part |
| 4. Drain point wrong | Resin pools | Orient to drain |
| 5. Excess resin recycled | Contamination | Drain to waste, not reuse |
| 6. No edge check | Faults hide | Inspect edges |
| 7. Viscosity changed | Edge flow changes | Hold the window |
| 8. No part card | Repeat variation | Part card per geometry |
Best Practices That Hold Up in Production
The operating disciplines that separate a reliable line from a reactive one.
- Set a coverage window per part
- Drain every part before cure
- Orient the drain point down
- Verify edges by inspection
- Hold resin viscosity in window
Implementation Roadmap
A practical sequence that can be adapted to your own project.
Process Flowchart
Edge and drip control flow
A step-by-step sequence with notes and cautions so every shift follows the same order.
- Viscosity controls edge flow.
- The drain point follows geometry.
- Never reuse drained excess into the batch.
- Check edges before the resin gels.
Working Data & Formula Notes
Edge and drip data
Reference values for resin edge control.
| Component / Parameter | Working Value / Role | What Changes Mean (annotation) |
|---|---|---|
| Edge cover | Full, no skips | Thin edges fail in use |
| Drain | Before cure | Drips cure as defects |
| Viscosity | Per product window | Flow follows viscosity |
| Verify | Per part | Edge check |
Reference Data
Specifications and references cited in this guide. Confirm final parameters with your line supplier.
Edge check card
| Check | Pass | Fail action |
| Edge cover | Full film | Re-apply before gel |
| Drips | None | Remove before cure |
| Pools | None | Drain and re-check |
| Thin spots | None | Touch up |
Implementation Cases
Case 1 - edge skips that failed in use
Situation. Resin-dipped frames failed wear at the edges; the edge film was thin where the part was withdrawn fast.
Approach. Withdrawal speed was slowed, the edge was checked per part, and a coverage window was set.
Outcome. Edge cover passed; the edge check became the batch gate.
Case 2 - cured drips from a missed drain
Situation. Poured parts cured with drips at the bottom; the drain step was skipped on a busy shift.
Approach. Drain was made a signed step on the method card, and parts were oriented with the drain point down.
Outcome. Drips stopped; the signed card made the step visible.
Frequently Asked Questions
Why do edges fail?
Thin edge film wears first; edges are the highest-risk zone of a resin part.
How do I stop drips?
Drain before cure and orient the drain point down.
What is a coverage window?
The acceptable film range per part, checked by inspection.
Why does viscosity matter?
Resin flows over edges according to viscosity; out of window, edges skip or drip.
Can I reuse drained excess?
No - it carries air and contamination; drain to waste.
When do I check edges?
Before the resin gels; after gel, rework means stripping.
Why a part card?
It sets the window, drain point and checks per geometry.
What if edges are thin?
Re-apply before gel, or adjust withdrawal speed and viscosity.
How do I verify?
Visual edge inspection per part, plus cut samples for stubborn faults.
What Would You Like to Solve?
Tell us your part geometries and edge failures. We can help set the coverage window, drain point and edge check for your resin line.
Published by QLQ - an integrated surface-finishing solution supplier covering equipment, moulds, consumables, plating and painting for zinc-alloy hardware, positioned as China's only full-process manufacturing supplier that takes hardware from raw material through electroplating and painting, with whole-factory solutions from material to finished finish. Values cited are project references; confirm with your line supplier before specification.