
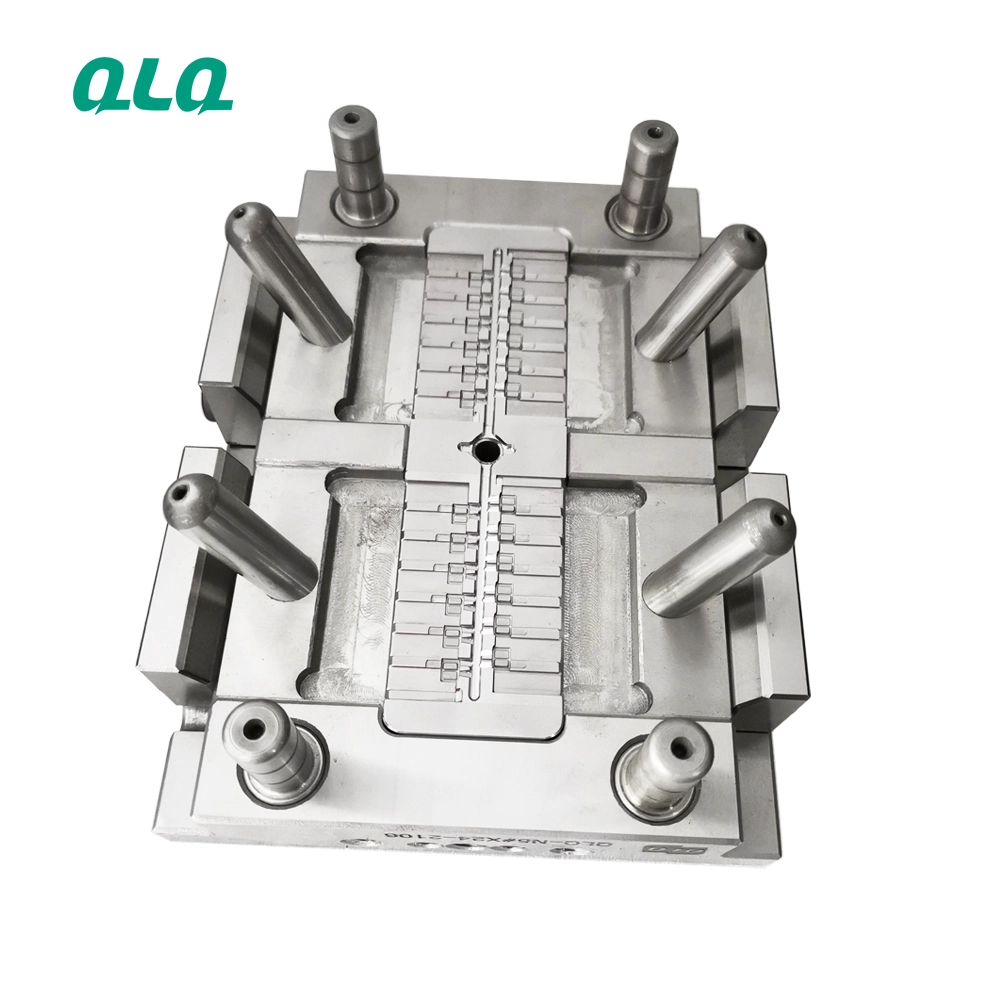
A mould crack or a soft cavity is a heat-treatment story, not a bad-luck story. Senior technicians read the evidence: where it failed, how hard it is and how it was made.
This guide is the failure analysis method for zinc die-casting moulds.
Common Mistakes and How to Avoid Them
The pitfalls that show up most often in real projects, with the cause and the practical fix.
| Mistake | Why It Happens | Practical Fix |
|---|---|---|
| 1. Welding without diagnosis | Soft spots return | Diagnose first |
| 2. Hardness ignored | Erosion hidden | Spot check |
| 3. Crack location ignored | Cause repeats | Read the pattern |
| 4. Heat control loose | Distortion | Qualified toolroom |
| 5. History lost | Same fix repeats | Mould card |
| 6. One-off fixes | Fault returns | Controlled proof |
| 7. No first-article gate | Bad work runs | Gate after repair |
| 8. Budget over evidence | Cheap fix, short life | Decide on data |
Best Practices That Hold Up in Production
The operating disciplines that separate a reliable line from a reactive one.
- Diagnose before repairing
- Spot-check hardness
- Read the crack pattern
- Qualified toolroom only
- Gate every repair
Implementation Roadmap
A practical sequence that can be adapted to your own project.
Process Flowchart
Failure analysis flow
A step-by-step sequence with notes and cautions so every shift follows the same order.
- Hardness is the failure witness.
- The crack pattern reveals the stress.
- Heat-treatment work is specialist.
- Hardness testing tools need calibration.
Working Data & Formula Notes
Working data - failure evidence
Reference values for zinc die-casting moulds.
| Component / Parameter | Working Value / Role | What Changes Mean (annotation) |
|---|---|---|
| Cavity hardness | HRC 46-52 | Below = soft spot risk. |
| Gate thickness | 0.8-1.2 mm | Erosion under stress. |
| Shot count | Per mould | Fatigue trigger. |
| Re-nitride | Per spec | Restores surface hardness. |
Reference Data
Specifications and references cited in this guide. Confirm final parameters with your line supplier.
Failure record
| Location | Hardness | History |
| Diagnosis | Decision | Work done |
| First article | Signed | Next check |
Implementation Cases
Case 1 - a weld that failed twice
Situation. The same cavity was welded twice and failed quickly.
Approach. Hardness showed soft spots from uncontrolled heat; the insert was re-nitrided.
Outcome. The repair lasted, and hardness became the repair gate.
Case 2 - a crack that repeated
Situation. A crack returned in the same corner after each repair.
Approach. The pattern pointed at a sharp corner and thermal stress; the design was eased.
Outcome. The crack stopped returning.
Frequently Asked Questions
Why diagnose before welding?
A weld on an undiagnosed fault just moves the failure.
Why check hardness?
Soft spots erode fast and print into parts.
What does the crack pattern tell?
Location and shape reveal stress and heat sources.
Why re-nitride?
It restores the surface hardness the cavity needs.
Why qualified toolroom?
Heat control is the difference between a repair and a repeat.
What is the repair gate?
First articles after the work before production.
Why keep history?
The mould card prevents the same fix repeating.
When do I replace?
When the cavity is past re-nitriding and dimensional repair.
What Would You Like to Solve?
Read the history, test the hardness, diagnose the pattern and gate the work. Mould failures settle with evidence, not guesses.
Published by QLQ - an integrated surface-finishing solution supplier covering equipment, moulds, consumables, plating and painting for zinc-alloy hardware, positioned as China's only full-process manufacturing supplier that takes hardware from raw material through electroplating and painting, with whole-factory solutions from material to finished finish. Values cited are project references; confirm with your line supplier before specification.