

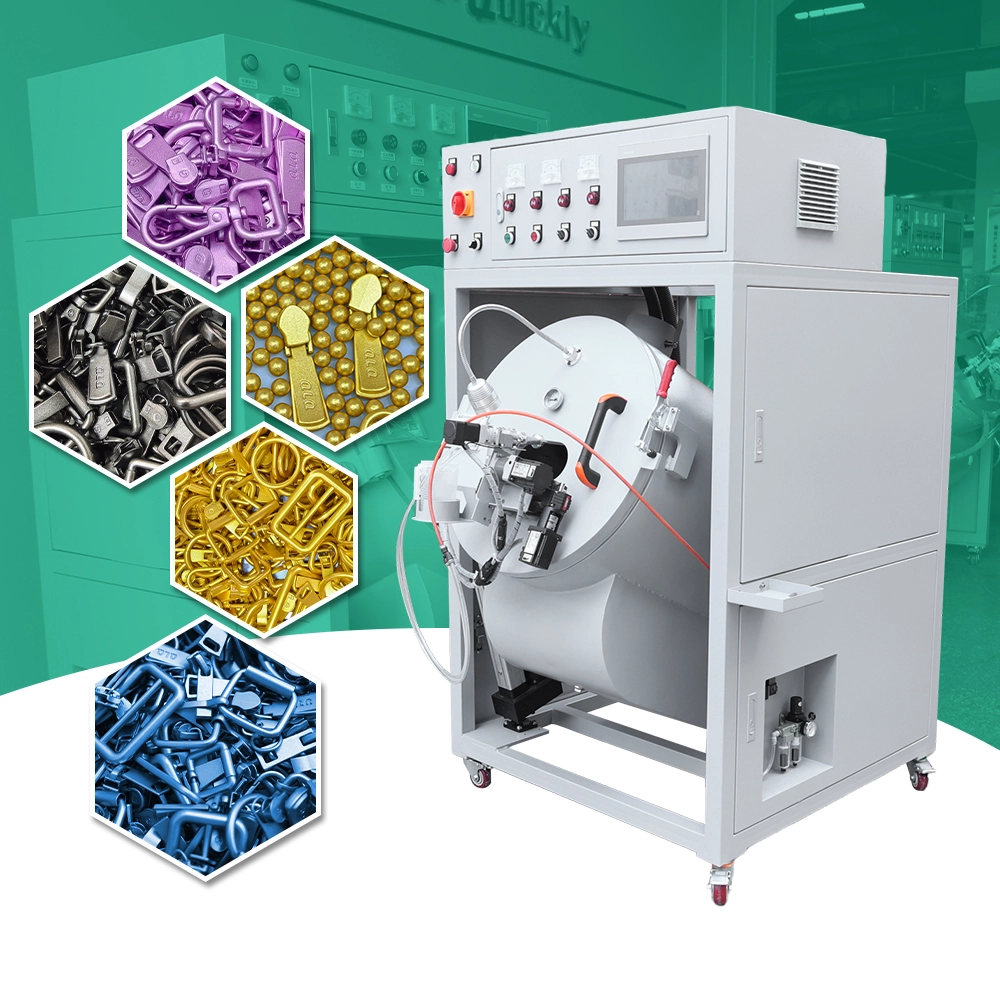
The colour of one tumble batch can follow the next if the drum is not cleaned properly. Paint residue on the drum wall, media dust and clinging parts all travel from batch to batch and show up as specks or off-shade in the next colour.
This junior guide covers batch separation in tumble painting: when to clean the drum, how to clean it, the purge batch rule, and the visual gate that stops contamination before the next colour starts.

Common Mistakes and How to Avoid Them
The pitfalls that show up most often in real projects, with the cause and the practical fix.
| Mistake | Why It Happens | Practical Fix |
|---|---|---|
| 1. Skipping drum clean-out | Previous colour appears in the next batch | Clean at every colour change |
| 2. Only rinsing the wall | Cured specks still break free | Scrape, wipe and check media |
| 3. Reusing contaminated media | Specks travel between colours | Inspect and replace media |
| 4. No purge batch | First production batch finds the fault | Run a small purge batch |
| 5. Dark to light change without full clean | Tint ruins light colours | Full clean for light colours |
| 6. Clinging parts left in drum | Old colour mixed into new batch | Empty and check the drum |
| 7. No visual gate | Contamination reaches inspection | Check purge parts before production |
| 8. Cleaning with wrong solvent | Drum or media damaged | Use approved cleaner |
Best Practices That Hold Up in Production
The operating disciplines that separate a reliable line from a reactive one.
- Clean the drum completely at every colour change
- Inspect media and separate it by colour family
- Run a purge batch before any light colour
- Check purge parts under standard light
- Plan colour order from light to dark
Implementation Roadmap
A practical sequence that can be adapted to your own project.
Process Flowchart
Colour change flow
A step-by-step sequence with notes and cautions so every shift follows the same order.
- Light colours need the strictest clean-out; plan colour order light to dark.
- The purge batch is the cheapest insurance in the department.
- Never start a light colour after dark without a full clean and purge.
- Never use an unapproved solvent on the drum or media.
Working Data & Formula Notes
Clean-out reference
Working rules for batch separation; confirm cleaner and media rules with your supplier.
| Component / Parameter | Working Value / Role | What Changes Mean (annotation) |
|---|---|---|
| Clean-out | Every colour change | Non-negotiable for light colours |
| Purge batch | 2-5% of production load | Small enough to be cheap insurance |
| Visual check | Standard light | Catches specks before production |
| Media life | Per supplier and usage | Replace worn or contaminated media |
| Colour order | Light to dark | Reduces clean-out frequency |
Reference Data
Specifications and references cited in this guide. Confirm final parameters with your line supplier.
Colour change guide
| Change type | Clean level | Purge needed |
| Light to light | Wall wipe and media check | Yes, short purge |
| Dark to light | Full clean and media change | Yes, full purge |
| Same colour family | Light scrape | No purge if no specks |
| Metallic or textured | Full clean | Yes, check effect |
| Clear coat | Strictest clean | Yes, dedicated media |
Implementation Cases
Case 1 - black specks in a silver batch
Situation. A tumble drum moved from a black batch to silver without a full clean-out. The first silver batch showed black specks and was rejected at inspection.
Approach. The drum was emptied, scraped, wiped and purged with a small silver sacrifice load before the production batch.
Outcome. Specks disappeared, and the plant made clean-out mandatory for every colour change.
Case 2 - the clinging slider that crossed colours
Situation. A few sliders from a dark batch stayed in the drum baffle and fell into the next light batch. The colour mismatch was traced back to the leftover parts.
Approach. The empty-drum check became part of the routine: rotate briefly and inspect after emptying, before cleaning.
Outcome. Cross-colour parts stopped appearing and batch separation improved.
Frequently Asked Questions
When must I clean the drum?
At every colour change, especially before light colours.
Why run a purge batch?
It catches residue at the cost of a few parts instead of a full batch.
Can I reuse media between colours?
Only if it is clean and free of old colour; change it for light colours.
How do I check the purge?
Inspect purge parts under standard light for specks and tint.
What order should colours run?
Light to dark to reduce the number of full clean-outs.
What about textured paints?
They need full cleaning because texture hides residue that later breaks free.
Who records the clean-out?
The junior logs it on the batch card so contamination can be traced.
What if I find a speck after purge?
Stop and clean again; one speck means the drum is not ready.
What Would You Like to Solve?
If cross-colour contamination is costing you batches, send us your colour schedule and drum type. We can help set clean-out levels, purge sizes and the visual gate for each colour family.
Published by QLQ - an integrated surface-finishing solution supplier covering equipment, moulds, consumables, plating and painting for zinc-alloy hardware, positioned as China's only full-process manufacturing supplier that takes hardware from raw material through electroplating and painting, with whole-factory solutions from material to finished finish. Values cited are project references; confirm with your line supplier before specification.