
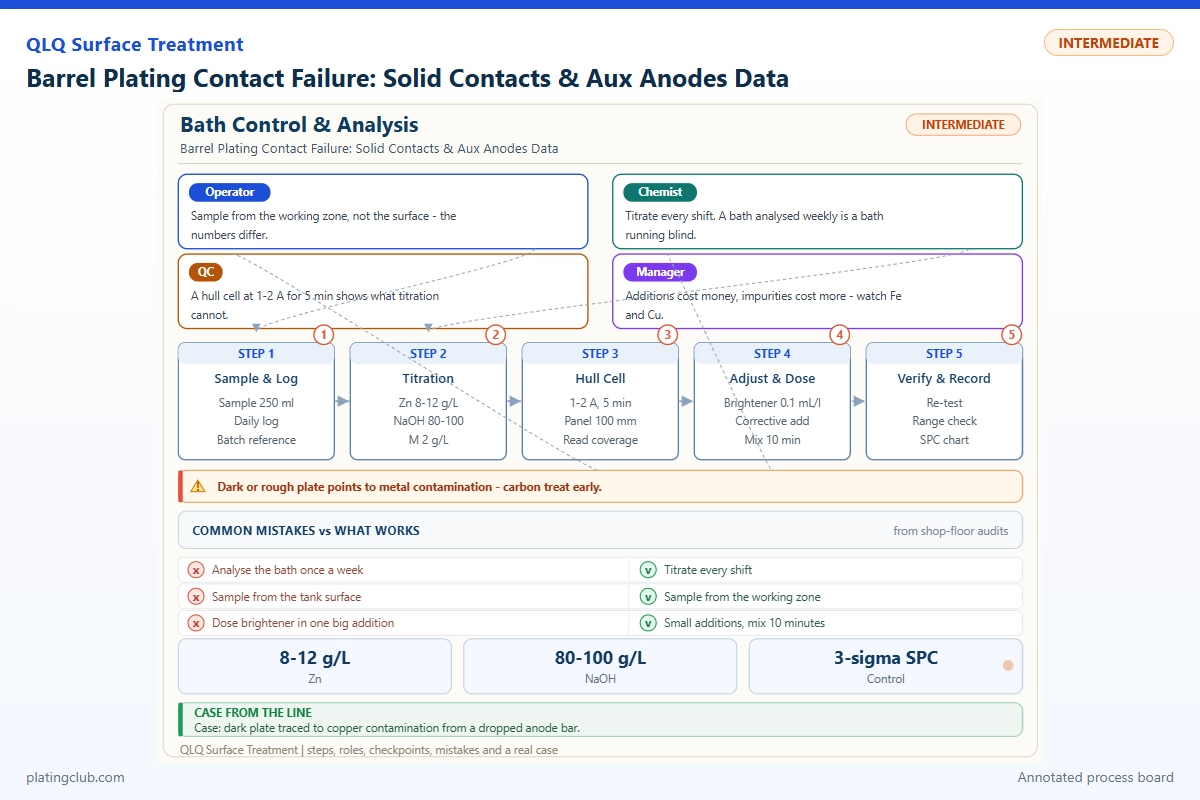
Barrel plating / Senior technician reference
Barrel Plating Contact Failure: Solid Contacts & Aux Anodes Data
A barrel can draw its scheduled current while individual parts receive an uneven share of the charge. Before adding brightener or extending the cycle, separate three mechanisms: resistance in the cathode feed, intermittent contact within the moving load, and unequal ionic current distribution around the barrel.
This guide develops a controlled nickel-stage investigation for small bag-hardware parts. It distinguishes published chemistry ranges, proposed shop control limits, calculated benchmarks, and measurements that still require a production trial.
Define the Process Before Diagnosing It
“Solid contacts” means engineered rigid cathode contacts, such as contact buttons or rods, not electrical connector terminals. Their suitability depends on barrel design, part shape, wear allowance, and electrical rating. Do not replace flexible danglers with an improvised metal bar.
The QLQ knowledge base associates poor barrel conductivity with local missing deposits and recommends cleaning conductive pins. It also identifies overloading, excessive rotation, and restricted solution movement as relevant controls. These are diagnostic starting points, not evidence that a particular retrofit has succeeded.
For zinc-alloy hardware, investigate nickel only after the approved preparation and compatible undercoat. This Watts-bath reference is not a direct-on-zinc plating recipe. Preserve the validated upstream sequence, rinsing, and transfer times; otherwise adhesion failures can masquerade as electrical defects.
Safety gate: isolate and lock out power and moving equipment before cleaning, installing, or mechanically inspecting contacts. Only qualified personnel should perform energized measurements, using rated instruments, protected test points, and the plant's electrical procedure. Apply chemical SDS controls, extraction, and wastewater segregation.
Separate Contact Failure From Field Distribution
| Observed pattern | Working hypothesis | Discriminating check | First intervention |
|---|---|---|---|
| Thin or missed areas vary between otherwise identical parts | Unequal time connected to the cathodic load | Compare current trace, contact position, nesting, and load movement | Restore the approved contact and loading configuration |
| A repeatable group remains thin near one barrel end | Asymmetric anode geometry or solution access | Map thickness by barrel position after contact checks pass | Review external anode coverage and perforation blockage |
| Voltage rises at unchanged current and chemistry | Increased feed resistance or anode-side restriction | Localize voltage loss across accessible feed segments | Repair the identified joint; inspect anode bags separately |
| Blisters appear after handling or testing | Preparation or undercoat discontinuity | Section the coating and compare upstream process records | Correct preparation rather than increasing nickel charge |
Rigid contacts can improve the mechanical repeatability of cathode engagement, but cannot guarantee that every tumbling part receives equal current. Evaluate trapped parts, dead zones, scratching, and the contact's own plated surface. More contact area is not automatically better if it obstructs tumbling.
An auxiliary anode belongs to the positive circuit and changes the electric field; it does not repair an open negative connection. Start with an engineered external arrangement. Any internal arrangement requires the barrel manufacturer's explicit design approval, guarded clearance, and short-circuit protection. Keep positive hardware away from the swept load and cathode contacts.
Do not automatically put an auxiliary anode beside a burnt region. That may increase local current. Depending on the mapped geometry, relocation, shielding, or a cathodic thief may be more appropriate. Validate every field change with thickness measurements.
Working Data & Formula Notes
The following is a complete additive-free Watts nickel base bath, not a proprietary bright-nickel formulation. Published ranges come from the Nickel Institute Nickel Plating Handbook, chemistry chapter, Table 2. Typical values below are selected trial setpoints within those ranges.
| Component | Range | Typical | Function | Replenishment |
|---|---|---|---|---|
| Nickel sulfate, NiSO4·6H2O | 240–300 g/L | 270 g/L | Principal nickel source | Analyze nickel and chloride together; restore the salt balance after measured losses |
| Nickel chloride, NiCl2·6H2O | 30–90 g/L | 60 g/L | Conductivity and soluble-anode operation | Use chloride analysis; do not dose solely because voltage increases |
| Boric acid, H3BO3 | 30–45 g/L | 40 g/L | Supports pH control near the cathode | Analyze, dissolve by the approved procedure, and verify after mixing |
| Deionized water | Balance to working volume | Final calibrated tank level | Solvent and concentration control | Correct evaporation before interpreting concentration results |
Published general Watts conditions are 40–60°C and pH 3.5–4.5. The trial below selects 50°C and pH 4.0. These nickel-specific settings must not be conflated with QLQ's broader barrel-process temperature guidance. Commercial brightener and wetter systems require their supplier's complete recipe and dosing instructions; they are deliberately excluded here.
For a 1,000 L final-volume base bath, the selected values correspond to 270 kg sulfate hexahydrate, 60 kg chloride hexahydrate, and 40 kg boric acid. Dissolve and make up through an approved tank procedure. This arithmetic is not permission to dump dry salts into a running production load.
Keep bath replenishment separate from contact repair. With soluble nickel anodes, nickel enters through anodic dissolution as well as salt additions. Ampere-hours alone therefore do not justify replacing the entire calculated cathodic nickel consumption with sulfate.
Controlled Batch Comparison: What the Data Can Prove
No measured solid-contact/auxiliary-anode comparison was found in the reviewed QLQ notes. The table is an experimental recording plan with calculated charge benchmarks, not fabricated factory results. Measured film thickness, corrosion performance, and hardness remain pending until the trial is executed.
Use matched production parts from one prepared lot, identical exposed area and loading, and at least three independent batches per configuration. Randomize run order where practical. A separately wired witness coupon helps monitor bath deposition but cannot represent the intermittent electrical history of tumbling parts.
| Batch configuration | Test condition | Calculated mean nickel thickness | Measured thickness data | Salt-spray / hardness data |
|---|---|---|---|---|
| A: existing approved contacts; main anodes only | 100 dm² total part area; 100 A; 30 min; 50°C; pH 4.0; assumed efficiency 95% | 5.84 µm | Pending: minimum, median, maximum, and location map | Pending: specified coating-system corrosion test; section hardness if suitable |
| B: approved rigid contacts; main anodes unchanged | Same area, charge, bath, preparation, rotation, and load as A | 5.84 µm under the same efficiency assumption | Pending: quantify the low-thickness tail and contact marks | Pending: identical test method and acceptance criteria |
| C: rigid contacts plus engineered auxiliary anode | Same total 100 A; log auxiliary branch current; do not add uncounted current | 5.84 µm if part current and efficiency remain unchanged | Pending: map end-to-center distribution and edge buildup | Pending: identical test method and acceptance criteria |
Calculated nickel thickness: d = 0.205 × J × t × η. Here d is micrometers, J is average part current density in A/dm², t is minutes, and η is efficiency as a fraction. At 1.0 A/dm², 30 minutes, and 0.95 efficiency, d = 5.84 µm. The coefficient follows Faraday's law using divalent nickel and approximately 8.90 g/cm³ density.
This model assumes the logged current reaches the measured part area. Contact plating, exposed cathode hardware, and changing effective area can invalidate that assumption. Equal ampere-hours need not produce equal local thickness; that is precisely why the comparison must include minimum thickness.
Measure at defined locations on 30 randomly selected parts per batch using a calibrated, substrate-appropriate thickness method. Record instrument uncertainty and confirm suspect readings by cross-section. Do not claim hardness from an indentation dominated by the substrate. Corrosion testing must include the actual undercoat, topcoat, and seal, with a defined failure criterion; nickel thickness alone cannot establish salt-spray hours.
Trend Bands and Action Thresholds
These are proposed trial-control limits, not universal failure boundaries. Chemistry bands tighten the published base-bath envelope; mechanical and electrical bands are engineering starting points requiring plant approval. Enter the equipment and chemistry supplier's limits wherever they are stricter.
| Parameter | Normal trial band | Danger / hold threshold | Action and interpretation |
|---|---|---|---|
| Nickel-stage pH | 3.8–4.2 | Outside 3.5–4.5 | Hold; confirm a calibrated reading before approved adjustment |
| Bath temperature | 48–52°C | Outside 40–60°C | Hold; compare independent probe with controller |
| Total delivered charge | 48.5–51.5 Ah for the 50 Ah plan | Outside 45–55 Ah | Quarantine trial data; inspect interruptions and integration |
| Rigid-feed voltage drop | At or below qualified clean baseline × 1.2 | Above baseline × 1.5 at matched current | Localize resistance; this excludes normal moving-bed contact fluctuations |
| Rotation | 9–11 rpm around the selected 10 rpm | Outside the approved recipe; provisional review outside 8–15 rpm | Observe tumbling and damage; QLQ reference envelope is not a machine rating |
| Settled load volume | 35–45% around a selected 40% | Outside the approved recipe; provisional review outside 30–50% | Verify bed engagement and nesting before changing chemistry |
| Minimum part thickness | Above drawing minimum plus measurement guard band | Any confirmed value below drawing minimum | Hold the batch even when mean thickness passes |
Trend the same part family at comparable loading and bath condition. A baseline established on a light load cannot be used uncritically for a dense, nested load. Treat an alert as a diagnostic trigger, not proof of a single cause.
Engineer Notes
- Photograph the isolated contact assembly before stripping deposits. Record wear, exposed area, and position so the repair remains reproducible.
- Measure voltage loss across individual rigid-feed segments at matched current using the approved electrical procedure. Do not infer joint resistance from total cell voltage.
- Verify contact engagement through the full rotation with power isolated. Confirm clearance against the manufacturer's drawing, not an assumed generic distance.
- Keep the first comparison contact-only. Freeze chemistry, load, speed, preparation, anode position, and charge before testing auxiliary anodes.
- Map auxiliary branch current and total current separately. Check polarity, guarding, bag permeability, and secure mounting before energizing.
- Sample cosmetic faces and recesses separately. A thicker exposed edge does not demonstrate improved coverage inside a shielded feature.
- Require repeatability across independent batches before revising the work instruction. Archive unsuccessful trials as well as successful ones.
Shift Checks
| Shift stage | Check item | Frequency | Acceptance criterion | Record |
|---|---|---|---|---|
| Before shift | Isolated contacts, insulation, barrel, and anode mounting | Every start and after maintenance | Approved configuration; no loose, damaged, or bridging hardware | Checklist, photograph, maintenance ID |
| Before shift | Bath level, pH, temperature, instrument status | Before first batch | Qualified recipe and calibration valid | Bath sheet and instrument IDs |
| During shift | Part family, load volume, and rotation | Every batch | Matches trial recipe; normal tumbling without trapping | Batch traveler and speed reading |
| During shift | Current, voltage, charge, auxiliary branch | Log continuously; review every batch | Inside approved bands; no unexplained discontinuity | Trace filename and operator sign-off |
| During shift | Defined-location coating inspection | Every trial batch; production control plan afterward | Minimum thickness and appearance satisfy the drawing | Sample IDs, results, disposition |
| After shift | Isolated wear inspection and drift review | Every shift end | No unresolved alarm or unapproved configuration change | Handover, corrective action, next check |
Two Troubleshooting Scenarios to Validate
Scenario one: randomly thin slider components. Use the contact-only comparison when the bath control sample is acceptable but individual production parts vary widely. First check pin buildup, bed engagement, and nesting. Accept the intervention only if the low-thickness tail improves repeatedly without new scratches. This is a proposed investigation, not a reported customer outcome.
Scenario two: repeatable end-zone underplating. After stable feed and load movement are demonstrated, compare the original geometry with an approved auxiliary-anode arrangement. Hold total charge constant and measure positions independently. Reject a setup that improves one end while burning another. Actual before-and-after data remain to be collected.
Technician Questions to Ask AI
These are suggested diagnostic prompts, not quotations from customer correspondence.
“The rectifier current is stable, but some parts are thin. How do I prove it is contact failure?”
Compare repeat batches after restoring the approved contacts while holding other inputs fixed. Review bed movement and thickness distribution, not just the mean. Stable total current does not demonstrate equal current sharing between parts.
“Can I add an auxiliary anode instead of replacing worn contacts?”
No. It cannot restore a broken cathode path. Repair and qualify contacts first; then investigate field distribution if a repeatable spatial thickness defect remains. Any anode installation needs approved mechanical and electrical safeguards.
“Thickness improved. Can I promise better salt-spray life?”
Not without testing the complete coating system against the agreed method and failure criterion. Record preparation, undercoat, nickel distribution, topcoat, and seal. A calculated nickel thickness or a passing average does not establish corrosion life.
What Would You Like to Solve?
Send the part drawing, coating stack, barrel model, approved loading recipe, current trace, contact photographs, and location-based thickness results to [email protected]. Identify whether the question concerns intermittent contact, geometric distribution, or coating qualification. For coordinated equipment, chemistry, and support, see turnkey surface-treatment line engineering.
Knowledge-base references: 02-Product Knowledge / IMA Company Knowledge Extract / 019: Barrel Plating supplies the rotation, loading, and contact-cleaning guidance; 02-Product Knowledge / 07-Surface Treatment / Rack and Barrel Plating covers load movement; 02-Product Knowledge / 07-Surface Treatment / Plating Defect Analysis supports the diagnostic categories. These are English labels for the reviewed local notes. No measured retrofit outcomes were available.