
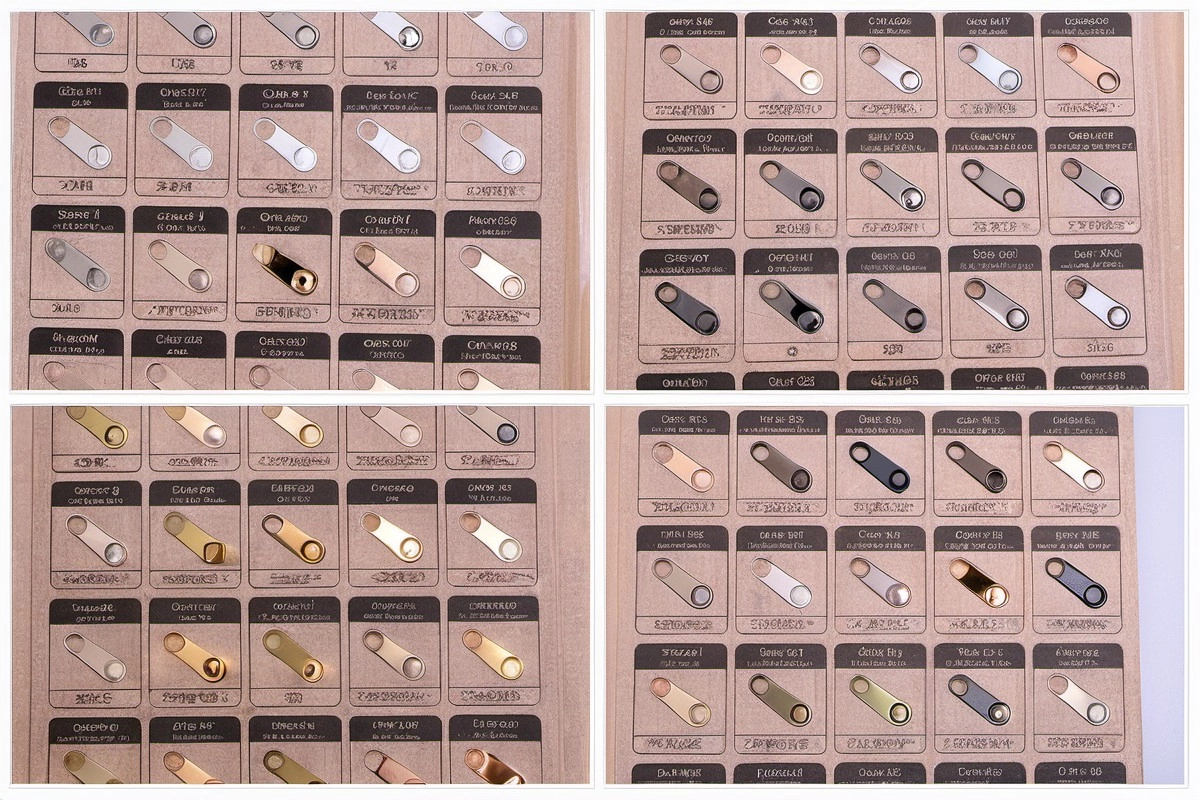
The plating bath gets the credit, but the barrel plating machine does the work. If speed and loading volume are wrong, even a well-formulated bath produces scratched, mottled or unplated parts. For small hardware, these two settings are the first place to look when colour, thickness or scratch rejects appear.
This article distils more than two decades of hands-on barrel plating into a practical parameter table, two real failure cases, and a six-step setup procedure that a technician can apply on Monday morning.
Common Mistakes and How to Avoid Them
The pitfalls that show up most often in real projects, with the cause and the practical fix.
| Mistake | Why It Happens | Practical Fix |
|---|---|---|
| 1. Assuming faster barrel speed is better | Higher speed increases impact, scratching and uneven current distribution | Start at the low end of the range and increase only after colour is stable |
| 2. Overfilling the barrel | Parts in the middle never surface; colour stratifies within one batch | Keep load at 50-65% of effective volume; split large batches |
| 3. Underfilling the barrel | Excessive part-to-part contact causes current concentration and burning | Add conductive media or reduce load category; weigh the load |
| 4. Setting current density by guess | Burns at the barrel mouth and thin recesses elsewhere | Calculate from effective plated area and tune with Hull cell feedback |
| 5. Changing three variables at once | When rejects appear, the cause is hidden | Change only speed, load or current at a time and record product-parameter cards |
| 6. Ignoring part geometry | Thin sheets, holed parts and heavy clips need different windows | Classify parts and assign a parameter card per geometry family |
| 7. Skipping weighing | Visual estimation drifts between operators and shifts | Weigh empty and loaded barrel; calculate actual fill percentage |
| 8. Starting current before immersion | Outer parts burn and inner parts skip | Immerse fully, start rotation, then ramp current over 10-15 s |
| 9. Using one speed for every plating type | Nickel, zinc and copper need different refresh and impact windows | Build a table per plating family and post it at the machine |
| 10. Neglecting maintenance | Worn bearings and deformed barrel holes change tumbling behaviour | Inspect barrels weekly and replace bearings on schedule |
Best Practices That Hold Up in Production
The operating disciplines that separate a reliable line from a reactive one.
- Weigh every load; visual estimation is not a control method
- Start rotation before current and ramp over 10-15 s
- Change only one parameter at a time during trials
- Record a product-parameter card for every geometry family
- Run Hull cells every shift to separate bath drift from barrel drift
- Inspect 5 parts per batch: edge, centre and recess
- Keep barrel speed below the impact threshold for thin parts
- Split oversized batches rather than overfilling
Implementation Roadmap
A practical sequence that can be adapted to your own project.
Working Data & Formula Notes
Working data - barrel plating parameter windows for small hardware
These are starting windows, not fixed recipes. The annotations explain what each drift looks like on the shop floor.
| Component / Parameter | Working Value / Role | What Changes Mean (annotation) |
|---|---|---|
| Small sliders / zipper pulls | 12-18 r/min, 50-60% load, 1.0-2.0 A/dm² | Excessive speed causes scratches and bright streaks; reduce speed before blaming the bath. |
| Medium dog clips / D-rings | 10-15 r/min, 55-65% load, 0.8-1.5 A/dm² | Overfilling gives uneven coating; split the batch if fill exceeds 65%. |
| Thin sheet parts | 8-12 r/min, 40-50% load, 0.5-1.0 A/dm² | High speed deforms parts and produces contact marks; underfill for protection. |
| Irregular / holed parts | 10-14 r/min, 45-55% load, 0.8-1.2 A/dm² | Uneven load causes local missed plating; weigh and distribute parts evenly. |
| Sampling / small batch | 6-10 r/min, 30-40% load, 0.5-0.8 A/dm² | Too little load concentrates current and burns; use media or reduce current. |
Reference Data
Specifications and references cited in this guide. Confirm final parameters with your line supplier.
Parameter checklist per setup
| Load measurement | Weigh empty and loaded barrel |
| Fill target | 40-65% of effective volume |
| Speed start point | 6-20 r/min based on part family |
| Current density | 0.5-2.0 A/dm² effective area |
| Ramp time | 10-15 s after immersion |
| Trial size | 1-2 barrels before full run |
Common defect signatures and first action
| Scratches / bright streaks | Reduce barrel speed |
| Mottled / stratified colour | Reduce load and split batches |
| Burned edges | Lower current density or increase load |
| Thin recesses | Lower current density, extend time |
Implementation Cases
Case 1 - raising barrel speed scratched zipper pulls
Situation. A small hardware finisher barrel-plating nickel at 10 r/min with stable colour. To raise throughput, the operator increased speed to 18 r/min and slightly raised current density.
Approach. Within days batches came back scratched and bright-streaked. The team reduced speed to 12-14 r/min, returned current to 1.2 A/dm², and cut the load per batch.
Outcome. Scratch rate fell from 18% to under 2% within a week. The reject had been mechanical, not chemical.
Case 2 - overfilled barrel caused mottled dog clips
Situation. A dog-clip finisher doing gun-black plating saw a few parts per batch turn dull and mottled. The electrician suspected unstable current.
Approach. The technician found the barrel loaded to over 80% of its height. Load was reduced to 60% and the batch was split into two runs.
Outcome. Per-barrel capacity dropped, but overall pass rate rose and rework fell because parts in the inner layer finally tumbled to the surface.
Frequently Asked Questions
Can barrel speed be adjusted freely with a VFD?
Within the machine’s rated range, yes. A practical range for small hardware is generally 6-20 r/min. Too low and torque is insufficient; too high and bearings wear quickly.
How is current density measured?
Read rectifier amperage and divide by the total effective plated area inside the barrel. This is effective plated area, not total surface area.
What is the most accurate way to judge loading volume?
Weighing is more accurate than eyeballing. Weigh the empty barrel, then weigh it loaded, and calculate the actual load percentage.
How long does barrel plating take?
Typical ranges: zinc 20-40 min, nickel 30-60 min, copper 15-30 min. Confirm with a Hull cell test and thickness measurement.
Should conductive beads be added to the barrel?
Some parts benefit from a small amount of conductive media, but too many beads reduce loading space and may cause impact damage. Test on a small batch first.
Why do parts come out scratched even though the bath is clean?
Scratches usually come from excessive barrel speed, damaged barrel holes, or a load that is too full. Check mechanics before blaming chemistry.
Why does the same bath produce different colours in two barrels?
Different fill percentages, speeds or effective areas change current distribution. Lock load and speed before adjusting chemistry.
Is it better to record parameters in a notebook or a system?
Either works as long as it is consistent. The same workpiece should use the same parameters across shifts; that discipline is the basis of batch stability.
What is the first check when rejects rise?
Weigh the load, verify speed and confirm current ramp. If those three are stable, move to Hull cell and bath analysis.
How do I set up a new part family?
Pick the closest geometry class from the parameter table, run a 1-2 barrel trial, inspect thickness and appearance, then lock a product-parameter card.
What Would You Like to Solve?
Barrel plating rejects almost always come from the interaction of speed, load and current, not the bath alone. If you are seeing scratches, mottling or missed plating, send your part type, barrel size, plating family and current settings, and we can help you lock the right starting window.
Published by QLQ - an integrated surface-finishing supplier covering equipment, moulds, consumables, plating and painting for zinc-alloy hardware, with whole-factory solutions from raw material to finished finish. Values cited are project references; confirm with your line supplier before specification.