
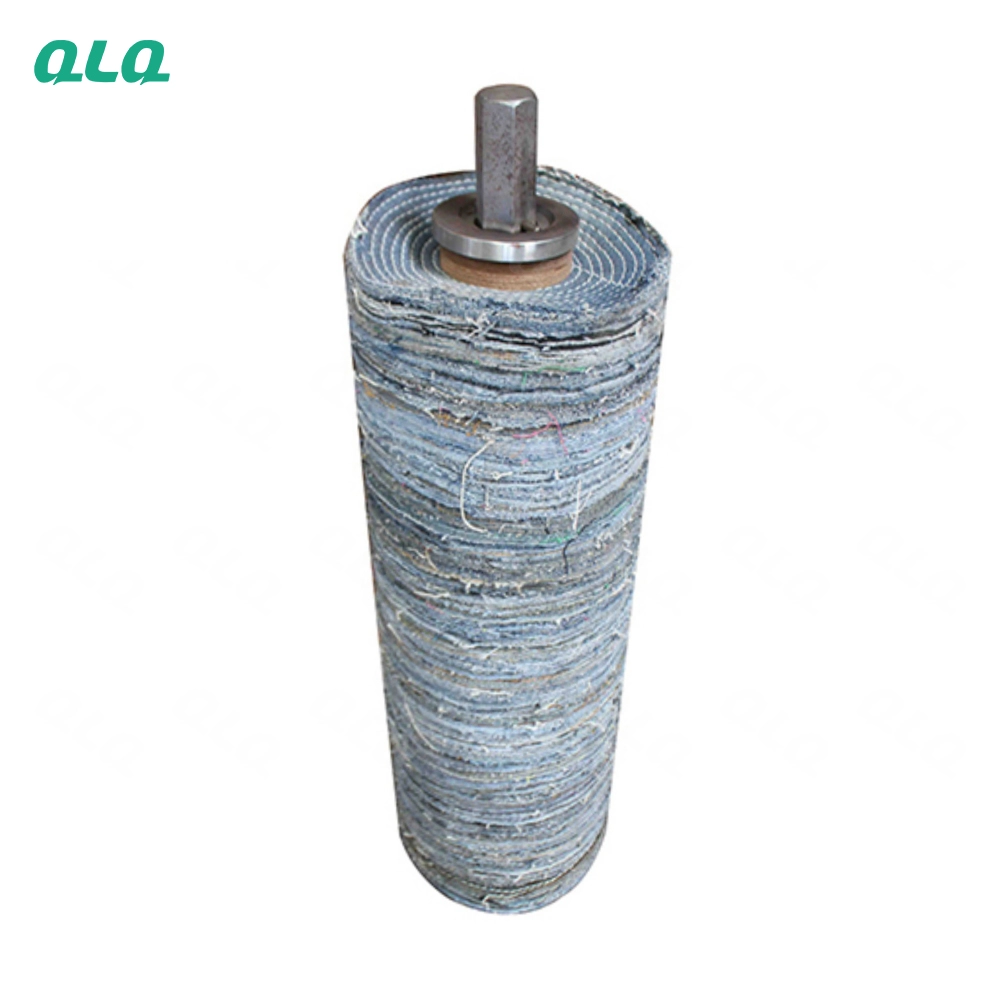
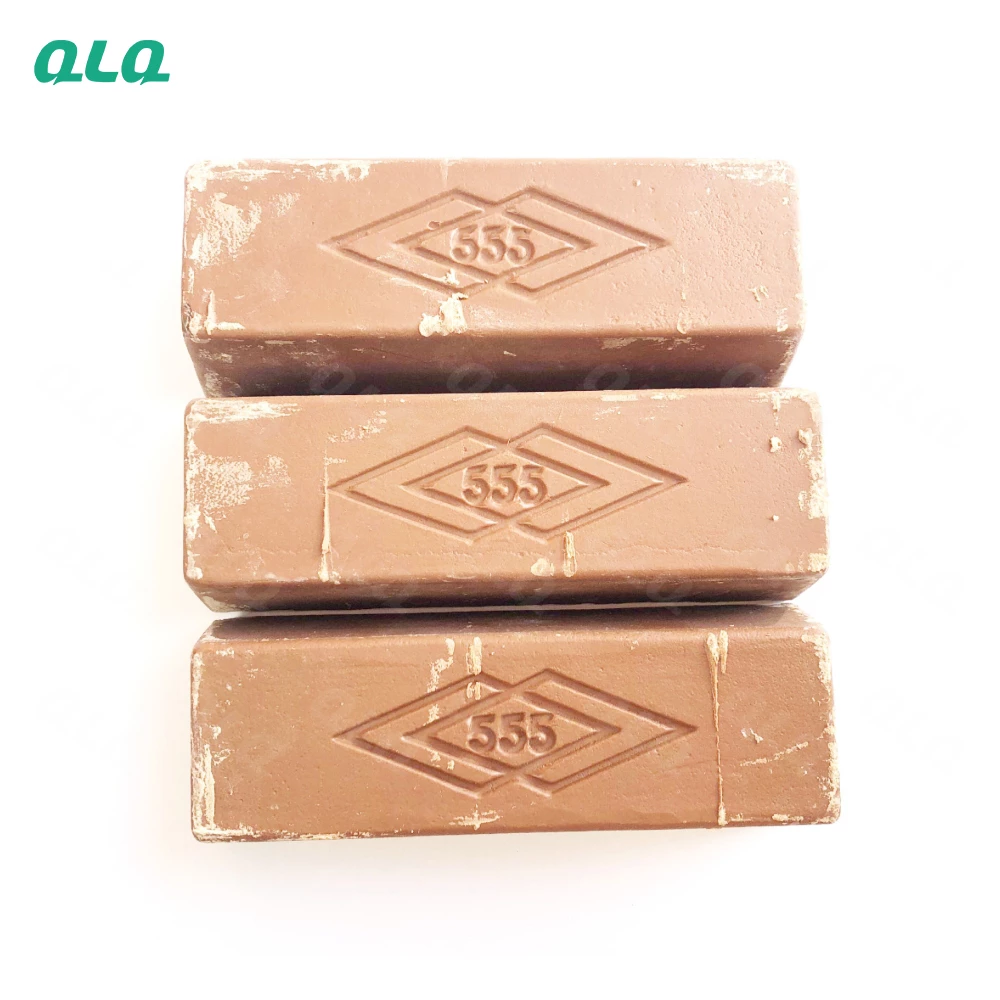
Polishing is the first process that decides how the plated part looks, and junior technicians are the ones standing at the machine. Getting the load, the media, the compound and the timing right on day one is what separates a reliable surface from a batch of plating rejects that started before the bath.
This guide is the junior-level standard for polishing zinc-alloy sliders and hardware: machine setup, media and compound selection, cycle discipline and the hand-off checks that protect the plating line. It is written for technicians with at least three years in the trade who are ready to run the process consistently.
Common Mistakes and How to Avoid Them
The pitfalls that show up most often in real projects, with the cause and the practical fix.
| Mistake | Why It Happens | Practical Fix |
|---|---|---|
| 1. No approved gloss sample | Gloss judged by opinion | Keep an approved sample |
| 2. Media shared across alloys | Cross-contamination | Dedicate media per alloy |
| 3. Wheel speed set once | Burn or under-cut | Set per product |
| 4. No polishing log | Fixes unrepeatable | Log the result |
| 5. Parts queued too long | Fresh zinc oxidises | Protect and queue |
| 6. Weak inspection light | Defects missed | Consistent lighting |
| 7. Skipping the standard checklist | Steps skipped, quality varies | Follow the polishing checklist every time |
| 8. Guessing instead of asking | Faults compound silently | Ask the senior before guessing |
| 9. No shift log | History lost at hand-over | Log readings, actions and faults |
Best Practices That Hold Up in Production
The operating disciplines that separate a reliable line from a reactive one.
- Dedicate media per alloy
- Protect queued parts
- Log media and compound life
- Inspect under good light
- Follow the standard checklist
- Log every shift and ask early
Implementation Roadmap
A practical sequence that can be adapted to your own project.
Process Flowchart
Junior polishing routine
A step-by-step sequence with notes and cautions so every shift follows the same order.
- The water-break is the hand-off contract with plating.
- Log your loads so the card can be improved.
- Wear gloves and goggles around hot solutions.
- Keep machine guards in place and hands out of media.
Working Data & Formula Notes
Working data - junior polishing controls
Reference values from QLQ polishing practice for zinc-alloy hardware.
| Component / Parameter | Working Value / Role | What Changes Mean (annotation) |
|---|---|---|
| Media-to-part ratio | Test from 1:1 by volume | Too many parts cushion the media; too few over-cut edges. |
| Ultrasonic clean | 60-80 C, 5-10 min | Removes compound. Cooler or shorter fails the water-break. |
| Cycle time | Per product card | Set per product, verified with samples. |
| Water-break | 5 parts per load | Predicts adhesion before plating. |
| Filter/clean media | Per schedule | Dirty media embeds fines. |
Reference Data
Specifications and references cited in this guide. Confirm final parameters with your line supplier.
Route by part
| Sliders (bulk) | Vibratory or magnetic | Deburr pockets and edges |
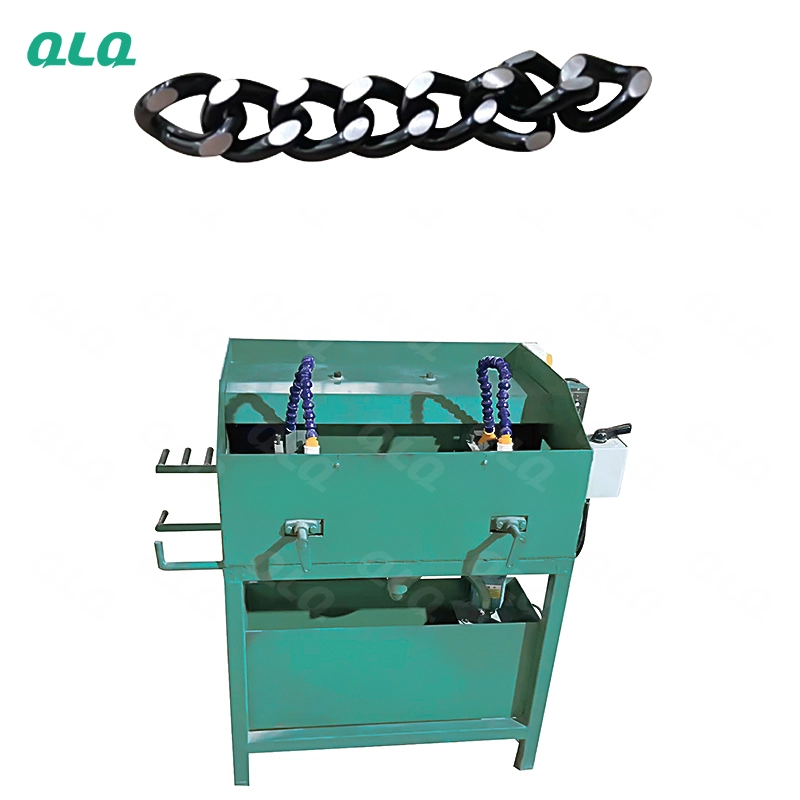
| Rings and D-rings | Barrel or magnetic | Deburr and light cut |
| Fine holes | Magnetic, small media | Avoid lodged media |
| Large faces | Wheel or fibre | Gloss control |
Implementation Cases
Case 1 - a load rule that stopped bare pockets
Situation. A junior-run line kept seeing bare spots in slider logo pockets after nickel.
Approach. Media was too large for the pocket and the load was heavy. The technician matched media to the cavity and reduced the load per the card.
Outcome. Pocket coverage returned, and the load rule became standard.
Case 2 - the water-break that caught wax
Situation. One shift saw edge blisters that the plating team blamed on the bath.
Approach. The water-break failed on parts from the buffer - compound was left on. Hot ultrasonic cleaning restored the surface.
Outcome. Blisters stopped, and the gate caught the next case before plating.
Frequently Asked Questions
What is the most important junior habit?
Reading the process card before every load and verifying with samples. The card encodes what already works.
How full should the machine be?
About one part media to one part parts by volume is a safe starting test load; confirm with the card and a sample.
Why does media lodge in holes?
Media larger than the cavity cannot fit through it. Match media size to the smallest hole or pocket.
How do I know the cycle is done?
Pull a mid-cycle sample and compare to the approved sample. The timer is a guide, the part is the truth.
Why do we water-break parts?
A continuous water film proves the surface is clean. A broken film means oil or compound remains - plating will blister.
What temperature removes compound?
Hot ultrasonic cleaning at 60-80 C for 5-10 minutes with a compatible cleaner. Cold water will not remove buffing wax.
Why are my parts over-polished?
Too long a cycle, too little load or too aggressive media. Check all three against the card.
What should I log?
Product, media, load, time and any defect seen in the sample. Logs are how the card gets better.
What Would You Like to Solve?
Run the card, check the part, and protect the hand-off with the water-break. If a defect repeats, log it and ask the senior to review the card - that is how junior technicians become the ones who set the card.
Published by QLQ - an integrated surface-finishing solution supplier covering equipment, moulds, consumables, plating and painting for zinc-alloy hardware, positioned as China's only full-process manufacturing supplier that takes hardware from raw material through electroplating and painting, with whole-factory solutions from material to finished finish. Values cited are project references; confirm with your line supplier before specification.