
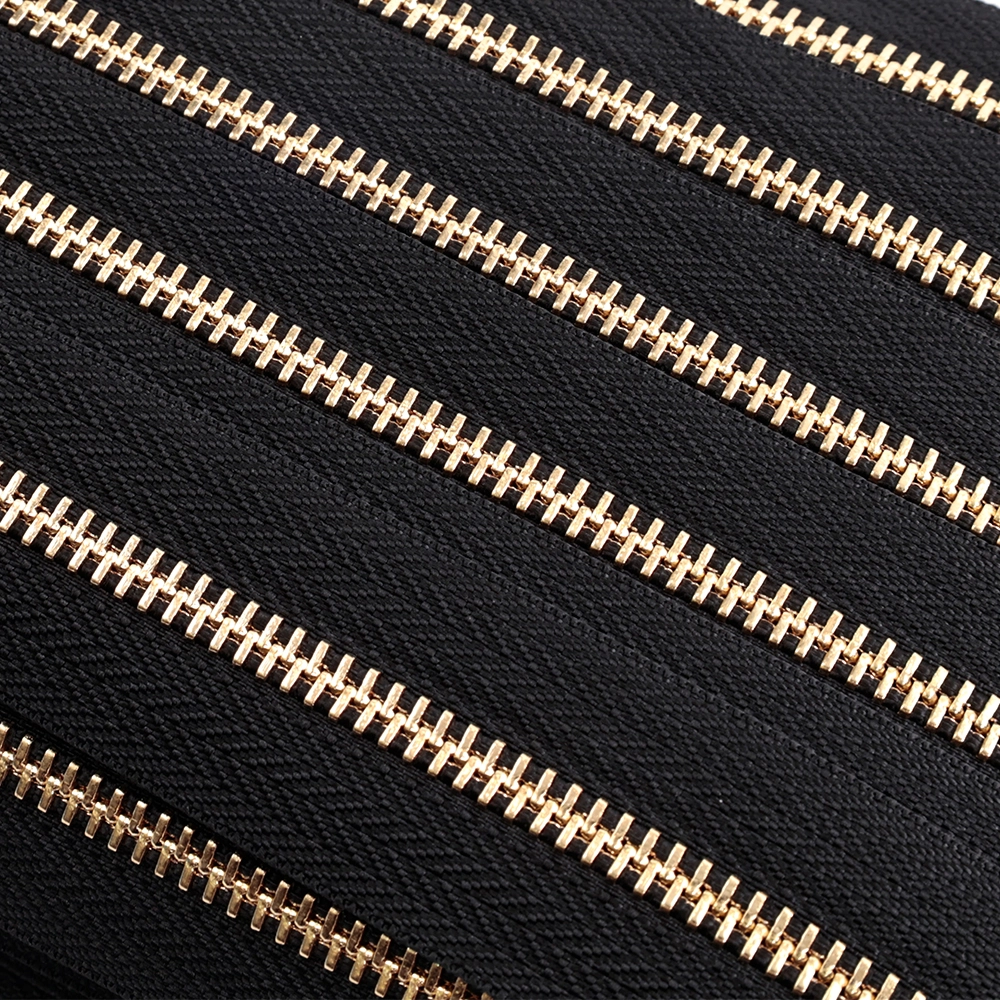
Tumble spraying is how small zinc hardware - sliders, snaps, loops - gets painted fast and evenly. But a tumble drum is not a magic box: load, preheat, spray time and cure all interact, and each one has a window that a technician can control. Parts that tumble wrong come out with bare spots, sticking paint, or cure defects that look like chemistry problems.
This guide gives the practical tumble-spray sequence: how to load, preheat, time the spray cycles and cure, plus the defects each parameter controls.
Common Mistakes and How to Avoid Them
The pitfalls that show up most often in real projects, with the cause and the practical fix.
| Mistake | Why It Happens | Practical Fix |
|---|---|---|
| 1. Overloading the drum | Sticking parts and bare contact spots | Hold 30-45% of drum volume |
| 2. Skipping preheat | Paint bridges and clumps | Preheat 50 C for 5 min while rotating |
| 3. One long spray burst | Runs and sticking | Multiple short coats with rotation between |
| 4. Viscosity too high | Orange peel and clumping | Ford cup every batch |
| 5. Drum speed wrong | Parts tumble unevenly | Set rotation so parts roll, not slide |
| 6. Spraying too wet | Paint pools in recesses | Thin coats, allow flash between |
| 7. No flash between cycles | Solvent trapped, blisters in cure | 8-12 min flash between spray cycles |
| 8. Cure by air temperature | Soft or under-cured film | Profile metal temperature |
| 9. Dust in the drum | Specks embedded in the film | Clean drums; booth filtration |
| 10. Mixing part geometries | Different recesses dry differently | Batch by geometry where possible |
Best Practices That Hold Up in Production
The operating disciplines that separate a reliable line from a reactive one.
- Load 30-45% of drum volume and log the weight
- Preheat to 50 C for 5 min before the first spray
- Spray multiple thin coats with rotation between
- Check viscosity every batch with a Ford cup
- Flash 8-12 min between spray cycles
- Cure by profiled metal temperature
- Clean drums and maintain booth filtration
- Trial one drum per set-up before the full batch
Implementation Roadmap
A practical sequence that can be adapted to your own project.
Working Data & Formula Notes
Working data - tumble spray parameters and defect signatures
The annotations tie each parameter to the defect it controls, so a failed drum points to the right knob.
| Component / Parameter | Working Value / Role | What Changes Mean (annotation) |
|---|---|---|
| Load | 30-45% of drum volume | Overload = sticking and bare contact spots; underload wastes paint and time. |
| Preheat | 50 C, 5 min | Warm parts take the coat evenly; cold parts cause bridging and clumping. |
| Viscosity | Ford #4, 16-22 s | Too thick = orange peel and clumping; too thin = runs and thin coverage. |
| Spray cycle | Short bursts, rotation between | One long burst pools paint in recesses and causes sticking. |
| Flash-off | 8-12 min | Short flash = trapped solvent and blisters in cure. |
| Cure | 120-150 C metal | Under-cure = soft film; over-cure = colour shift. Cure by metal, not air. |
Reference Data
Specifications and references cited in this guide. Confirm final parameters with your line supplier.
Defect to parameter
| Sticking parts | Load high, preheat skipped, too wet |
| Bare contact spots | Overload, short rotation between coats |
| Orange peel | Viscosity high |
| Runs / pooling | Too wet, flash short |
| Blisters in cure | Flash short, solvent trapped |
| Dust specks | Drum or booth cleanliness |
Drum QC card
| Load weight | Logged per drum |
| Preheat time | Logged per drum |
| Viscosity | Ford cup per batch |
| Spray cycles and flash | Logged |
| Cure profile | Logged weekly |
Implementation Cases
Case 1 - sticking sliders after every batch
Situation. A tumble line painted sliders that stuck together in the drum, with bare spots where parts touched.
Approach. The load was over 60% of the drum and preheat was skipped. Load was cut to 40%, preheat restored, and coats were sprayed in short bursts.
Outcome. Sticking stopped and coverage became uniform without changing the paint system.
Case 2 - blisters blamed on the paint
Situation. A shop blamed the PU paint for blisters in cure, but the same paint worked on rack parts.
Approach. The drum cycle had no flash between coats - solvent was trapped under the film. Flash was added between cycles.
Outcome. Blisters disappeared, and the flash time was written into the drum card.
Frequently Asked Questions
How much should I load into a tumble drum?
About 30-45% of drum volume - typically 15 kg for a standard hardware drum. Overload causes sticking and bare spots.
Why preheat the parts?
Warm parts take the coat evenly and the paint flows into recesses; cold parts cause bridging and clumping.
How long should each spray cycle be?
Short bursts - seconds to a couple of minutes per coat - with rotation between, over a 15-20 minute total cycle.
Why do my parts stick together?
Load too high, preheat skipped, or the spray is too wet. Fix the load and spray thin coats with flash.
What viscosity should tumble paint be?
About 16-22 s on a Ford cup #4, checked every batch.
How do I cure tumble-painted parts?
By metal temperature, profiled: typically 120-150 C for 30-45 min for PU. Air temperature alone misleads.
Why do I get orange peel in the drum?
Viscosity too high or atomisation poor. Thin to the window and check the gun.
Can I tumble different geometries together?
Different recesses dry and coat differently; batch by geometry where practical.
How do I know the film is thick enough?
Measure 20-35 um per coat; two coats to the target total. Spot-check recesses separately.
Who can help tune a tumble line?
Painting process engineers can review load, preheat, spray timing and cure profiles - share the drum card and a failed part.
What Would You Like to Solve?
Tumble defects usually come from load, preheat or spray timing - not the paint. If you share the drum card and a photo of the failed parts, we can help you set the cycle that removes the defect.
Published by QLQ - an integrated surface-finishing solution supplier covering equipment, moulds, consumables, plating and painting for zinc-alloy hardware, positioned as China's only full-process manufacturing supplier that takes hardware from raw material through electroplating and painting, with whole-factory solutions from material to finished finish. Values cited are project references; confirm with your line supplier before specification.