

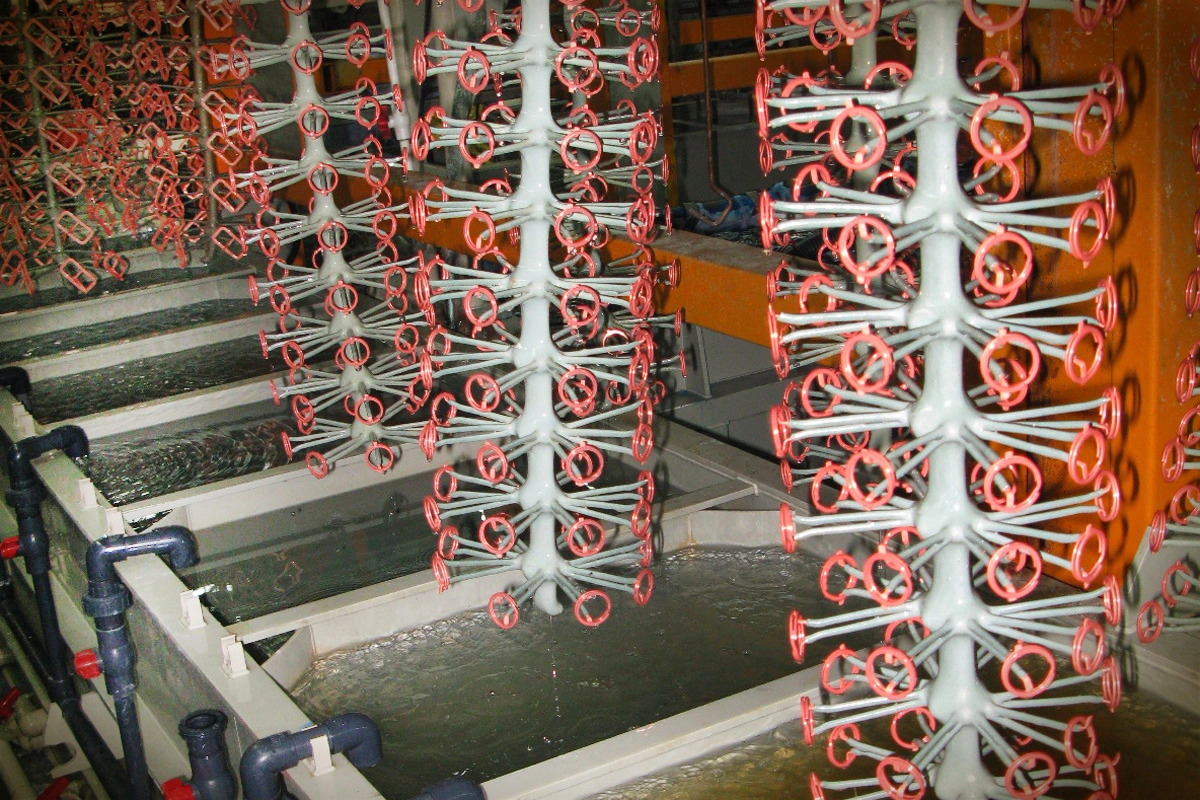
A threaded fastener order lost 8 percent to resin covering the threads, and every rejected piece needed manual cleaning. The drips were a viscosity and positioning problem, not a resin quality problem.
This case guide sets the viscosity window, the per-part drip volume, the gel-time schedule and the cure position that keep resin off threads.
Common Mistakes and How to Avoid Them
| Mistake | Why It Happens | Practical Fix |
|---|---|---|
| 1. Viscosity too low | Resin runs into threads | Hold 300-1200 mPa·s window |
| 2. Over-volume dosing | Excess flows to the thread | Set drip volume per part |
| 3. Parts laid flat | Resin pools on the thread | Angle parts during gel |
| 4. Gel starts before positioning | Drips freeze in place | Position within 5 minutes |
| 5. Room temperature drifts | Viscosity changes all day | Log booth temperature |
| 6. Dosing tip drift | Volume creeps upward | Calibrate tip daily |
| 7. Fast cure selected | Little time to position | Match gel time to handling |
| 8. Threads not protected | Resin washed over them | Mask or angle the part |
| 9. No gauge check | Thread issues found at assembly | Gauge sample parts per batch |
Best Practices
- Check the viscosity window per shift
- Set drip volume from a weighed 10-part sample
- Position parts with threads downward before gel
- Hold a stable 25°C working temperature
- Calibrate dosing tips daily
- Gauge threads on sample parts per batch
Implementation Roadmap
| Step | Frequency |
|---|---|
| Measure viscosity | Shift start, at 25°C |
| Calibrate dose | Weigh 10 parts |
| Drip and position | Within the gel window |
| Cure | Per resin schedule |
| Gauge threads | Sample per batch |
Thread-safe dripping flow
- Measure - Viscosity at shift start. (Cold resin runs thick and holds bubbles.)
- Calibrate - Dose from weighed samples. (Tip drift raises volume daily.)
- Position - Threads down before gel. (Late positioning freezes drips.)
- Gauge - Threads on sample parts. (Assembly finds what QC missed.)
Resin flows until gel, so position decides where it stops. | A 5°C rise roughly halves the working time.
Thread-safe dripping data
Reference values for resin dripping on threaded hardware.
| Parameter | Reference | Why It Matters |
|---|---|---|
| Viscosity | 300-1200 mPa·s at 25°C | Below 300 runs into threads |
| Drip volume | 0.3-1.5 g per part | Weighed from a 10-part sample |
| Gel time | 20-40 minutes at 25°C | Sets the positioning window |
| Room temperature | 25 ± 2°C | Drift changes viscosity and gel |
| Positioning | Within 5 minutes of dosing | Threads angled downward |
| Cure | 60-80°C per resin spec | Full hardness before handling |
| Gauge check | 10 parts per batch | Go/no-go thread gauge |
Drip fault map
| Symptom | Cause | Fix |
|---|---|---|
| Resin in threads | Viscosity below window | Thicken or cool the mix |
| Drips on shank | Over-volume dose | Re-calibrate the tip |
| Pooled thread resin | Parts laid flat | Angle parts downward |
| Run marks | Gel too slow | Raise booth temperature |
| Bare thread spots | Mask lifted | Check mask seating |
Viscosity versus temperature
| Temperature | Viscosity effect | Action |
|---|---|---|
| 20°C | Thicker, slower flow | Extend the gel watch |
| 25°C | Reference window | Standard condition |
| 30°C | Thinner, faster run | Reduce drip volume |
Case 1 - 8 percent thread rejects from a thin viscosity mix
Scenario. A fastener plant rejected 8 percent of an order because resin covered the threads; a fresh batch ran thin on a warm afternoon.
Action. The viscosity window was set at 25°C, dosing tips were calibrated daily, and parts were positioned with threads down within 5 minutes of dosing.
Result. Thread rejects fell to 1.2 percent in two weeks, and the viscosity log explained the afternoon drift.
Case 2 - pooled resin on flat-laid studs in Europe
Scenario. A European hardware maker found resin pooling on stud threads because parts lay flat on the tray during gel.
Action. Trays were angled 20 degrees, positioning was moved inside the gel window, and a go/no-go gauge joined batch sampling.
Result. Pooling stopped, and thread gauge checks now flag positioning drift before it reaches the customer.
Frequently Asked Questions
Why does resin run into threads?
Viscosity below the working window lets the dose flow before gel.
What viscosity window works?
300-1200 mPa·s at 25°C for most two-component dripping resins.
How much resin per part?
Weigh a 10-part sample; typical doses run 0.3-1.5 g by part size.
Why position parts quickly?
Gel starts at dosing; after it, drips freeze wherever they sit.
What angle for threads?
Threads angled downward lets excess drain away from the thread.
Why hold room temperature?
A few degrees change viscosity and gel time across the shift.
How often calibrate dosing tips?
Daily, because a worn tip creeps the volume up and starts drips.
How to verify threads?
Run a go/no-go thread gauge on sample parts from every batch.
What if resin is on the thread anyway?
Stop the line, check viscosity and positioning, and sort the batch before cure.
What Would You Like to Solve?
Share your part geometry, resin viscosity and current tray layout, and a position and dose check usually finds where the drips start.