
Why most pitting fixes fail
Pitting is the most-asked bright nickel defect on finishing forums — and the most common first answer, add anti-pitting additive, is wrong more often than right. There is no such thing as generic pitting: there are at least six different pit types with six different causes and six different fixes. This guide gives you the 10-minute magnifier routine that sorts them before you spend money on chemistry.
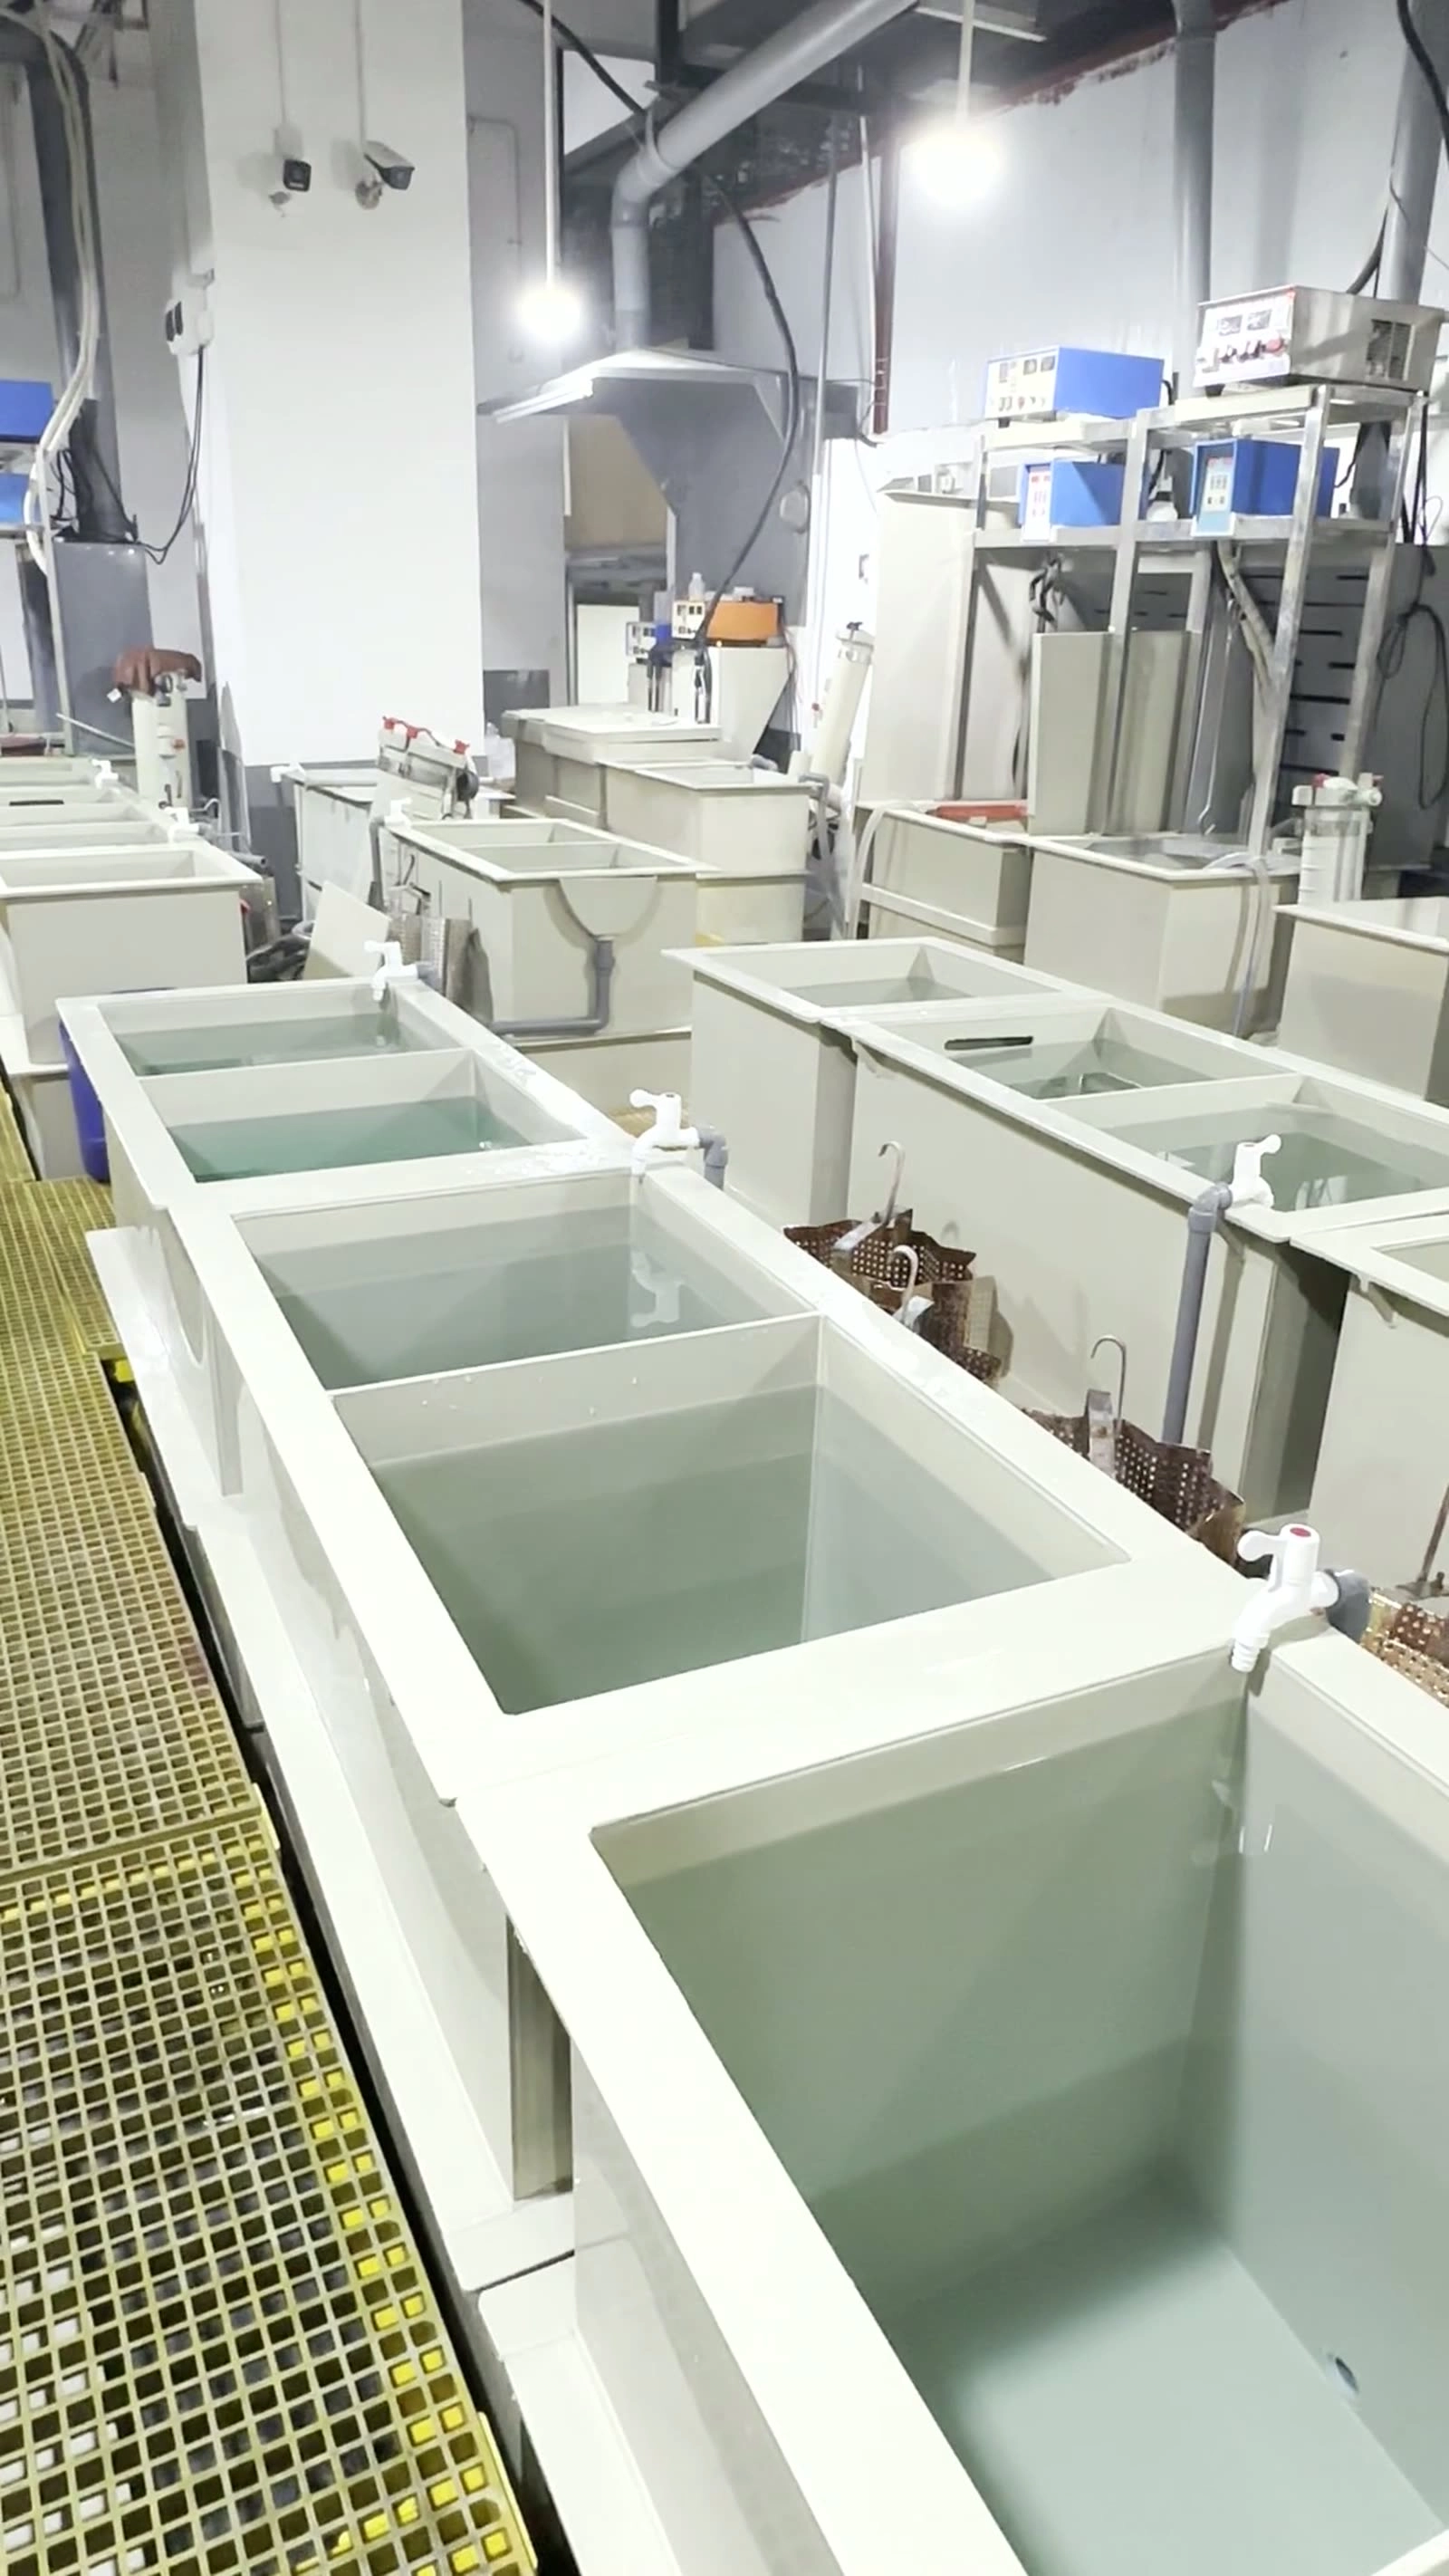
The 10-minute triage table
Magnifier first, chemistry second. Every pit type carries a visual signature:
| Pit type (magnifier) | Signature look | Root cause | First fix |
|---|---|---|---|
| Gas pit | Teardrop tail, shiny bottom | Hydrogen sticking to the part | Surface tension 35–45 dyn/cm |
| Solids pit | Gritty rough bottom | Particles in bath or on part | Filter 2–5 turns/h, 5 µm |
| Burn pit | Dendritic, on high-CD zones | Local current density too high | Lower CD / reposition anodes |
| Base-metal pit | Substrate visible in pit | Porosity or scale on casting | Bake-test; fix casting first |
| Oil pit | Doughnut ring, wet look | Oil droplet pinned to surface | Skim, degrease, find the leak |
| Organic pit | Irregular, random spread | Decomposed brightener | Hull cell test; carbon treat |
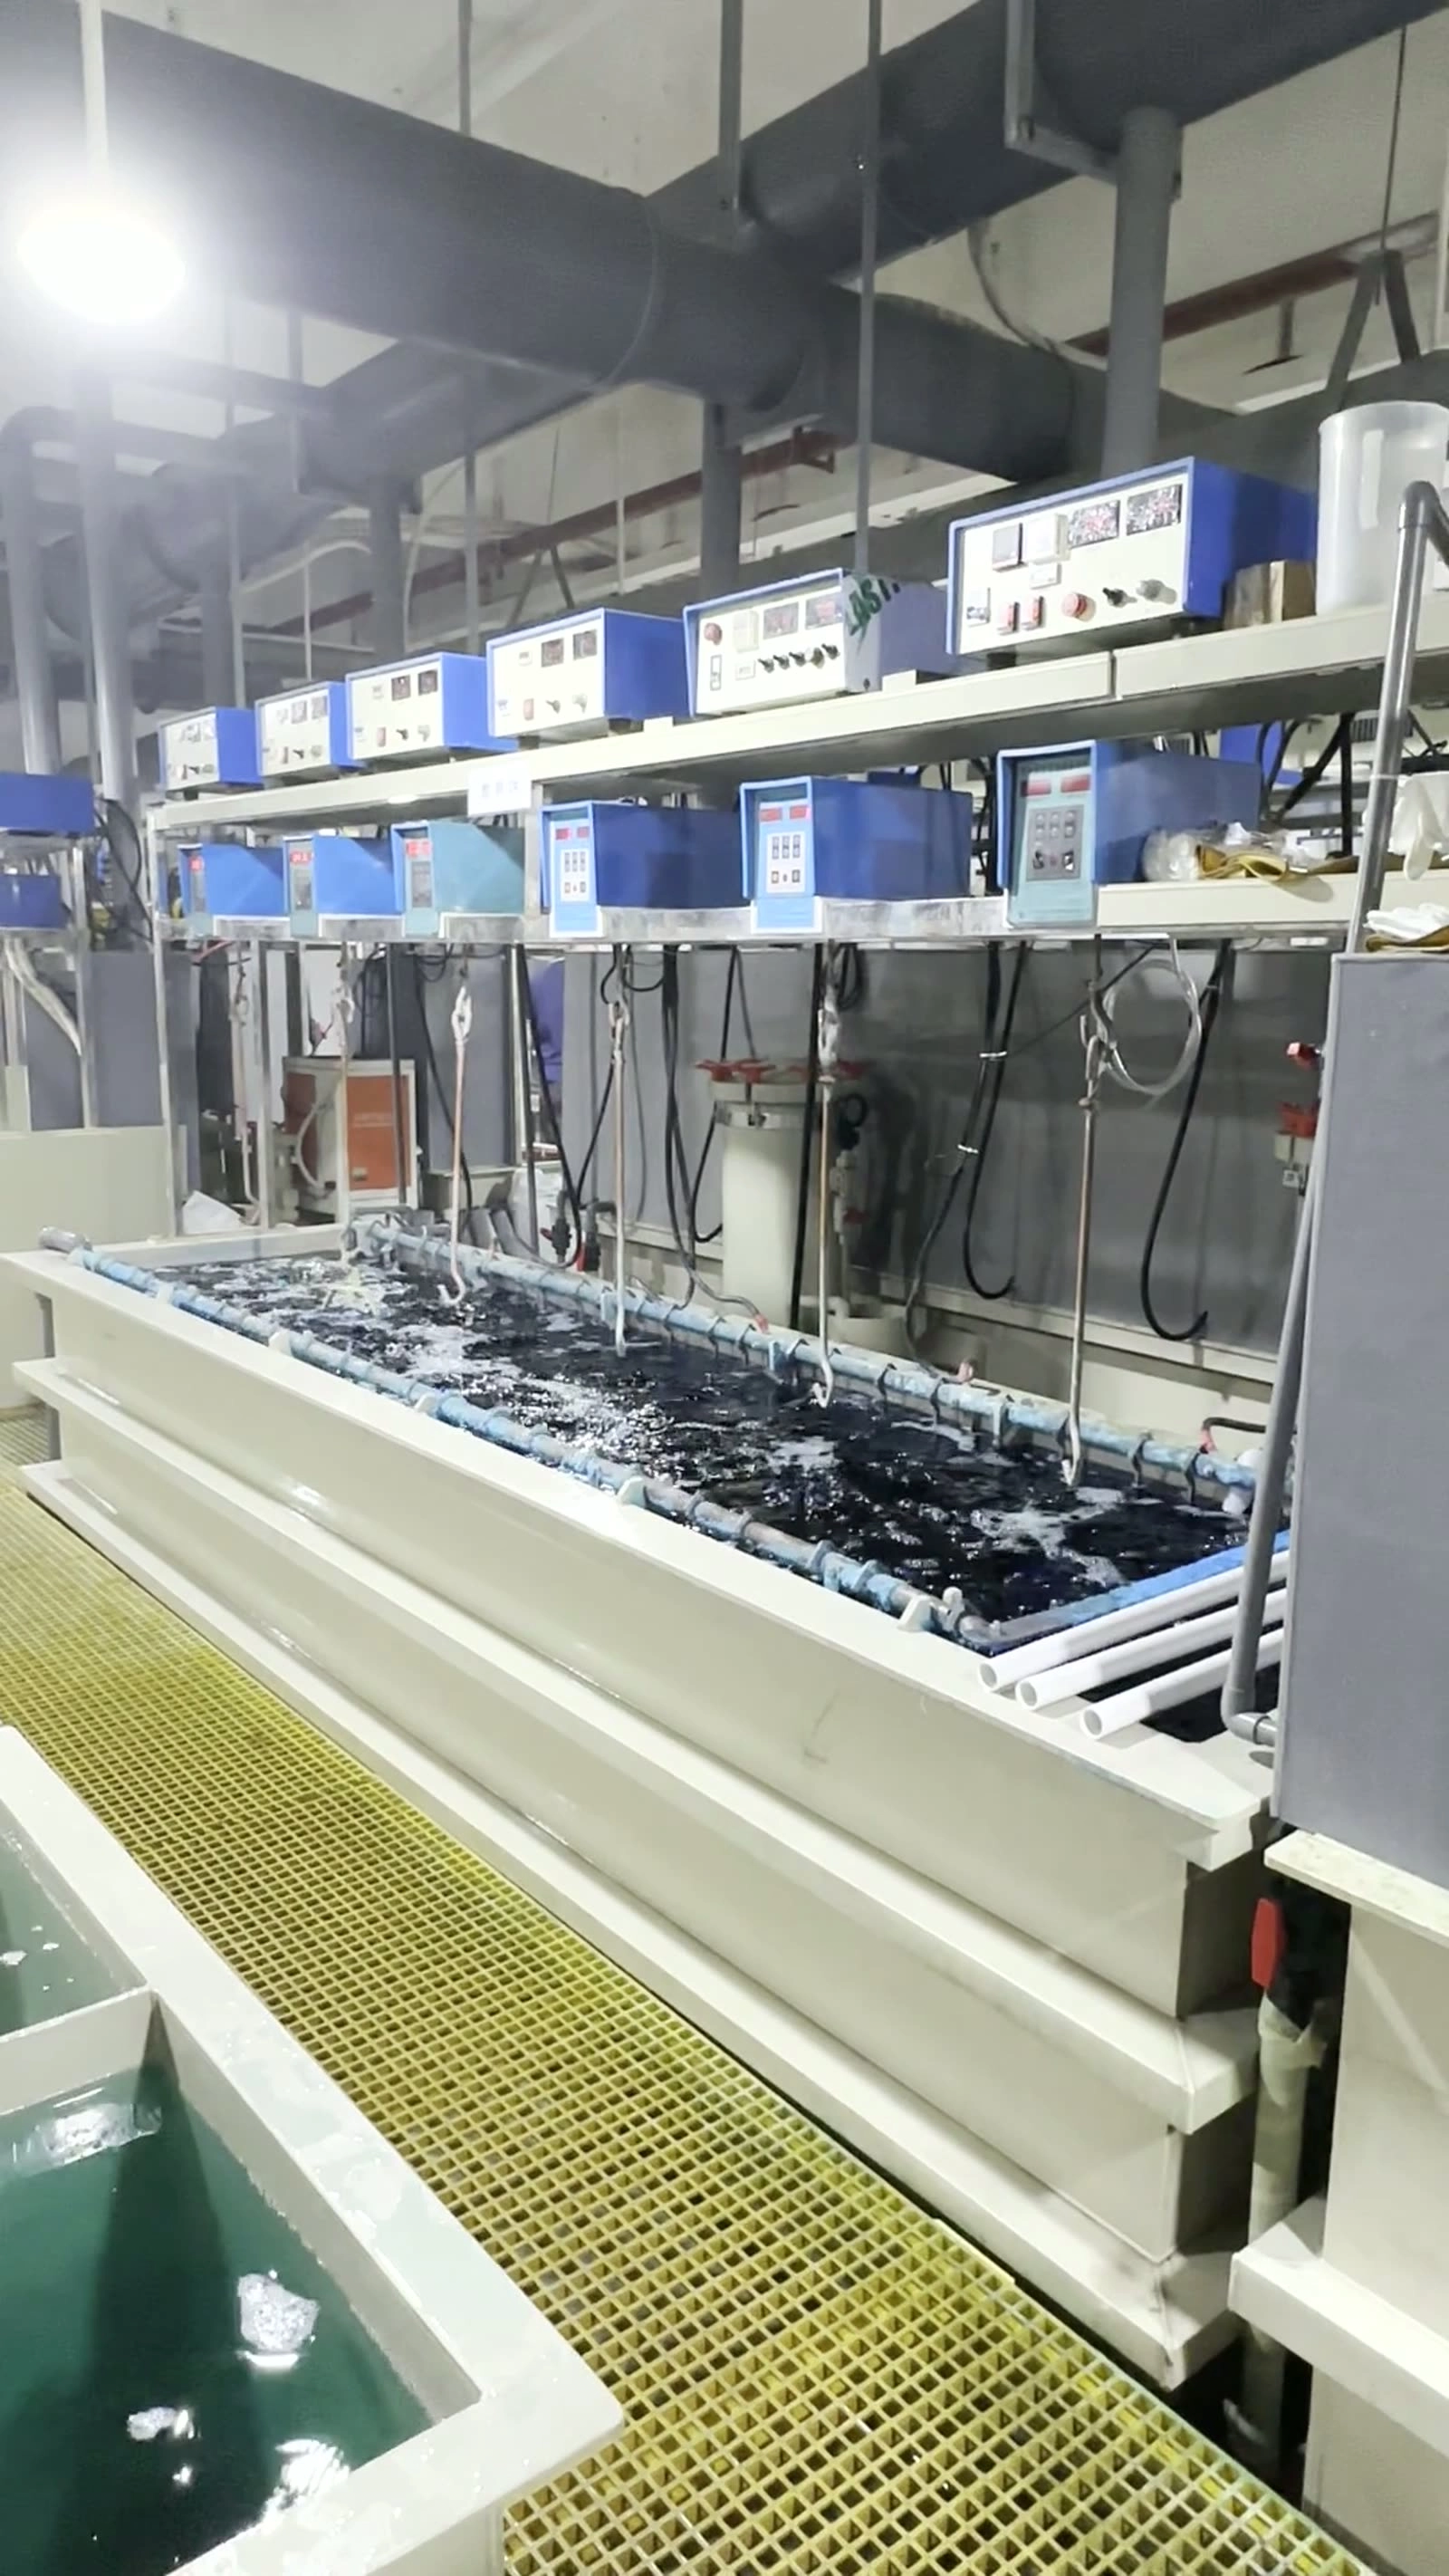
Fixes A–F: the matching windows
- Fix A — gas pits — Surface tension 35–45 dyn/cm (stalgmometer); wetter 0.5–1.5 mL/L; cathode rod strokes 20–30/min through full travel
- Fix B — solids — Filtration 2–5 turns/hour at 5 µm nominal; anode bags intact; transfer racks through cleaner, not over it
- Fix C — burning — Cut CD in 0.5 A/dm² steps; anode-to-cathode gap ≥ 150 mm; shorten nickel anodes 10 cm when bottom rows pit
- Fix D — base metal — Bake zinc diecast 100–110 °C × 1–2 h before plating; reject lots that blister in the 200 °C test
- Fix E — oil — Skim daily; alkaline soak 55–70 °C; electro-clean 3–5 A/dm²; hunt the hydraulic leak
- Fix F — organics — Hull cell 267 mL / 2 A standard; carbon pack 3–5 g/L at 40–50 °C; re-dose brightener by Amp-hour curve
The 10-minute routine
- Photograph the part before touching it — the pit pattern is evidence
- Magnifier pass: classify each pit (tail = gas, grit = solids, ring = oil)
- Position test: mark the rack row of every pit cluster
- Swap test: move the suspect rack position to the middle for the next load
- Run one corrective action only; Hull cell before and after
- Log dose, readings and outcome on the tank card
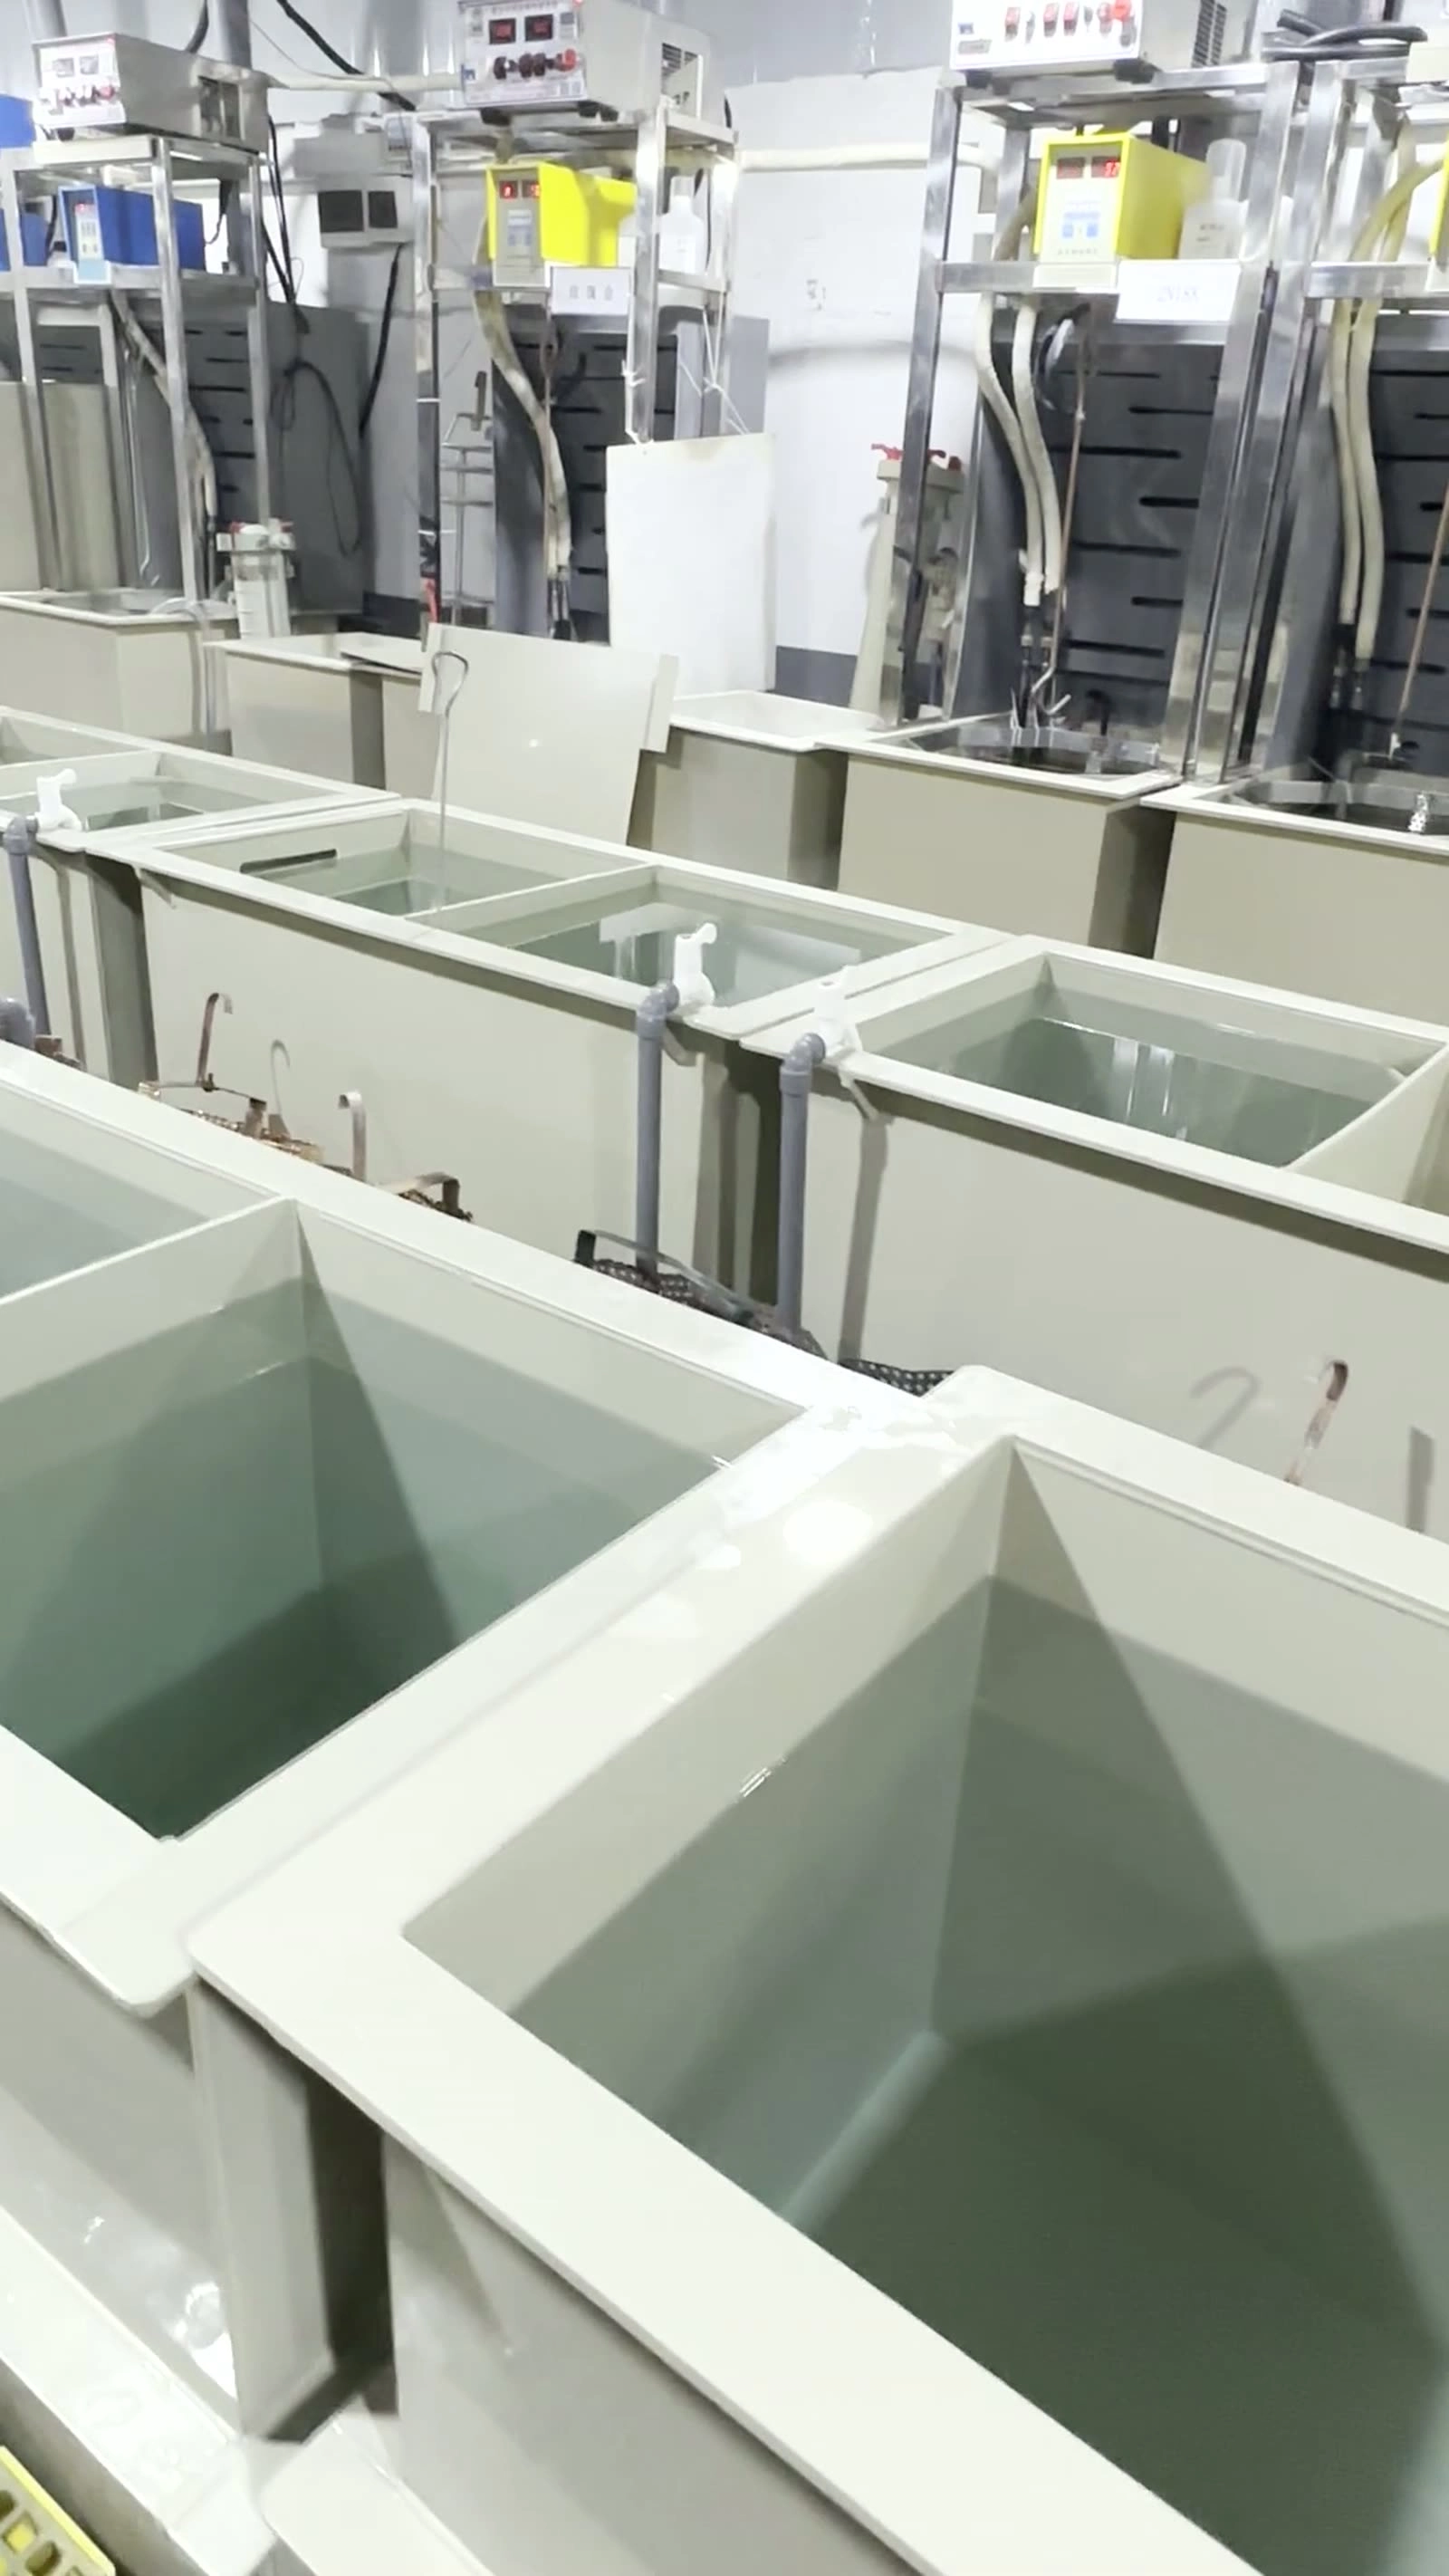
Engineer notes
- Most pitting calls are gas pits misdiagnosed — measure surface tension before adding anything
- Bottom-row pitting with a clean bath means agitation dead zone, not chemistry
- Boric acid below 40 g/L burns before it pits; keep 40–50 g/L in Watts
- Air agitation louder is not better: coarse bubbles pin to surfaces
- Pits that show substrate metal are not a plating problem — fix casting first
Safety: Hydrogen from bright nickel baths is explosive at 4–75% volume in air: keep lids open, ventilate, no flames. Nickel salts are skin sensitisers — nitrile gloves, apron, eyewash at the tank.
FAQ
How do I tell a gas pit from an oil pit in 10 minutes?
Magnifier: a gas pit has a teardrop tail and a shiny bottom; an oil pit shows a doughnut ring with a wet look. Classify before you mix anything.
Why do pits cluster on the bottom rows of tall racks?
Agitation dead zone plus higher local current density. Shorten nickel anodes about 10 cm and widen the cathode rod stroke — that alone took one line from 8% to 0.5%.
The bath analysis is fine but pitting continues — where next?
Work the position logic: swap-test rack positions and check transfer wetness. Chemistry that reads in-range rarely causes position-shaped pitting.
Should I add anti-pitting additive while I diagnose?
No. Six causes need six different fixes, and the wrong addition masks the evidence. Measure surface tension first.