

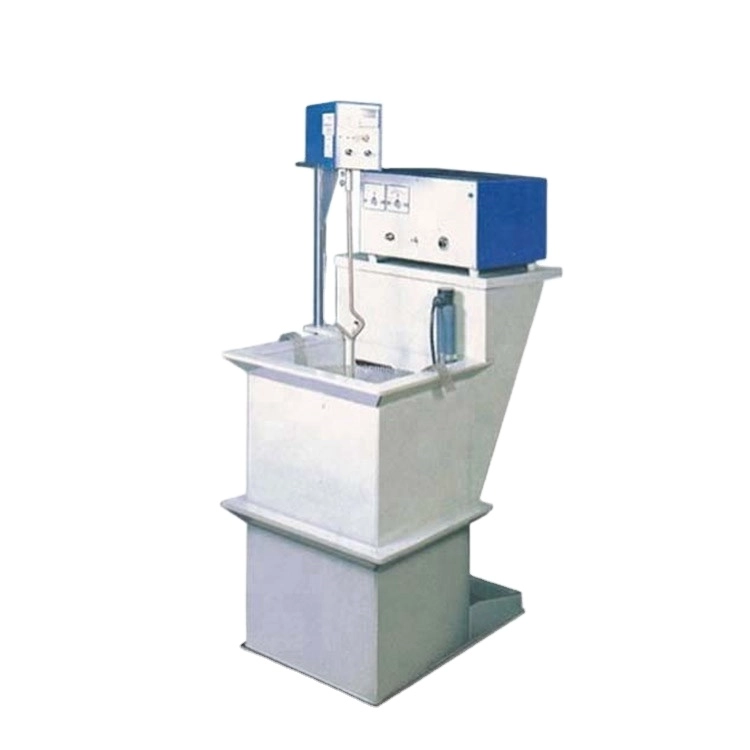
Racks do not plate as individuals; they share a flight bar, and the weakest contact or the tightest spacing decides how current divides. When two racks on one flight come out different, the fault is usually between them, not inside either one.
This intermediate guide covers current sharing between racks: flight bar resistance, rack spacing, contact points and the dry-circuit ammeter check that measures sharing before a single part is plated.
Common Mistakes and How to Avoid Them
The pitfalls that show up most often in real projects, with the cause and the practical fix.
| Mistake | Why It Happens | Practical Fix |
|---|---|---|
| 1. Racks touching | Current bypasses one rack | Keep even spacing between racks |
| 2. Dirty flight bar | One rack takes more current | Clean contact zones every shift |
| 3. Different rack ages | New and old racks share unevenly | Balance by contact resistance |
| 4. One weak hook | That rack runs thin | Dry-circuit check each hook |
| 5. Crowded flight | Shadowing between racks | Follow the spacing standard |
| 6. Only measuring finished parts | Fault found after plating | Check sharing before the dip |
| 7. Ignoring one rack pattern | Contact wear repeats every load | Log each rack position result |
| 8. Adding racks to a flight | Total current no longer divides as set | Re-calculate current per rack |
Best Practices That Hold Up in Production
The operating disciplines that separate a reliable line from a reactive one.
- Run the dry-circuit ammeter check before the first load of the shift
- Keep even rack spacing and clean flight-bar contact zones
- Log thickness by rack position, not only by part
- Balance racks by contact resistance, not by appearance
- Re-calculate current when flight composition changes
Implementation Roadmap
A practical sequence that can be adapted to your own project.
Process Flowchart
Flight balance flow
A step-by-step sequence with notes and cautions so every shift follows the same order.
- Current sharing is checked dry; plating is the proof.
- Rack position logs turn random faults into patterns.
- Never set total current while one rack has a bad contact.
- Never let racks touch or crowd on the flight bar.
Working Data & Formula Notes
Sharing reference
Working values for a standard flight; adjust to your line design.
| Component / Parameter | Working Value / Role | What Changes Mean (annotation) |
|---|---|---|
| Rack spacing | Per line standard | Even spacing supports even sharing |
| Share tolerance | Within 10% of design | Wider spread means a contact fault |
| Flight current | Sum of rack currents | Total must match the load card |
| Dry check | Ammeter per rack hook | Fast, non-destructive test |
| Result log | Per rack position | Turns one-off faults into trends |
Reference Data
Specifications and references cited in this guide. Confirm final parameters with your line supplier.
Share fault pattern table
| Pattern | Likely cause | First check |
| Last rack always thin | High-resistance hook or crowding | Dry ammeter at last position |
| Middle rack heavy | Racks touching | Spacing and rack alignment |
| New rack greedy | Different contact area | Contact resistance balance |
| Random thin rack | Dirty flight bar zone | Clean contact zones |
| Whole flight thin | Rectifier or total current | Check set current against card |
Implementation Cases
Case 1 - the last rack that never kept up
Situation. On a four-rack flight, the last rack consistently produced parts 20% thinner. The bath was checked and the rectifier confirmed, but the pattern stayed.
Approach. A dry-circuit ammeter check showed the last rack was taking only 70% of its design share because its hook sat on a corroded flight-bar zone.
Outcome. The contact zone was dressed, sharing returned to normal and the dry check was added to the shift start routine.
Case 2 - two racks touching after loading
Situation. Racks on a busy flight drifted close during loading. The middle rack burned while the outer racks ran thin because part of the current bypassed through direct rack contact.
Approach. Rack spacing was standardized with fixed hanger guides and the dry check was run after loading, before immersion.
Outcome. The burn-thin pattern disappeared; the flight now runs the ammeter check as the last loading step.
Frequently Asked Questions
Why check current sharing dry?
It finds the fault before parts are plated and rejects are made.
What is a fair share?
Each rack should take near its design current, within about 10%.
Can dirty contacts cause this?
Yes; a corroded zone adds resistance and starves that rack.
What if racks touch?
Current bypasses and one rack over-plates while another runs thin.
How do I measure sharing?
Use a clamp ammeter on each rack hook while the flight is energized dry.
Should I re-balance after adding a rack?
Yes; total current and spacing must be recalculated.
How do I log results?
Record current share and thickness by rack position per shift.
Who fixes a bad hook?
Rack or equipment maintenance, with a stop-use tag until repaired.
What Would You Like to Solve?
If the racks on your flight never plate evenly, send us your flight layout, rack types and the position log. We can help set the spacing, contact standard and dry-check routine that balance current sharing.
Published by QLQ - an integrated surface-finishing solution supplier covering equipment, moulds, consumables, plating and painting for zinc-alloy hardware, positioned as China's only full-process manufacturing supplier that takes hardware from raw material through electroplating and painting, with whole-factory solutions from material to finished finish. Values cited are project references; confirm with your line supplier before specification.