

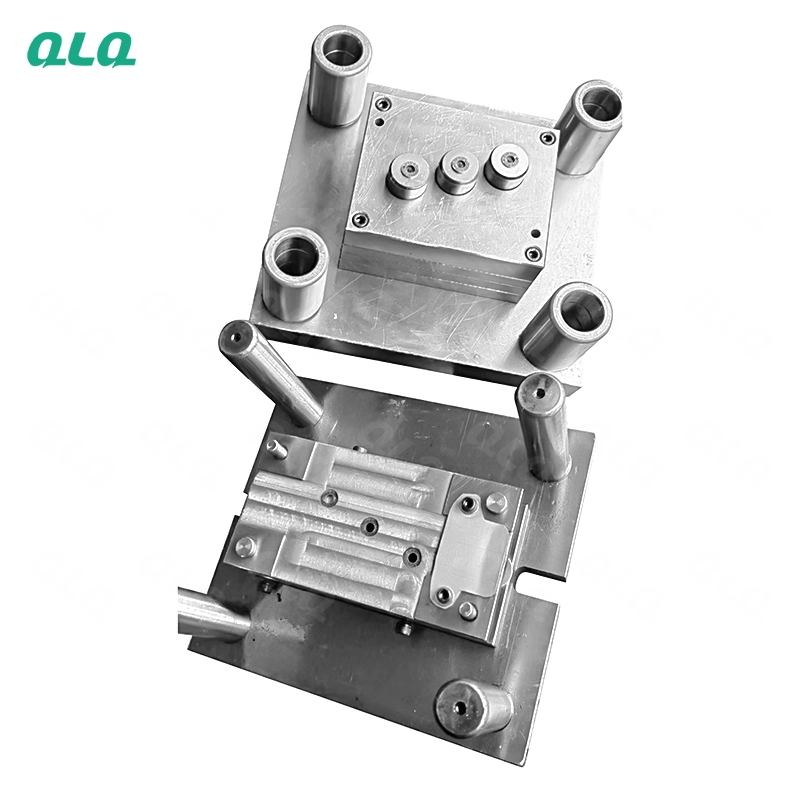
A mould that is fitted right clamps safely and produces true parts from the first shot. Fitting mistakes - misaligned cores, wrong ejector stroke or a careless clamp - damage tools and parts alike.
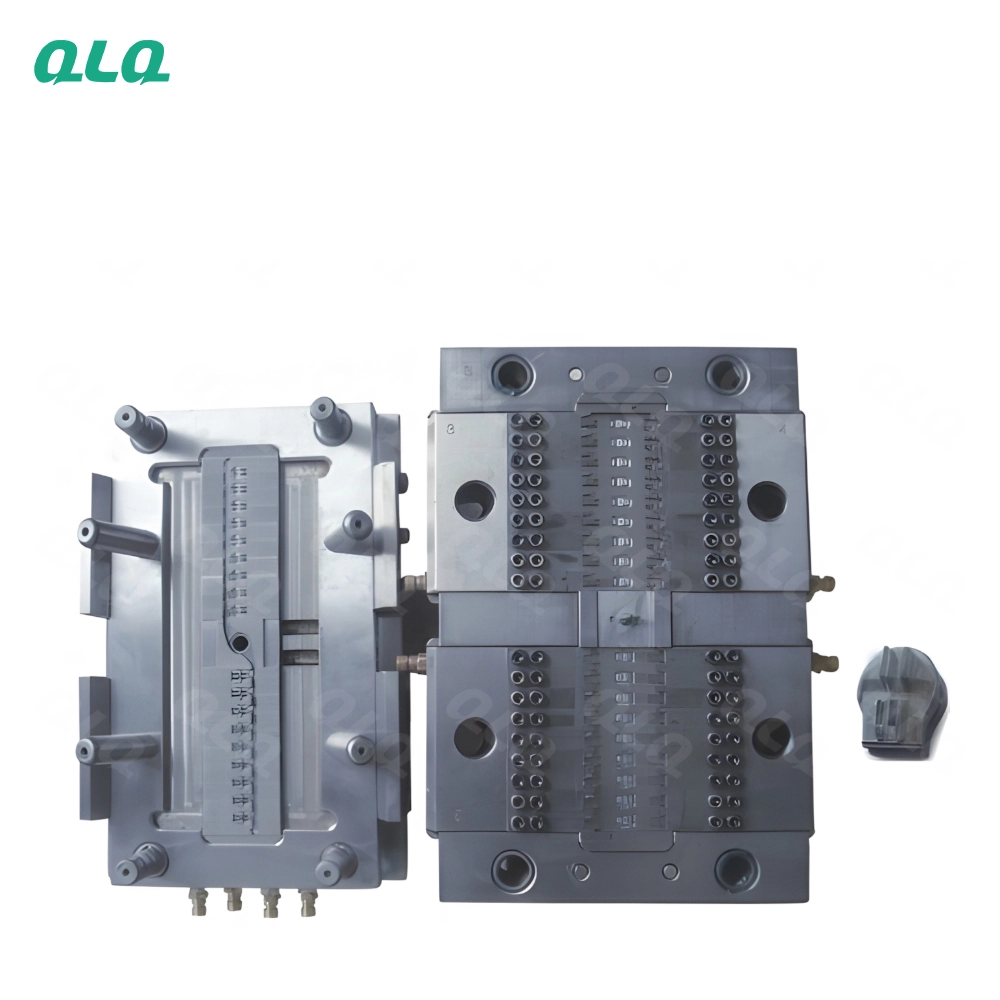
This junior guide covers die-casting mould fitting and try-out: core alignment, ejector stroke, safe clamping and the checks before the first shot.
Common Mistakes and How to Avoid Them
The pitfalls that show up most often in real projects, with the cause and the practical fix.
| Mistake | Why It Happens | Practical Fix |
|---|---|---|
| 1. Forced clamp | Bent guide pins | Align before closing |
| 2. Cores binding | Scored surfaces | Check clearance |
| 3. Ejector stroke wrong | Part or tool damage | Set per spec |
| 4. First shot full speed | Damage on contact | Slow try-out |
| 5. Guides dirty | Wear and misalignment | Clean before fit |
| 6. No fit card | Repeats errors | Record each fit |
| 7. Hot handling | Burns and damage | Use correct lifting |
| 8. Clamp force guessed | Flash or die damage | Set per tonnage |
Best Practices That Hold Up in Production
The operating disciplines that separate a reliable line from a reactive one.
- Clean and align before any clamp
- Check core travel and ejector stroke
- Clamp slow and watch the first close
- Run try-out at low pressure
- Record the fit card per mould
Implementation Roadmap
A practical sequence that can be adapted to your own project.
Process Flowchart
Fit and try-out flow
A step-by-step sequence with notes and cautions so every shift follows the same order.
- A fit card prevents repeat errors.
- Try-out is a test, not production.
- Use correct lifting for heavy moulds.
- Never reach between open faces.
Working Data & Formula Notes
Fitting data
Reference values for mould fitting and try-out.
| Component / Parameter | Working Value / Role | What Changes Mean (annotation) |
|---|---|---|
| Ejector stroke | Per mould spec | Wrong stroke damages tools |
| First clamp | Slow | Fast clamp bends pins |
| Try-out pressure | Low start | Rising pressure is a test |
| Fit card | Per mould | Prevents repeat errors |
Reference Data
Specifications and references cited in this guide. Confirm final parameters with your line supplier.
Try-out card
| Check | Target | Action |
| Core travel | Free | Adjust or report |
| Ejector stroke | Per spec | Set |
| First clamp | Slow | Watch and listen |
| First shot | Low pressure | Inspect part |
Implementation Cases
Case 1 - a forced clamp that bent a guide pin
Situation. A junior forced a mould closed without aligning and bent a guide pin; the die flashed all shift.
Approach. Alignment checks were added before every clamp and the mould was repaired.
Outcome. No more forced closes; alignment is now on the fit card.
Case 2 - ejector stroke that marked parts
Situation. Parts came out with ejector marks because the stroke was set longer than the mould spec.
Approach. Stroke was reset per spec and recorded on the fit card.
Outcome. Marks stopped; the card is checked before each new setup.
Frequently Asked Questions
Why align before clamping?
A forced clamp bends guide pins and causes flash.
How do I set ejector stroke?
Per the mould spec - too long marks parts, too short sticks them.
Why clamp slow the first time?
The first close is the test; fast clamping can damage the tool.
Why try-out at low pressure?
Rising pressure step by step reveals problems before full production.
Why clean guides?
Dirt causes wear and misalignment that prints flash.
Why a fit card?
It records settings and prevents repeating errors.
How do I lift a heavy mould?
Use the correct lifting points and equipment; never improvise.
Who approves the try-out?
The junior fits and tests, the senior or supervisor approves the first shot.
What Would You Like to Solve?
Tell us your mould sizes and fitting checklist. We can help build the fit card and try-out sequence for your toolroom.
Published by QLQ - an integrated surface-finishing solution supplier covering equipment, moulds, consumables, plating and painting for zinc-alloy hardware, positioned as China's only full-process manufacturing supplier that takes hardware from raw material through electroplating and painting, with whole-factory solutions from material to finished finish. Values cited are project references; confirm with your line supplier before specification.