

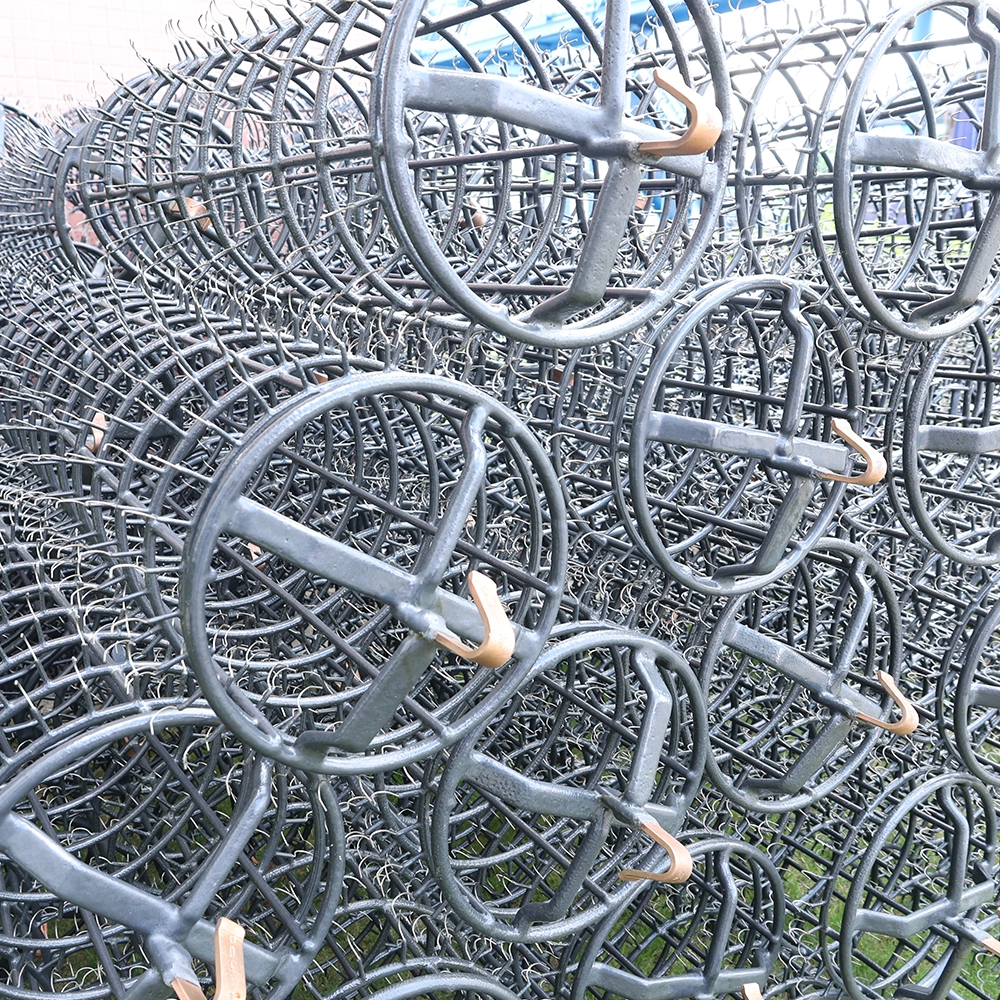
An overloaded rack plates unevenly no matter how good the bath is. Juniors who count parts and read the rack card before the hoist protect the whole line from thin recesses and contact marks.
This junior guide covers rack capacity discipline: reading tip counts from the rack card, loading to the exact number per rack, balancing left and right sides, and the checks that catch an overloaded rack before it enters the tank.
Common Mistakes and How to Avoid Them
The pitfalls that show up most often in real projects, with the cause and the practical fix.
| Mistake | Why It Happens | Practical Fix |
|---|---|---|
| 1. Loading above tip count | Thin deposits and poor coverage | Follow the card count exactly |
| 2. Two parts on one tip | Contact marks and shadowing | One part per tip unless the card allows |
| 3. Unbalanced rack | Uneven current and sway | Load both sides to similar weight |
| 4. Mixed parts on one rack | Wrong current for half the parts | One part family per rack |
| 5. Skipping the final count | Overload enters the tank | Count again before the hoist |
| 6. Wrong rack for the part | Tips do not match geometry | Check rack type against the card |
| 7. Damaged tip used | Contact mark on every part | Flag damaged tips before loading |
| 8. No current note on card | Rectifier set by memory | Write the amps on the rack card |
Best Practices That Hold Up in Production
The operating disciplines that separate a reliable line from a reactive one.
- Read the rack card before picking up parts
- Load exactly the printed number of parts
- Keep one part family per rack
- Balance the rack side to side
- Re-count the rack before the hoist moves
Implementation Roadmap
A practical sequence that can be adapted to your own project.
Process Flowchart
Rack loading flow
A step-by-step sequence with notes and cautions so every shift follows the same order.
- The rack card is a contract between the loader and the line.
- A clean tip gives clean contact; a dirty tip gives a reject.
- Never stack two parts on one tip to make a deadline.
- Never send a rack whose count was not confirmed.
Working Data & Formula Notes
Capacity reference
Example values for rack capacity planning; confirm with your own rack cards.
| Component / Parameter | Working Value / Role | What Changes Mean (annotation) |
|---|---|---|
| Parts per tip | 1 | Unless the rack card states otherwise |
| Load balance | Within 10% side to side | Prevents sway and uneven current |
| Tip count | As printed on card | The rectifier current is set for this count |
| Rack weight | Below the hoist limit | Heavy racks stress tips and frames |
| Check point | Final row before hoist | Catches overload at the last moment |
Reference Data
Specifications and references cited in this guide. Confirm final parameters with your line supplier.
Loading fault quick check
| Symptom | Likely loading fault | Fix |
| Thin top rows | Rack overloaded | Reduce to card count |
| Contact marks in pairs | Two parts per tip | Load one per tip |
| Rack sways in tank | Side imbalance | Balance the load |
| Mixed finish | Mixed part family | One family per rack |
| Bent parts | Wrong rack type | Match rack to part |
Implementation Cases
Case 1 - the overloaded top row
Situation. A junior added an extra row of sliders to meet a deadline. The top rows came out thin because the rack carried more surface than the rectifier setting was sized for.
Approach. The load was stripped, reloaded to the card count and re-checked. The final count step became part of the loading routine.
Outcome. Top-row rejects stopped; the line now treats the card count as a hard limit.
Case 2 - two parts on one tip
Situation. A rush order used double-loaded tips to fit more parts. Every double-loaded part showed a contact shadow and the batch failed inspection.
Approach. Loading was stopped and re-done one part per tip; the team added a visual check that each tip carries exactly one part.
Outcome. Contact shadows disappeared and first-pass yield returned to normal within one shift.
Frequently Asked Questions
Why can I not add an extra row?
More surface than the rectifier setting was sized for causes thin deposits.
Why one part per tip?
A second part shadows the contact and leaves a mark.
How do I know the correct rack?
The rack card names the rack type for each part family.
Why balance the rack?
Imbalance causes sway in the tank and uneven current distribution.
What if a tip is damaged?
Flag it and use another rack; a damaged tip marks every part.
Do I need to count twice?
Yes; the final count before the hoist catches loading errors.
What if the card is missing?
Stop and ask; never run a rack without its card.
Who sets the rectifier amps?
The card states the amps for that rack and part.
What Would You Like to Solve?
If your racking stations need clearer cards, capacity rules or a final-count gate, send us your part list and rack drawings. We can help format a rack card that protects both the parts and the line.
Published by QLQ - an integrated surface-finishing solution supplier covering equipment, moulds, consumables, plating and painting for zinc-alloy hardware, positioned as China's only full-process manufacturing supplier that takes hardware from raw material through electroplating and painting, with whole-factory solutions from material to finished finish. Values cited are project references; confirm with your line supplier before specification.