
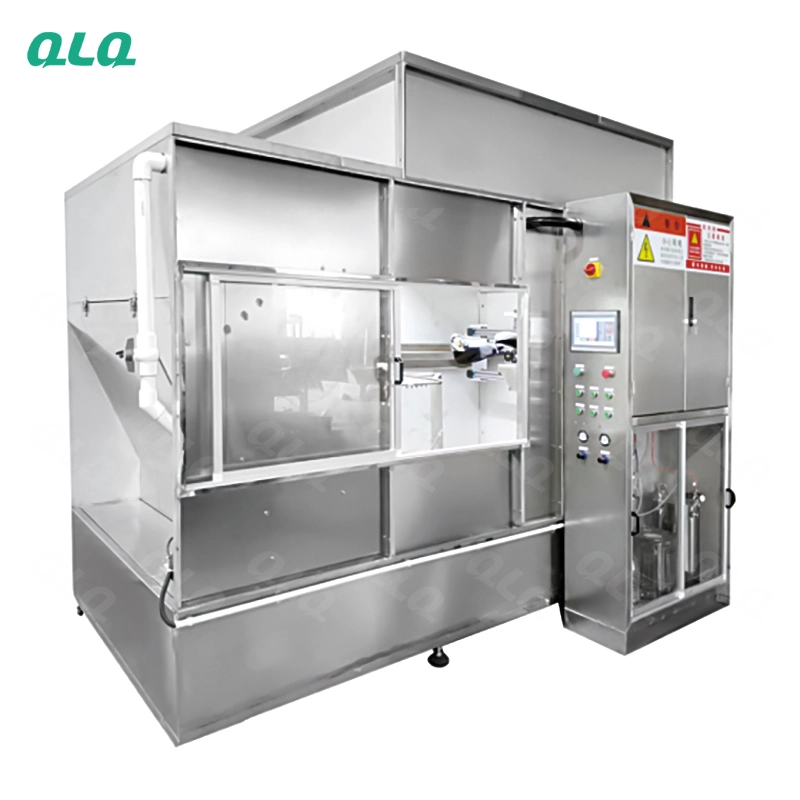
A painting line for small zinc-alloy hardware - sliders, snaps, buckles, loops - looks deceptively simple: spray, flash, cure. In practice, colour consistency, adhesion and finish quality depend on booth climate, viscosity control, curing profiles and handling discipline, and defects are almost never random.
This guide walks painting factory owners through the line layout, equipment and process control needed for consistent colour on small hardware, and shows where most owners lose money before they know it.
Common Mistakes and How to Avoid Them
The pitfalls that show up most often in real projects, with the cause and the practical fix.
| Mistake | Why It Happens | Practical Fix |
|---|---|---|
| 1. Painting over moisture | Blisters and adhesion failure after cure | Verify parts are bone dry; control booth RH below 65% |
| 2. Viscosity set by feel | Orange peel or sagging from batch to batch | Measure Ford cup #4 every batch and log it |
| 3. One thick coat instead of two thin ones | Sagging, pinholes, slow cure | Apply 2 thin coats with 8-12 min flash-off |
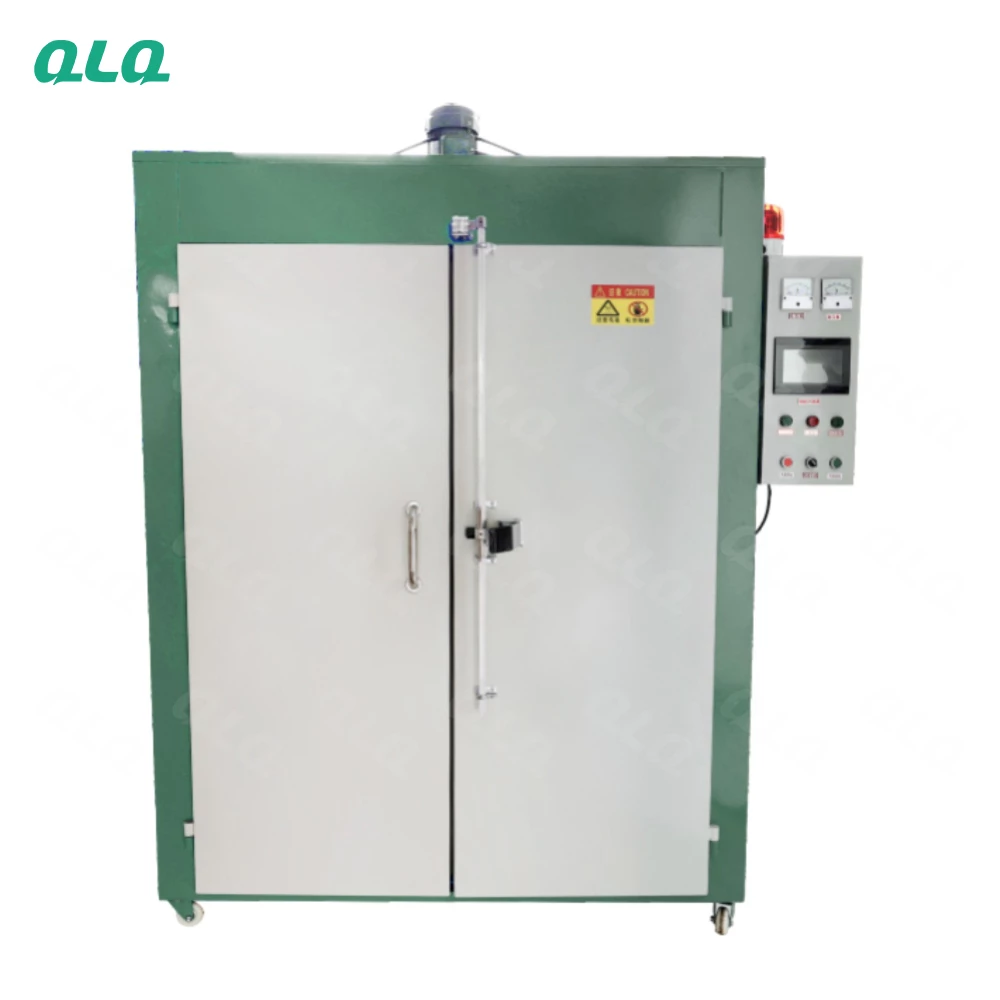
| 4. Oven set by air, not metal | Under-cured or overcured film | Profile ovens with part-mounted temperature loggers |
| 5. Dust in the booth | Specks embedded in every visible part | Class 100k filtration, tack-off before spray |
| 6. Wrong hardener ratio | Soft film, poor solvent resistance | Weigh resin:hardener per system spec (4:1-6:1) |
| 7. Static charge on parts | Fisheyes and uneven coverage | Ground racks and guns; use antistatic handling |
| 8. Skipping adhesion testing | Field failures discovered by the customer | Cross-cut (ISO 2409) on 3 parts per batch |
| 9. Mixing thinner from open drums | Moisture and contamination in the film | Use sealed fresh solvent and filter paint |
| 10. No colour master | Batch-to-batch drift disputes | Keep approved masters and check in D65 light booth (dE <= 1.0) |
Best Practices That Hold Up in Production
The operating disciplines that separate a reliable line from a reactive one.
- Control booth climate at 22-26 C and 45-65% RH
- Pre-heat tumble drums to 50 C for 5 min before spraying
- Verify film thickness at 5 points per part
- Check cross-cut adhesion and MEK rub per shift
- Profile the oven weekly with metal-temperature loggers
- Keep separate guns and lines for solvent- and water-based systems
- Rotate paint stock FIFO; filter before use
- Inspect in a light booth, not by window light
Implementation Roadmap
A practical sequence that can be adapted to your own project.
Working Data & Formula Notes
Working formula - two-component PU colour paint for zinc hardware
Mix ratios are per system; the annotations explain what each component does and what happens when it drifts.
| Component / Parameter | Working Value / Role | What Changes Mean (annotation) |
|---|---|---|
| PU resin (base) | 80-83 parts by weight | Forms the film; under-cure or wrong resin leaves a soft film that fails MEK rub. |
| Hardener (isocyanate) | 17-20 parts | Cross-links the resin; too little = soft, solvent-sensitive film; too much = embrittlement and yellowing. |
| Thinner | 10-25% to reach 16-22 s Ford #4 | Controls viscosity and atomisation; too thick = orange peel, too thin = sagging. |
| Matting agent (matte shades) | As per system | Sets gloss level; over-use raises viscosity and can cause poor flow. |
| Flow additive | 0.2-0.5% | Prevents fisheyes; over-dose causes cratering and adhesion loss. |
| Cure schedule | 120-150 C metal, 30-45 min | Cure by metal temperature; short cure = soft film, long cure = colour shift and brittleness. |
Reference Data
Specifications and references cited in this guide. Confirm final parameters with your line supplier.
Equipment reference for a small hardware painting cell
| Rack painting | Automatic hanging rack painting machine | Visible parts, controlled coverage |
| Cold painting | Automatic cold painting machine | Two-component and cold-cure systems |
| Ovens | Automatic oven (one or two side opening) | Controlled cure 120-180 C |
| Drying | Hot-wind centrifugal dryer | Pre-paint drying and post-wash |
| Guns | Electrostatic hand spray gun / hand painting gun | Touch-up and recess coverage |
| Handling | Stainless steel baskets and paint guns | Application and transfer |
QC checks per batch
| Viscosity | Ford cup #4, 16-22 s |
| Film thickness | 20-35 um per coat |
| Adhesion | ISO 2409 class 0-1 |
| Solvent rub | MEK 50 double rubs |
| Colour | dE <= 1.0 vs master |
Implementation Cases
Case 1 - colour yield on a tumble-painted slider line
Situation. A painting shop running glossy colour sliders saw 12-15% first-pass colour rejects, mostly orange peel and dust specks, on a line with no booth filtration and viscosity set by feel.
Approach. The shop moved to a Class 100k booth, introduced Ford cup checks every batch, two thin coats with flash-off, and metal-temperature profiling in the oven.
Outcome. Colour first-pass yield moved above 95% within two production weeks, and the reject pile dropped to dust-controlled levels.
Case 2 - a rubber-touch finish that kept failing adhesion
Situation. A manufacturer of luggage feet switched to a soft-touch black finish and saw peeling within days of shipment.
Approach. Investigation found the glossy plated surface had never been scuffed or primed. The shop added a light mechanical scuff, an adhesion primer, and a cross-cut check on every batch.
Outcome. Adhesion failures stopped; the soft-touch finish passed the buyer acceptance test on the next shipment.
Frequently Asked Questions
What is the biggest cause of paint rejects on small zinc hardware?
Moisture and dust, followed by viscosity drift. Dry parts, a clean booth and a Ford cup check per batch eliminate most rejects.
How many coats should small hardware get?
Two thin coats (each 20-35 um) with flash-off beat one thick coat: no sagging, fewer pinholes, faster cure.
How do I cure correctly?
Cure by metal temperature, not oven air temperature. Profile the rack with loggers; typical PU windows are 120-150 C for 30-45 min.
Which machines suit small hardware?
Tumble machines suit bulk small parts; rack machines suit visible parts needing controlled coverage; cold-cure systems suit two-component paints.
Why does my paint show orange peel?
Viscosity too high, atomisation too poor, or gun distance too far. Thin to 16-22 s Ford #4, raise atomisation pressure and bring the gun closer.
Why does the paint sag or run?
Film too thick or flash time too short. Apply thinner coats and allow 8-12 min flash between coats.
Why do pinholes appear after baking?
Solvent trapped in the film. Extend flash time, lower the oven ramp, and apply thinner coats.
Why is my rubber-touch finish peeling?
Almost always poor adhesion preparation: the substrate was too glossy or not primed. Scuff, prime, and verify with cross-cut before production.
Do I need a light booth?
Yes, for any colour work. Judging colour by window light causes metamerism disputes; approve against masters in D65/TL84/CWF.
Can an existing manual line be automated gradually?
Yes. Start with booth filtration and viscosity discipline, then add a curing oven with profiling, then mechanical application. Each step pays for itself in rejects.
What Would You Like to Solve?
If you can describe your parts, finish classes and current reject rates, we can help you identify which step - pre-treatment, booth, application or curing - is costing you the most, and what to fix first. A line is easier to correct step by step than all at once.
Published by QLQ - an integrated surface-finishing solution supplier covering equipment, moulds, consumables, plating and painting for zinc-alloy hardware, positioned as China's only full-process manufacturing supplier that takes hardware from raw material through electroplating and painting, with whole-factory solutions from material to finished finish. Values cited are project references; confirm with your line supplier before specification.