
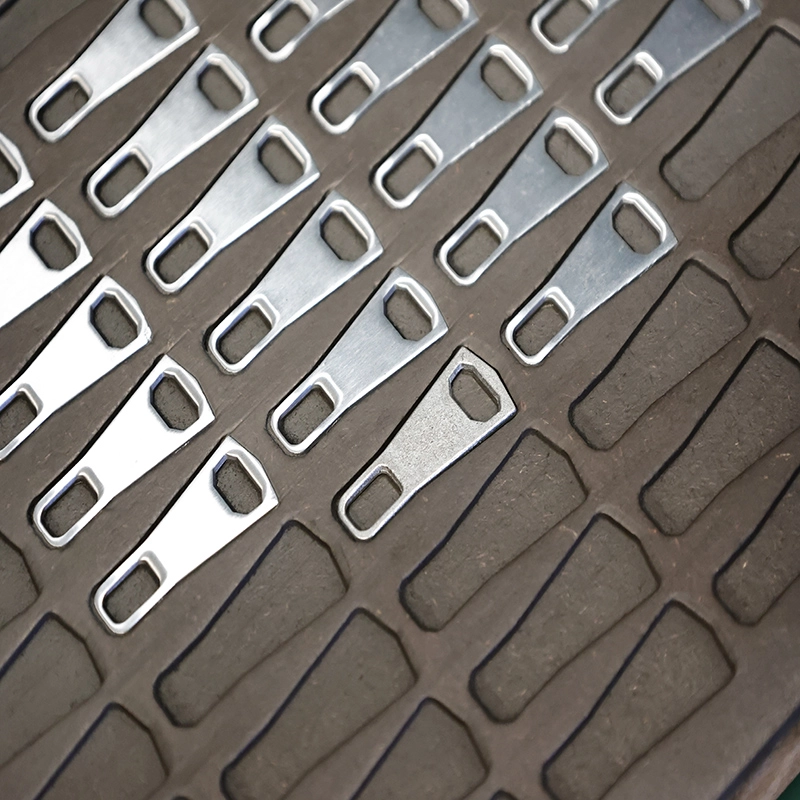
At eight years, the polishing questions stop being about the machine and start being about the interface: why a polished surface blisters, why a gloss fades after plating, why the same media works for one part and fails another. Senior technicians solve the problems that cross process boundaries.
This guide covers senior-level polishing diagnosis - over-polish, edge burn, media embedding and the surface conditions that fail plating - with the cross-checks that separate polishing faults from casting, cleaning and bath faults.
Common Mistakes and How to Avoid Them
The pitfalls that show up most often in real projects, with the cause and the practical fix.
| Mistake | Why It Happens | Practical Fix |
|---|---|---|
| 1. No approved gloss sample | Gloss judged by opinion | Keep an approved sample |
| 2. Media shared across alloys | Cross-contamination | Dedicate media per alloy |
| 3. Wheel speed set once | Burn or under-cut | Set per product |
| 4. No polishing log | Fixes unrepeatable | Log the result |
| 5. Parts queued too long | Fresh zinc oxidises | Protect and queue |
| 6. Weak inspection light | Defects missed | Consistent lighting |
| 7. Treating symptoms | The chain carries the fault | Trace to the root cause |
| 8. No trend data | Drift invisible | Trend the key polishing metrics |
| 9. Fixes without proof | Faults return | Controlled batch verification |
Best Practices That Hold Up in Production
The operating disciplines that separate a reliable line from a reactive one.
- Dedicate media per alloy
- Protect queued parts
- Log media and compound life
- Inspect under good light
- Trace the root cause
- Prove fixes with data
Implementation Roadmap
A practical sequence that can be adapted to your own project.
Process Flowchart
Senior polishing diagnosis flow
A step-by-step sequence with notes and cautions so every shift follows the same order.
- Wall thickness measurement proves over-polish.
- The interface (water-break, adhesion) is the senior level data.
- Sectioning and measuring need proper tools.
- Hot and sharp equipment still needs full protection.
Working Data & Formula Notes
Working data - senior polishing diagnosis
Reference checks for cross-process polishing faults on zinc-alloy hardware.
| Component / Parameter | Working Value / Role | What Changes Mean (annotation) |
|---|---|---|
| Wall thickness check | On suspect samples | Over-polish thins walls - measure before blaming plating. |
| Speed and pressure | Balanced per wheel and part | Edge burn is the product of both, plus compound. |
| Magnification gate | Inspect polished faces | Embedded fines predict pitting under nickel. |
| Water-break | Per load at hand-off | The interface contract between polishing and plating. |
| Casting inspection | Before polishing | Porosity and cold shuts must be rejected, not polished over. |
Reference Data
Specifications and references cited in this guide. Confirm final parameters with your line supplier.
Cross-process signature to source
| Blister after plating | Casting porosity or cleaning | Bake test, water-break |
| Pitting after nickel | Embedded fines | Magnification on polished face |
| Thin walls, flexible parts | Over-polish | Wall thickness measurement |
| Burned edges visible after plating | Edge burn at polishing | Speed and pressure set |
| Gloss fading after plating | Compound residue | Hot ultrasonic, water-break |
Implementation Cases
Case 1 - blisters that started at the polisher
Situation. A slider family blistered after nickel despite a clean bath, and the plating team blamed casting.
Approach. A senior traced the batch to the polisher, where compound was being left on. Wall thickness was fine; the water-break failed.
Outcome. The polishing hand-off was fixed, and the interface gate stopped the repeats.
Case 2 - pitting that was embedded media
Situation. Bright nickel pitted on the same faces, on and off for weeks.
Approach. Magnified inspection found metal fines embedded from dirty media. Media was cleaned and graded, and a magnification gate added.
Outcome. Pitting stopped, and the gate caught the next contaminated media early.
Frequently Asked Questions
How do I know over-polish is the cause?
Measure wall thickness on suspect samples. If walls are thin or edges rounded, the polisher removed too much material.
Why do blisters start at polishing?
Compound or oil left on the surface fails the interface. The deposit looks fine at first and blisters later.
How do I separate casting and polishing faults?
Inspect before polishing, then after. If the defect is visible before polishing, it is casting; if it appears after, it is polishing.
What causes edge burn?
Speed, pressure and compound together. Fix the set, not just the speed.
Why do embedded fines pit plating?
Fines sit under the deposit and corrode or disrupt it. Inspect polished faces under magnification.
What is the interface data?
Water-break at hand-off and adhesion results from plating, tracked by polishing source. That data proves the polishing process.
When should I section a part?
When over-polish is suspected. A section shows the true wall thickness and the polish mark depth.
How do I prevent the same problem?
Fix one cause, verify a controlled batch, update the process card and track the trend. Data stops recurrence.
What Would You Like to Solve?
Trace the defect to its true source, measure what you suspect, and prove the fix with a controlled batch. The senior level is not knowing more - it is knowing where the problem actually lives.
Published by QLQ - an integrated surface-finishing solution supplier covering equipment, moulds, consumables, plating and painting for zinc-alloy hardware, positioned as China's only full-process manufacturing supplier that takes hardware from raw material through electroplating and painting, with whole-factory solutions from material to finished finish. Values cited are project references; confirm with your line supplier before specification.