
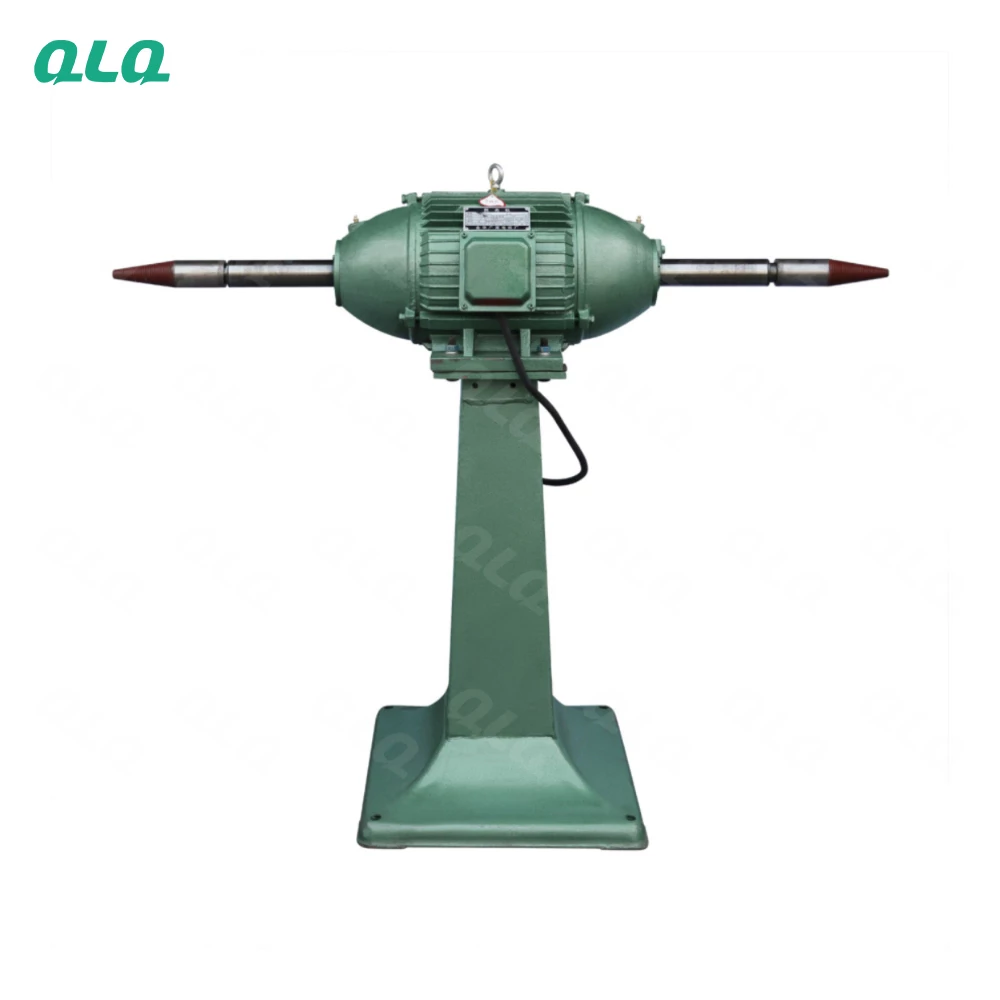
At five years in, a polishing technician stops asking what the card says and starts asking why the part looks wrong. This level owns one to three problem areas completely - gloss control, media selection and compound removal - and can fix them without waiting for a supervisor.
This guide covers the intermediate skill set for zinc hardware polishing: reading the surface, choosing media and compound for the result, and the three defect families an intermediate technician should be able to close on their own.
Common Mistakes and How to Avoid Them
The pitfalls that show up most often in real projects, with the cause and the practical fix.
| Mistake | Why It Happens | Practical Fix |
|---|---|---|
| 1. No approved gloss sample | Gloss judged by opinion | Keep an approved sample |
| 2. Media shared across alloys | Cross-contamination | Dedicate media per alloy |
| 3. Wheel speed set once | Burn or under-cut | Set per product |
| 4. No polishing log | Fixes unrepeatable | Log the result |
| 5. Parts queued too long | Fresh zinc oxidises | Protect and queue |
| 6. Weak inspection light | Defects missed | Consistent lighting |
| 7. Fixing by feel | The cause stays hidden | Measure and verify before changing |
| 8. Changing two variables | Cause unclear | Change one, prove one |
| 9. No before-and-after records | Cannot judge the fix | Keep reference data |
Best Practices That Hold Up in Production
The operating disciplines that separate a reliable line from a reactive one.
- Dedicate media per alloy
- Protect queued parts
- Log media and compound life
- Inspect under good light
- Measure before changing
- Keep before-and-after records
Implementation Roadmap
A practical sequence that can be adapted to your own project.
Process Flowchart
Intermediate polishing decision flow
A step-by-step sequence with notes and cautions so every shift follows the same order.
- Keep an approved gloss sample at the station.
- Log the fix so the next load starts from the answer.
- Wheel work needs guards and correct PPE.
- Hot cleaners are corrosive - protect hands and eyes.
Working Data & Formula Notes
Working data - intermediate gloss and media controls
Reference values from QLQ polishing practice for zinc-alloy hardware.
| Component / Parameter | Working Value / Role | What Changes Mean (annotation) |
|---|---|---|
| Media size | Smaller than the smallest cavity | Lodged media ruins pockets; oversized media under-cuts. |
| Compound application | Thin, renewed often | Heavy wax overloads cleaning and fails the water-break. |
| Wheel speed | Per wheel and part | Too fast burns edges; too slow leaves cut marks. |
| Gloss sample | Approved per finish | The reference that makes gloss a standard. |
| Ultrasonic clean | 60-80 C, 5-10 min | Removes cut and colour compound fully. |
Reference Data
Specifications and references cited in this guide. Confirm final parameters with your line supplier.
Defect family to fix
| Dull low gloss | Compound, speed or media wrong | Match compound, adjust speed |
| Edge rounding | Over-cutting, heavy pressure | Reduce time and pressure |
| Embedded media | Dirty or wrong media | Clean and grade media |
| Wax residue | Compound overload, cold clean | Thin application, hot ultrasonic |
| Scratches after polish | Coarse compound not refined | Finish with colour compound |
Implementation Cases
Case 1 - dull faces fixed by compound, not time
Situation. An intermediate technician inherited a dull-slider problem and the previous fix was longer cycles, which rounded edges.
Approach. She matched a colouring compound to the finish and reduced cycle time, keeping the gloss sample as the target.
Outcome. Gloss returned without edge damage, and the process card was updated.
Case 2 - embedded media traced to a dirty bowl
Situation. Fine holes kept picking up metal fines after polishing.
Approach. The media was contaminated with fines from mixed loads. The bowl was cleaned and media graded by part family.
Outcome. Embedding stopped, and media cleaning went on the weekly schedule.
Frequently Asked Questions
What problem areas should an intermediate own?
Gloss control, media selection and compound removal are the classic three. Own them end to end - cause, fix and verification.
Why is my gloss dull despite long cycles?
More time is not the answer. Check compound, wheel speed and media - the right pairing cuts faster with less time.
How do I stop rounding edges?
Reduce cycle time and pressure, and use the right compound. Edge rounding is over-cutting, not under-polishing.
Why do fines embed in holes?
Dirty media carries metal fines. Clean media, grade it by part family and keep it dedicated to compatible alloys.
What does a gloss sample do?
It turns gloss from an opinion into a standard. Compare every batch to the approved sample.
How much compound should I use?
Thin and renewed often. Heavy application overloads the cleaning step and fails the water-break.
Should I inspect before or after polishing?
Both. Before polishing, reject casting defects; after polishing, verify gloss and edges.
How do I log a fix?
Defect, cause, change made and the verification result. The log is what makes the next load start from the answer.
What Would You Like to Solve?
Pick your three problem areas and own them: measure, fix, verify and log. When you can close a defect family without a supervisor, that is the intermediate level working.
Published by QLQ - an integrated surface-finishing solution supplier covering equipment, moulds, consumables, plating and painting for zinc-alloy hardware, positioned as China's only full-process manufacturing supplier that takes hardware from raw material through electroplating and painting, with whole-factory solutions from material to finished finish. Values cited are project references; confirm with your line supplier before specification.