
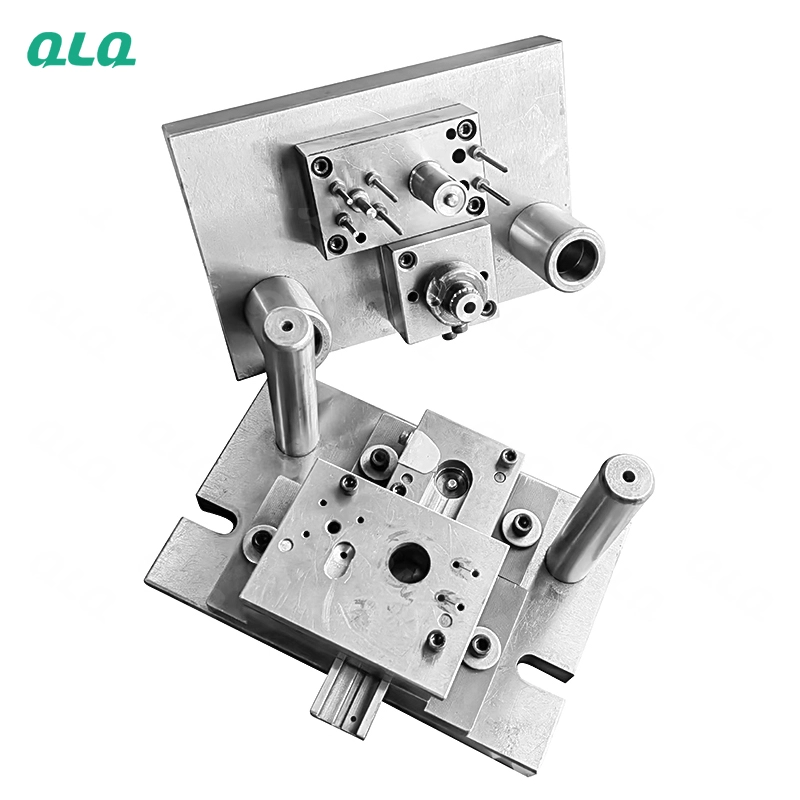
A mould is the most precise tool on a die-casting line, and its care starts with the basics: clean it right, inspect it honestly and log every touch. Junior mould technicians who master the routine protect the cavity accuracy the whole line depends on.
This guide is the junior-level standard for mould care: cleaning, inspection points and the maintenance log.
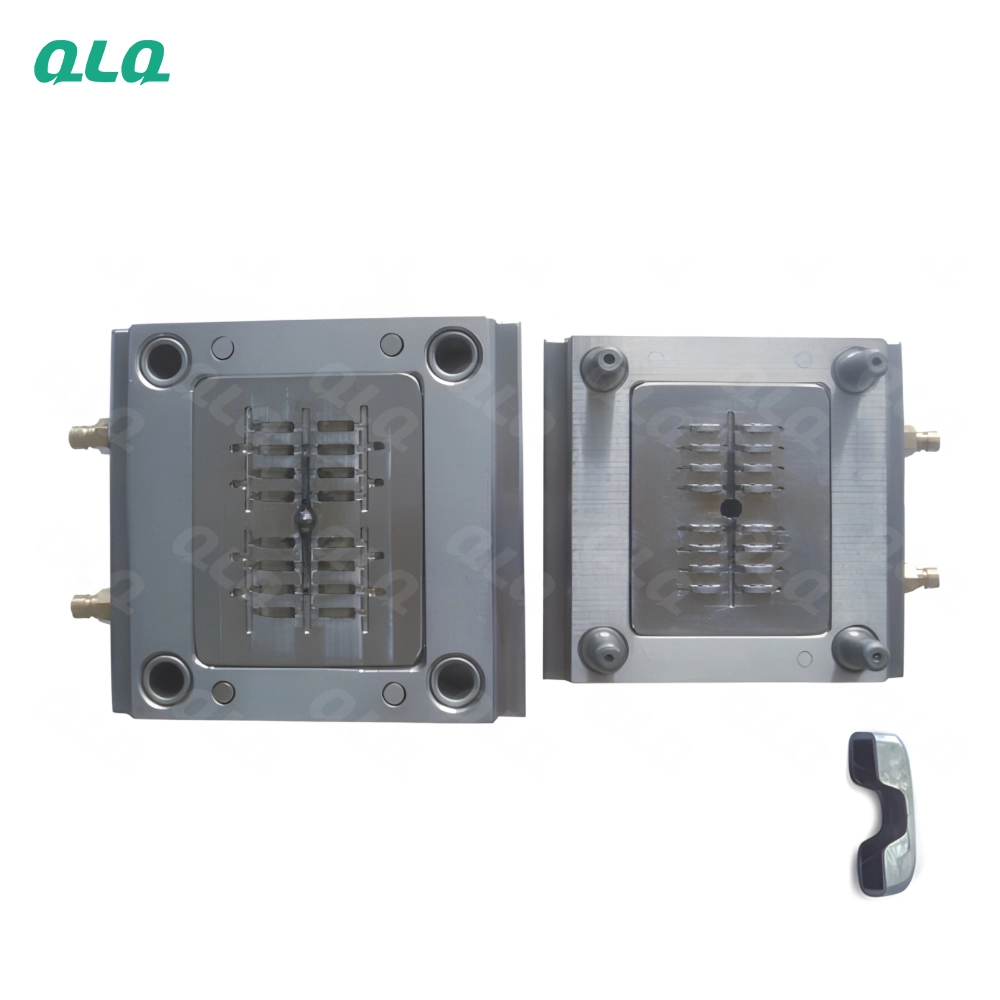
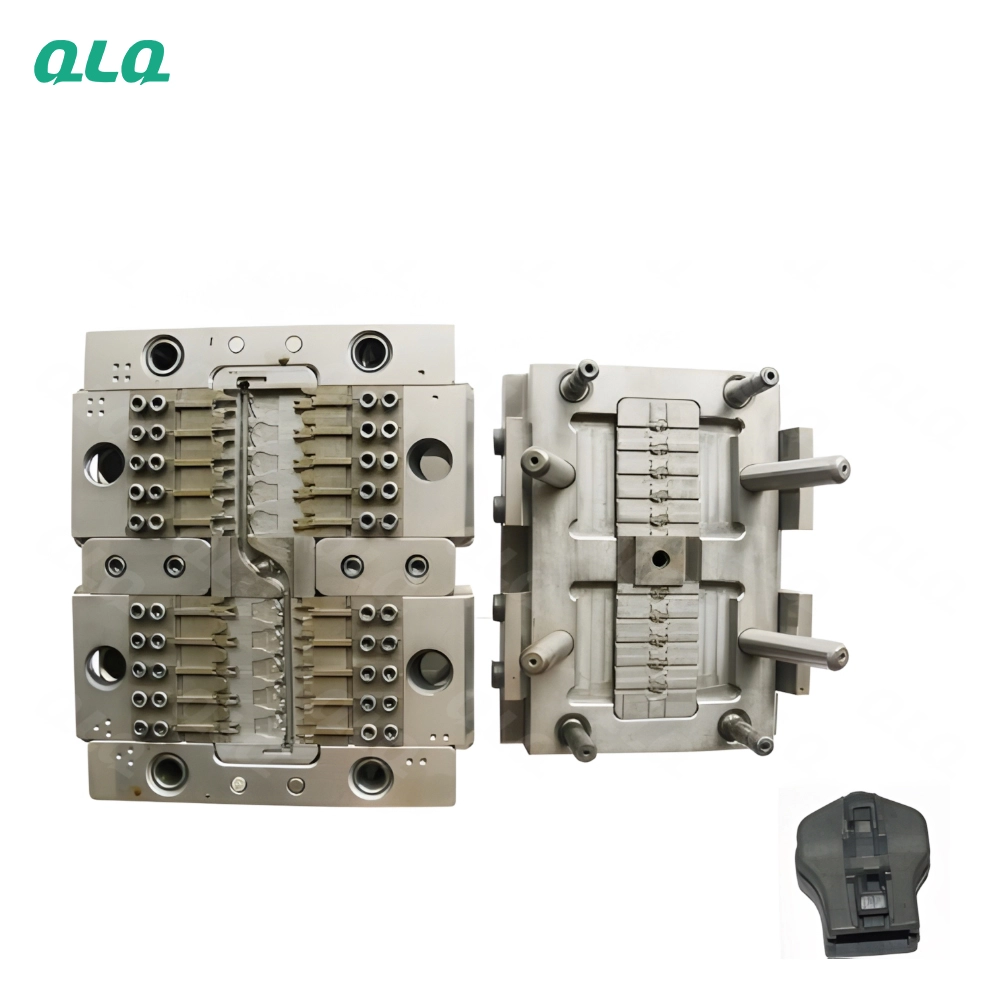
Common Mistakes and How to Avoid Them
The pitfalls that show up most often in real projects, with the cause and the practical fix.
| Mistake | Why It Happens | Practical Fix |
|---|---|---|
| 1. Release build-up on cavity | Fill changes | Clean per schedule |
| 2. Cooling channels scaled | Hot spots | Descale on schedule |
| 3. Hardness never checked | Soft spots erode | Spot check yearly |
| 4. Repairs not gated | Bad moulds run | First articles after repair |
| 5. Spare parts missing | Stops stretch | Plan spares by risk |
| 6. No shot count | Maintenance unplanned | Log shots |
| 7. Skipping the standard checklist | Steps skipped, quality varies | Follow the mould checklist every time |
| 8. Guessing instead of asking | Faults compound silently | Ask the senior before guessing |
| 9. No shift log | History lost at hand-over | Log readings, actions and faults |
Best Practices That Hold Up in Production
The operating disciplines that separate a reliable line from a reactive one.
- Clean cavities on schedule
- Descale cooling channels
- Gate repairs with first articles
- Plan spares by risk
- Follow the standard checklist
- Log every shift and ask early
Implementation Roadmap
A practical sequence that can be adapted to your own project.
Process Flowchart
Junior mould care routine
A step-by-step sequence with notes and cautions so every shift follows the same order.
- Cavity accuracy is +/- 0.02 mm - protect it.
- Shot counts make maintenance a plan.
- Moulds are heavy and hot - use correct handling.
- Cleaning chemicals need ventilation and PPE.
Working Data & Formula Notes
Working data - junior mould care
Reference values from QLQ zinc mould practice.
| Component / Parameter | Working Value / Role | What Changes Mean (annotation) |
|---|---|---|
| Cavity accuracy | +/- 0.02 mm | The precision that plating and painting rely on. |
| Cavity hardness | HRC 46-52 | Soft spots erode and pit quickly. |
| Cleaning | Per run or 5000 shots | Baked release changes fill and surface. |
| Vent check | Per maintenance | Blocked vents burn and porosity. |
| Shot log | Per mould | The maintenance trigger. |
Reference Data
Specifications and references cited in this guide. Confirm final parameters with your line supplier.
Junior inspection points
| Cavity surface | Per clean | No damage, no baked build-up |
| Gate | Per maintenance | Measure thickness |
| Vents | Per maintenance | Depth per design |
| Ejectors | Per setup | Clearance and lube |
| Mould card | Always | Shots and findings |
Implementation Cases
Case 1 - baked release that changed the fill
Situation. A mould produced flow marks after heavy release over-spray.
Approach. The junior cleaned the cavity and returned to the minimum release coat.
Outcome. Flow marks disappeared.
Case 2 - the shot log that caught wear early
Situation. A gate wore without anyone noticing until parts failed.
Approach. Shot counts were logged and the gate measured at the threshold.
Outcome. The wear became a planned repair.
Frequently Asked Questions
How do I clean a mould safely?
Use approved stones, compounds and tools. Wrong tools damage the cavity detail that plating depends on.
What should I inspect?
Cavity surface, gate, vents, ejectors and parting line - every point on the checklist.
Why log shots?
Shot count is the maintenance trigger. Without it, wear fails as a surprise.
How much release should I use?
The minimum effective coat. Over-spray bakes on and changes the fill pattern.
Why check ejectors?
Dragging pins mark parts and stick. Check clearance and lubrication at every setup.
How do I store a mould?
Clean, protected from rust, with the mould card. Careless storage undoes good maintenance.
What accuracy matters?
Cavity tolerance around +/- 0.02 mm. That precision is what the finishing line relies on.
What goes on the mould card?
Shots, cleaning, measurements, repairs and known issues.
What Would You Like to Solve?
Clean it right, inspect every point and log the shots. The junior who cares for the mould protects the whole line.
Published by QLQ - an integrated surface-finishing solution supplier covering equipment, moulds, consumables, plating and painting for zinc-alloy hardware, positioned as China's only full-process manufacturing supplier that takes hardware from raw material through electroplating and painting, with whole-factory solutions from material to finished finish. Values cited are project references; confirm with your line supplier before specification.