
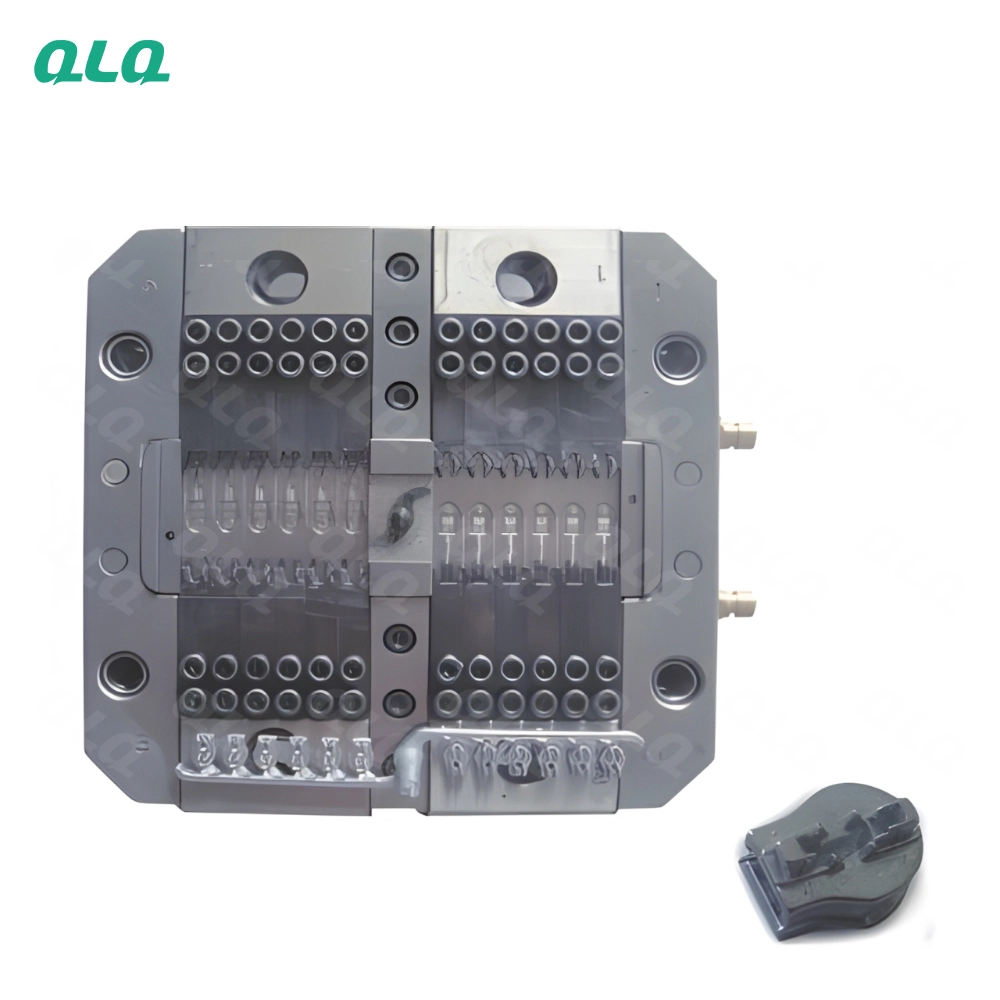
At five years, a mould technician owns the geometry problems: gate sizing, vent depth and cooling circuits. These three decide fill, gas and part distortion, and they are the areas an intermediate fixes alone.
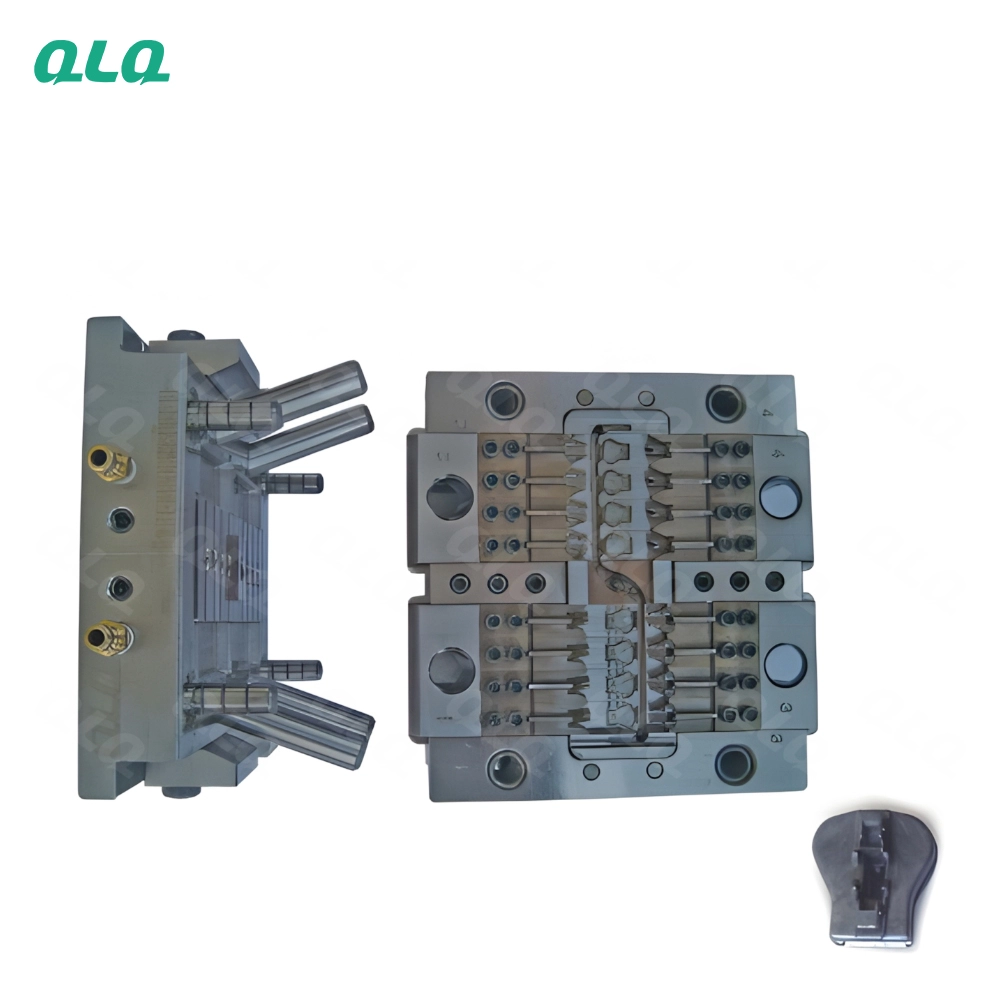
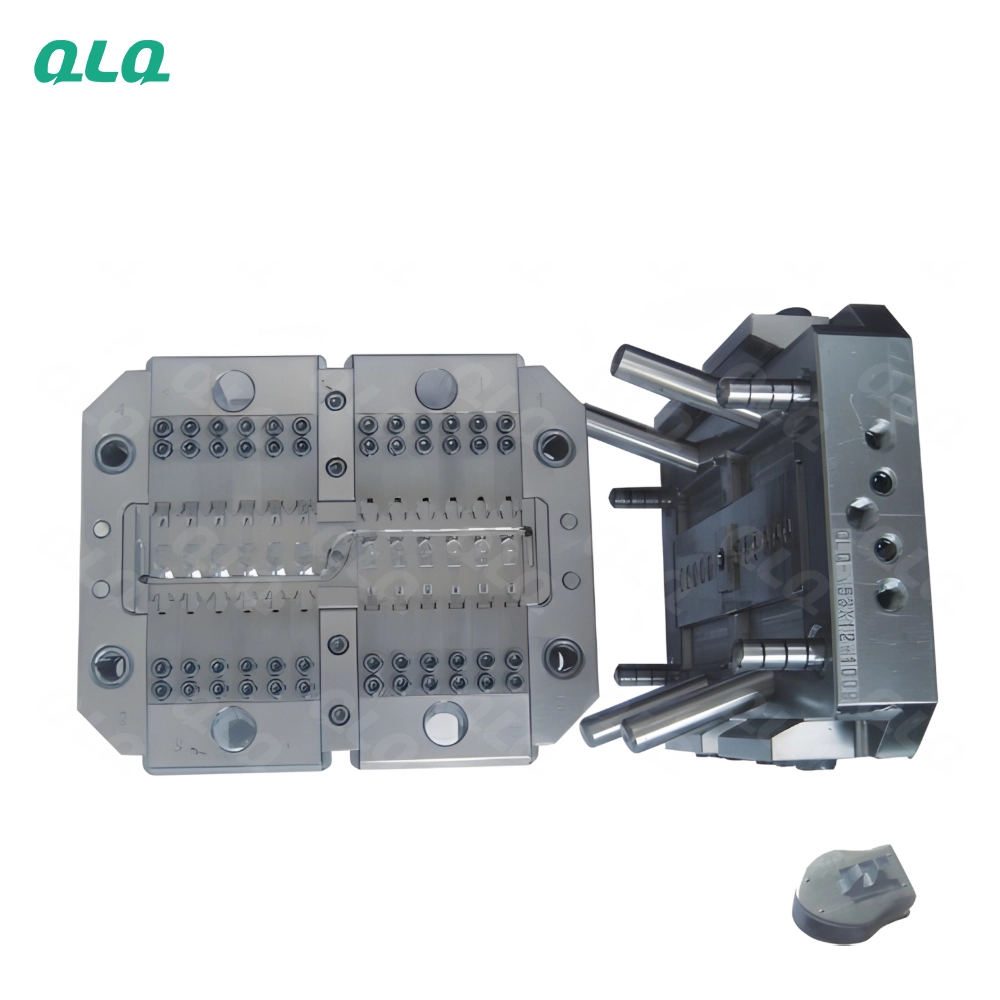
This guide covers gating, venting and cooling care - the mould problem areas that print quality into every part.
Common Mistakes and How to Avoid Them
The pitfalls that show up most often in real projects, with the cause and the practical fix.
| Mistake | Why It Happens | Practical Fix |
|---|---|---|
| 1. Release build-up on cavity | Fill changes | Clean per schedule |
| 2. Cooling channels scaled | Hot spots | Descale on schedule |
| 3. Hardness never checked | Soft spots erode | Spot check yearly |
| 4. Repairs not gated | Bad moulds run | First articles after repair |
| 5. Spare parts missing | Stops stretch | Plan spares by risk |
| 6. No shot count | Maintenance unplanned | Log shots |
| 7. Fixing by feel | The cause stays hidden | Measure and verify before changing |
| 8. Changing two variables | Cause unclear | Change one, prove one |
| 9. No before-and-after records | Cannot judge the fix | Keep reference data |
Best Practices That Hold Up in Production
The operating disciplines that separate a reliable line from a reactive one.
- Clean cavities on schedule
- Descale cooling channels
- Gate repairs with first articles
- Plan spares by risk
- Measure before changing
- Keep before-and-after records
Implementation Roadmap
A practical sequence that can be adapted to your own project.
Process Flowchart
Intermediate mould care flow
A step-by-step sequence with notes and cautions so every shift follows the same order.
- Cooling is the quiet control - test it, do not assume it.
- Gate and vent geometry set fill quality.
- Cooling line descaling needs correct chemicals.
- Hot moulds need safe handling tools.
Working Data & Formula Notes
Working data - intermediate mould windows
Reference geometry values for zinc die-casting moulds.
| Component / Parameter | Working Value / Role | What Changes Mean (annotation) |
|---|---|---|
| Gate thickness | 0.8-1.2 mm | Sets fill velocity; erosion changes flow marks. |
| Runner diameter | 6-10 mm | Feeds the gate with balanced pressure. |
| Vent depth | Per design | Too deep flashes; blocked vents burn. |
| Cooling water | 15-25 C | Uniform heat removal; flow per channel. |
| Channel to cavity | 15-25 mm | Spacing decides cooling uniformity. |
Reference Data
Specifications and references cited in this guide. Confirm final parameters with your line supplier.
Mould defect to check
| Flow marks | Gate erosion | Measure and refurbish gate |
| Gas burns | Vents blocked | Clean and check depth |
| Part warping | Uneven cooling | Test flow per channel |
| Soldering | Mould too hot | Cooling and release |
| Cold shuts at one spot | Gate or vent at that section | Measure and clean |
Implementation Cases
Case 1 - warping traced to a silent channel
Situation. Parts warped at one corner, blamed on the cycle.
Approach. The flow test showed one cooling channel nearly blocked. It was flushed and flow restored.
Outcome. Warping stopped.
Case 2 - flow marks that followed gate erosion
Situation. Flow marks appeared after a high shot count.
Approach. The gate measured below the drawing thickness. It was refurbished.
Outcome. Flow marks cleared, and gate measurement joined maintenance.
Frequently Asked Questions
Why does the gate matter so much?
Gate thickness and shape set the fill velocity. Erosion changes the pattern and prints flow marks.
What happens if vents are wrong?
Too deep flashes; blocked vents burn and create gas porosity. Set depth per design.
How do I test cooling?
Compare flow between channels at 15-25 C water. A silent channel is a hot spot waiting to warp.
Why map mould temperature?
The map shows hot spots that soldering and warping come from. Fix cooling where the map is hot.
How often should I descale channels?
On a schedule based on water quality. Scale slowly kills cooling without any visible warning.
Should I change gate and cooling together?
No. One area, one verification batch, then the next.
What should I record?
Gate measurements, vent depth, flow tests and temperature maps on the mould card.
What does an intermediate own?
Gating, venting and cooling - three problem areas, owned end to end.
What Would You Like to Solve?
Measure the gate, set the vents, test the cooling and map the heat. Own these three and the mould prints quality.
Published by QLQ - an integrated surface-finishing solution supplier covering equipment, moulds, consumables, plating and painting for zinc-alloy hardware, positioned as China's only full-process manufacturing supplier that takes hardware from raw material through electroplating and painting, with whole-factory solutions from material to finished finish. Values cited are project references; confirm with your line supplier before specification.