
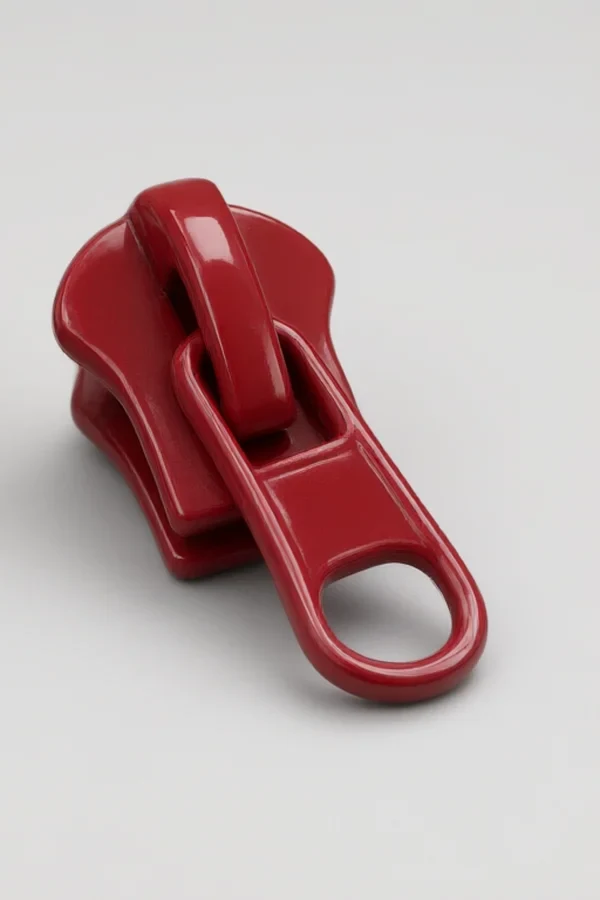
Color is where zinc alloy hardware becomes a fashion statement. Spray painting, lacquering and electrophoretic coating give hardware the matte, rubber-touch, gloss or two-tone finishes that buyers want. Unlike plating, painting is a clean-room discipline: dust, humidity, viscosity and cure temperature all write their names on the finished surface.
This guide focuses on Zinc Alloy Zipper Slider finished as Glossy Red PU Painted - one product, one process, from the master's notebook: what can go wrong, how the SOP runs, what chemistry is in the tank, and how to prove the result.
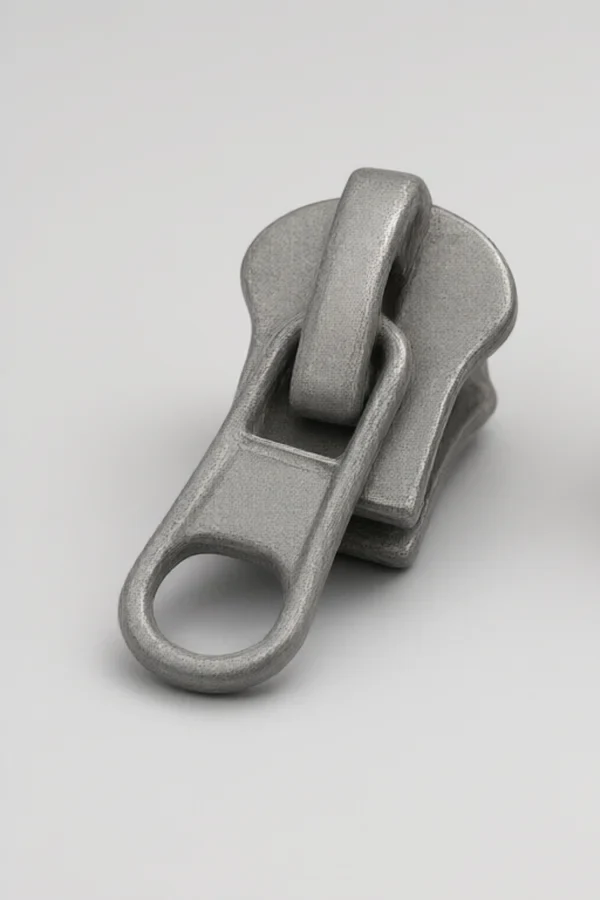
10 Common Problems & Solutions - Zinc Alloy Zipper Slider
Field-tested by workshop masters: the ten defects plating and painting shops see most often on zinc alloy zipper slider, with root causes and the exact fix used on the production line.
| Problem | Root Cause | Master's Fix |
|---|---|---|
| 1. Orange peel texture | Viscosity too high or atomization poor | Reduce viscosity to 16-22 s, raise atomization to 2-3 bar, reduce gun distance |
| 2. Sagging or runs | Film too thick or flash time too short | Apply thinner coats, extend flash to 8-12 min, lower fluid output |
| 3. Pinholes after bake | Solvent trapped and popping during cure | Extend flash time, lower bake ramp, apply thinner coats |
| 4. Blisters in the film | Moisture under the paint | Verify parts are bone dry before painting, control booth RH under 65% |
| 5. Poor adhesion (cross-cut fail) | Surface contamination or over-smooth substrate | Full pre-treatment, etch primer for glossy plated surfaces, abrade lightly |
| 6. Color mismatch between batches | Batch variation or film thickness drift | Use one approved paint batch, control film thickness, check in light booth dE <= 1.0 |
| 7. Dust specks in finish | Booth contamination | Class 100k filtration, tack-off parts before spray, clean booth daily |
| 8. Fisheyes or craters | Silicone or oil contamination | Clean air supply, degrease parts, add flow additive |
| 9. Soft film, low hardness | Under-cure or wrong hardener ratio | Verify metal temperature in oven, correct resin : hardener ratio, extend bake |
| 10. High overspray waste | Gun settings or booth airflow wrong | Optimize atomization, maintain booth airflow, reclaim overspray where possible |
Key Measures to Improve Quality
The daily disciplines that separate a 98% line from a 99.5% line:
- Check viscosity of every batch with a Ford cup #4 before spraying.
- Cross-cut adhesion on 3 parts per batch.
- Film thickness at 5 points per part with a magnetic gauge.
- Profile the bake oven weekly with temperature loggers on parts.
- Color check in D65 / TL84 / CWF light booth on every lot.
- MEK rub test once per shift.
- First-article sign-off per color and per batch.
- Salt spray sample daily for corrosion-class products.
SOP - Step-by-Step Operating Procedure for Zinc Alloy Zipper Slider
Workshop SOP with time, temperature and control points. Post this at the tank line.
Formula, Technical Parameters & Test Standards
Typical paint and lacquer systems for zinc alloy hardware.
Bath / Formula (working concentrations)
| Two-component PU paint - resin : hardener | 4:1 to 6:1 by weight |
| Thinner addition | 10-25% to reach Ford cup #4 16-22 s at 25 C |
| Dry film thickness - single coat | 20-35 um; two coats 40-60 um |
| Flash-off between coats | 8-12 min at room temperature |
| Bake schedule (PU) | 120-150 C metal temperature, 30-45 min |
Bath / Formula (continued)
| Cathodic electrophoretic clear coat | Solids 10-14%, pH 5.8-6.4 |
| Electrophoretic bath temperature / voltage | 28-32 C / 100-250 V |
| Electrophoretic time / bake | 1-3 min / 160-180 C, 20-30 min |
| Soft-touch rubber paint | 2 coats + matting agent, bake 70-90 C low-temp or PU system |
| Viscosity control | Ford cup #4, 16-22 s, checked every batch |
Operating Parameters
| Spray booth class | Class 100k clean, positive pressure |
| Booth climate | 22-26 C, 45-65% RH |
| Gun type / nozzle | HVLP, 1.3-1.8 mm nozzle |
| Atomization pressure | 2-3 bar |
| Gun distance | 15-25 cm from part |
| Tumble spray load | 15 kg per drum, pre-heat 50 C 5 min |
| Tumble spray time | 15-20 min multiple thin coats |
| Rack spray time | 1-2 min per coat by hand or spindle |
| Cure oven zoning | Check metal temperature, not air temperature |
| VOC abatement | Activated carbon + UV photolysis on exhaust |
| Booth water curtain | Maintain 25-30% solids purge per day |
Inspection & Test Standards
| Standard | Requirement |
|---|---|
| ISO 2409 / ASTM D3359 | Cross-cut adhesion, class 0-1 required |
| ISO 15184 | Pencil hardness - 2H minimum for PU |
| ASTM D2794 | Impact resistance test |
| MEK rub test | 50 double rubs, no film softening or dulling |
| ISO 9227 salt spray | 48-96 h per customer class |
| Color difference | dE <= 1.0 vs approved master in D65 light booth |
| ISO 2808 | Film thickness measurement |
Workshop Line Data for Workshop Managers
Reference capacity and utility data for planning this tumble spray + curing line around zinc alloy zipper slider.
| Line / Cell | Tumble Spray + Curing Line |
| Batch / Rack Load | 15 kg / tumble drum |
| Cycle Time | 55-70 min / batch |
| Daily Output (10-hour shift) | 40,000-46,000 pcs |
| Installed Power Demand | 88 kW |
| Operating Staff | 6 operators + 1 QC |
| Floor Area | 300 m2 |
| Water Consumption | 5 m3/day |
Master Tips from the Workshop Floor
- A paint line is a clean room first and a paint line second. One dust particle is one visible reject.
- Thin coats win every time: two thin coats outlast one thick coat, and they never sag.
- Bake by metal temperature, not oven air temperature - a cold rack in a hot oven cures nothing.
- If adhesion fails, suspect moisture before blaming the paint. Dry parts are 80% of paint quality.
QLQ engineers can review your line, supply bath chemistry, paint systems and equipment, and support a pilot run with your own parts. Send samples or drawings - our engineers reply within 24 hours with pricing and technical advice.
Published by QLQ Surface Finishing - your partner for zinc alloy surface treatment: pre-treatment, dewaxing, barrel and rack plating, spray painting, lacquering, electrophoretic coating, QC and packaging. Process values are production references; validate against your bath analysis and customer specification before scale-up.