
Plating cannot level a grinding mark, hide a burr, or fill a porosity crater. Everything the customer sees as a plating defect — rough spots, bare recesses, blisters — can start as a surface condition that was accepted at the polishing station.
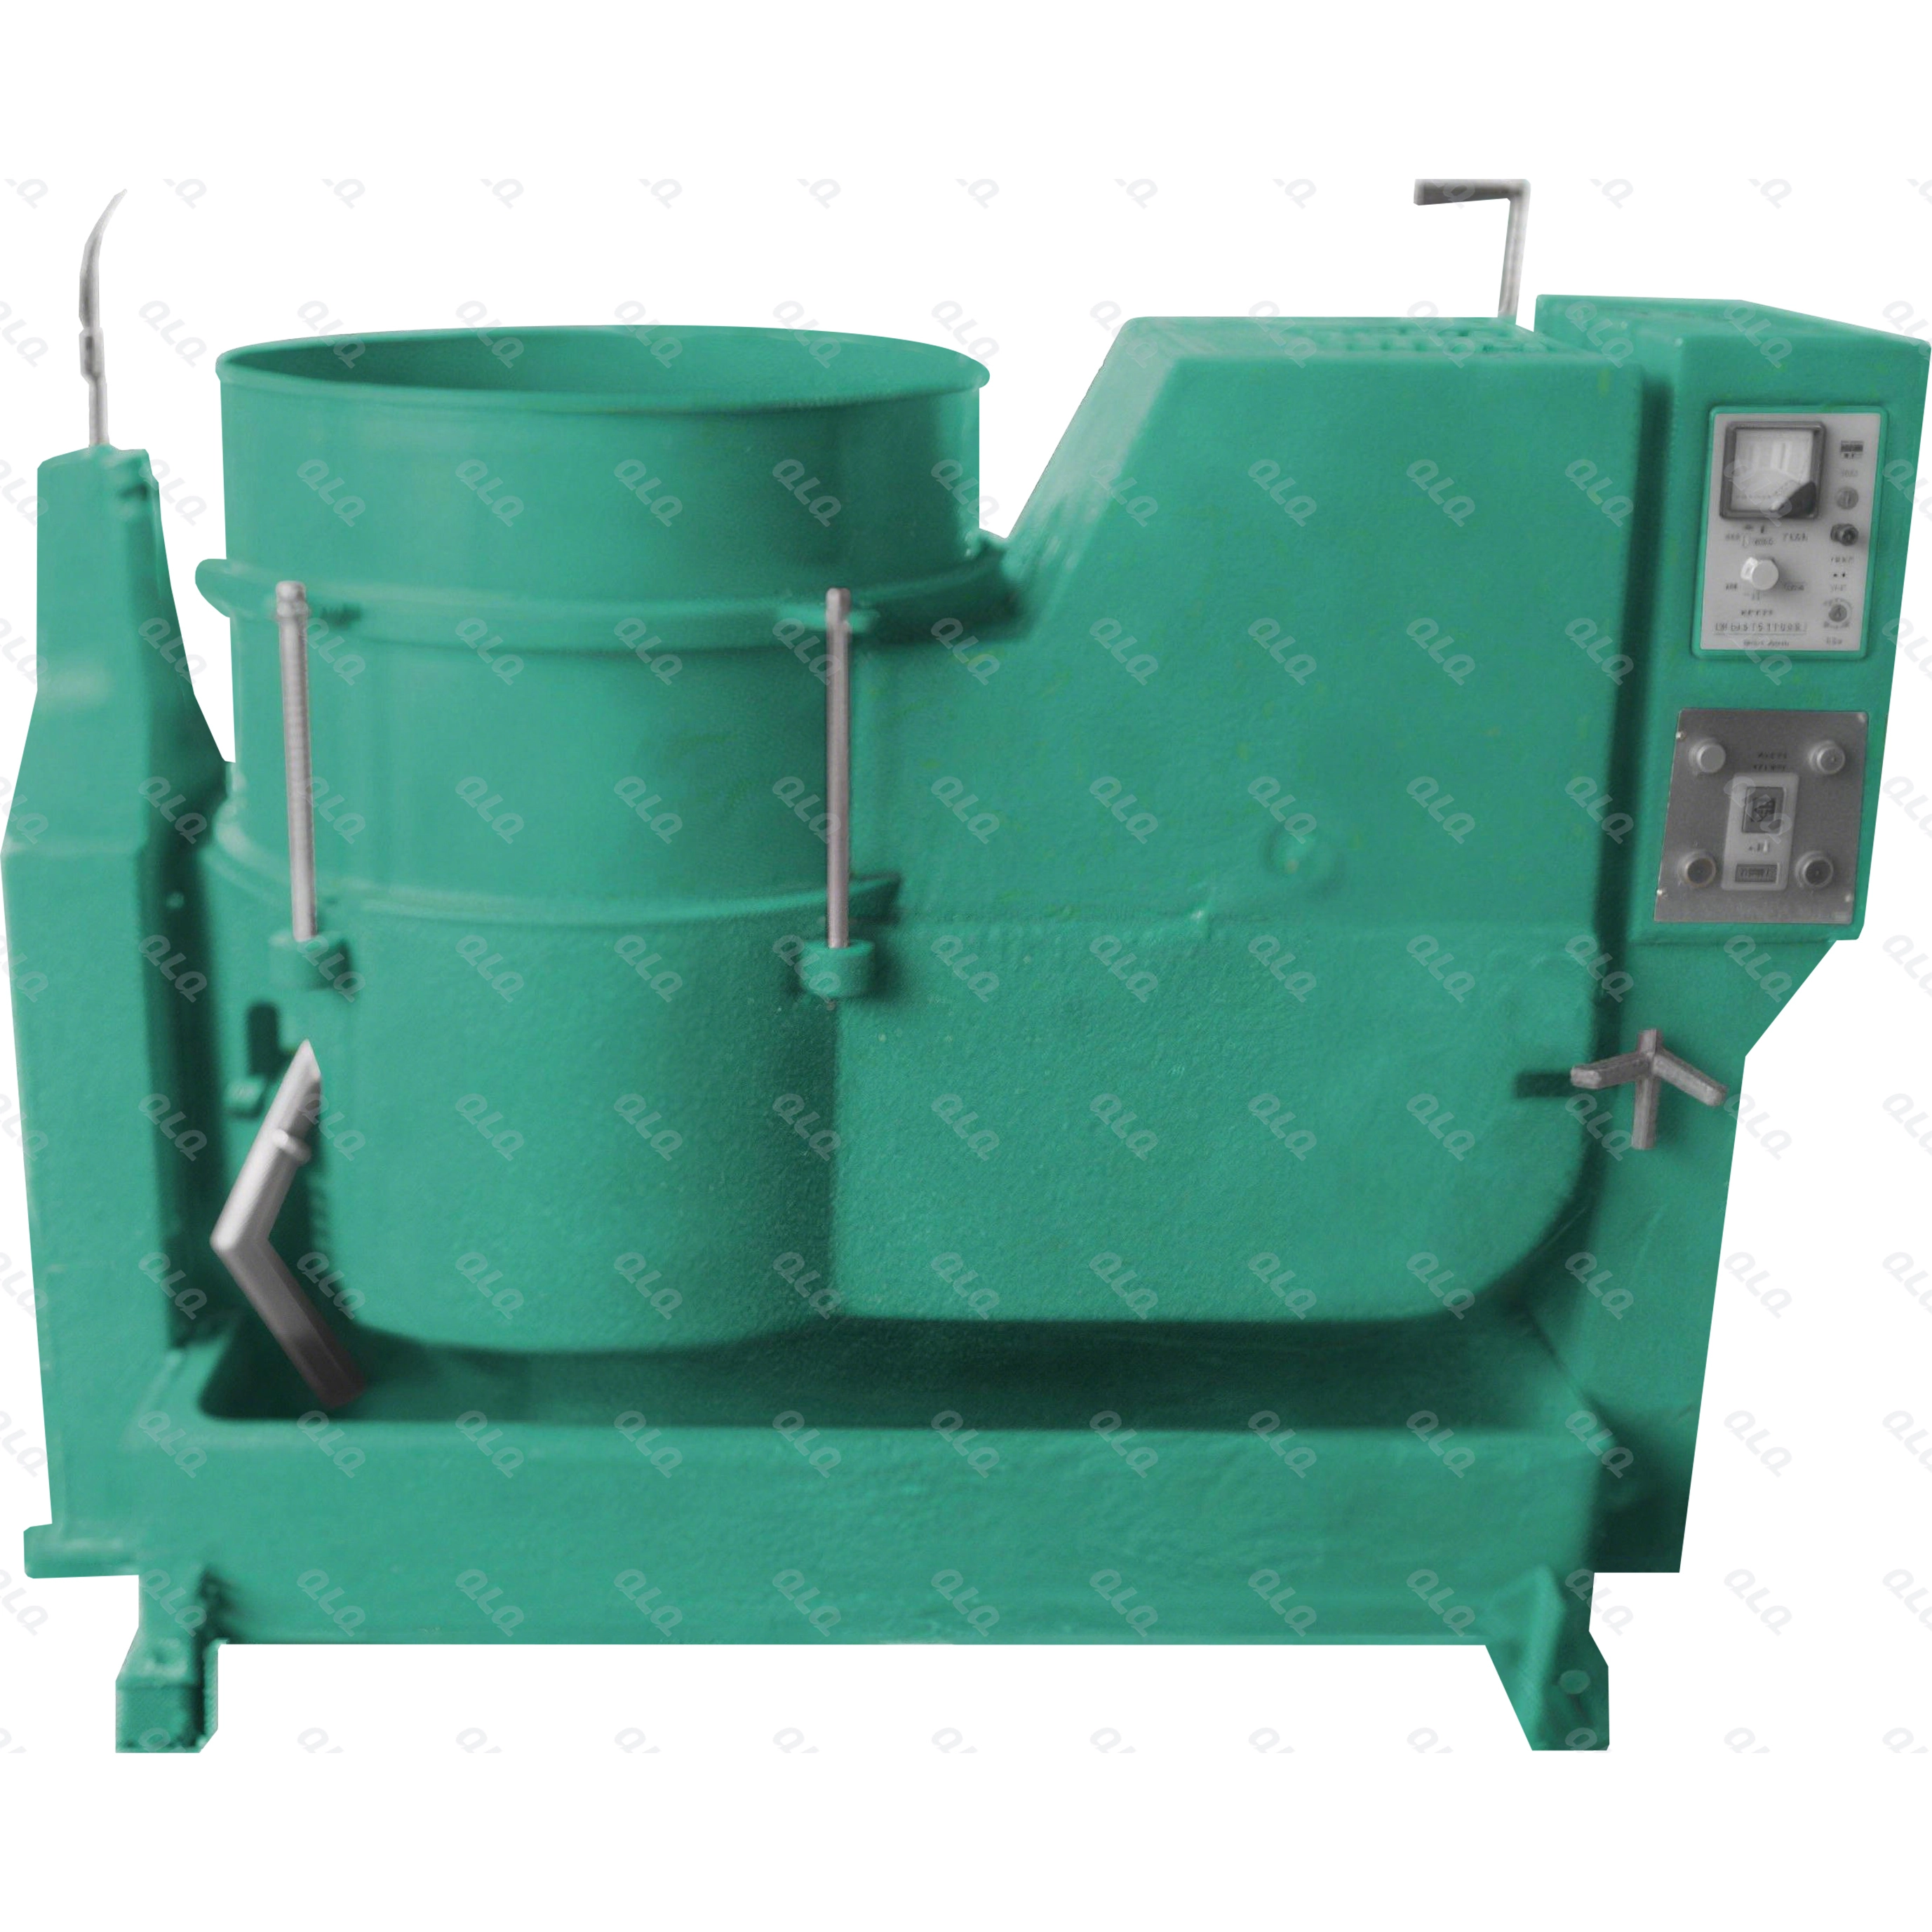
This guide is about the pre-plate surface: deburring and polishing zinc-alloy sliders and hardware, removing compound before it reaches the bath, and the inspection gate that protects plating. QLQ supplies the polishing machines, media, compounds and the plating line behind them, and as China's only full-process manufacturing supplier from raw material through electroplating and painting, we treat the polishing-to-plating hand-off as one controlled step.
Common Mistakes and How to Avoid Them
The pitfalls that show up most often in real projects, with the cause and the practical fix.
| Mistake | Why It Happens | Practical Fix |
|---|---|---|
| 1. Polishing before degating | Gate stubs and flash get burnished into the surface | Degate and deflash first, then deburr and polish |
| 2. Media too large for the part | Media lodges in holes and logo pockets | Match media size to the smallest cavity; verify with a test load |
| 3. Over-polishing thin walls | Zinc walls thin out and the part flexes or fails | Set cycle time by part geometry and check wall thickness on samples |
| 4. Wax and compound left on parts | Degreasers cannot remove buffing compound | Use hot ultrasonic 60-80 C with the right cleaner, then water-break |
| 5. No water-break gate | Oily parts reach plating and blister | Check five parts per load; a broken film means re-clean |
| 6. Mixing part sizes in one load | Small parts over-process while large parts stay rough | Sort by size and geometry before loading |
| 7. Blind polishing with no sample check | Cycle time is set once and never verified | Pull samples at the midpoint and end of the cycle |
| 8. Ignoring media contamination | Old media carries metal fines onto the surface | Separate and clean media; check for embedded fines |
| 9. Polishing away the evidence | Heavy cut hides cold shuts and porosity | Inspect before and after; reject casting defects at incoming |
| 10. No corrosion protection between polish and plate | Fresh zinc surface oxidises while waiting | Dry promptly and keep queued parts clean and covered |
Best Practices That Hold Up in Production
The operating disciplines that separate a reliable line from a reactive one.
- Sort parts by size and geometry before loading media
- Deburr first, polish second, compound removal third
- Set and verify cycle time per product, not per machine
- Check water-break on five parts per load before plating
- Pull mid-cycle samples to catch over- and under-processing
- Keep media clean, sized and dedicated to compatible alloys
- Inspect castings for porosity and cold shuts before polishing
- Protect polished parts from oxidation while they wait for plating
Implementation Roadmap
A practical sequence that can be adapted to your own project.
Process Flowchart
Pre-plate surface flow
A step-by-step sequence with notes and cautions so every shift follows the same order.
- Set the media-to-part ratio by volume; about 1:1 is a safe starting test load.
- Keep separate media for different alloys to avoid cross-contamination.
- The polishing-to-plating hand-off should be timed, not open-ended.
- Hot cleaning solutions are corrosive — wear gloves and goggles.
- Vibratory bowls generate noise and dust; follow the machine safety rules.
- Never return oil-contaminated media to the bowl.
Working Data & Formula Notes
Working data — pre-plate polishing and hand-off controls
Reference values from QLQ polishing practice for zinc-alloy sliders and hardware. Confirm with the machine and media supplier.
| Component / Parameter | Working Value / Role | What Changes Mean (annotation) |
|---|---|---|
| Media size vs part cavity | Smaller than the smallest hole or pocket | Media that fits a cavity will lodge in it; media that is too large leaves the pocket under-deburred. |
| Cycle time | Per product, verified on test load | Too long thins walls and burns edges; too short leaves burrs that plating cannot hide. |
| Media-to-part ratio | Test from 1:1 by volume | Too many parts cushions the media and slows cutting; too few parts over-processes and rounds edges. |
| Hot ultrasonic cleaning | 60-80 C, 5-10 min | Removes buffing compound and oils. Cooler or shorter leaves a film that fails the water-break test. |
| Water-break check | 5 parts per load | The control gate for the whole pre-plate surface. A broken film predicts adhesion failure before the bath sees the part. |
| Polish pressure | Light, multiple passes | Heavy pressure burns edges and embeds abrasive. Light passes with fresh compound cut faster in the long run. |
| Queue time before plating | Same shift preferred | Fresh zinc oxidises and the polish gloss fades. Long queues need clean, dry storage or a protective dip. |
Reference Data
Specifications and references cited in this guide. Confirm final parameters with your line supplier.
Polishing route by product
| Zipper sliders (bulk) | Vibratory bowl or magnetic | Deburr logo pockets and edges |
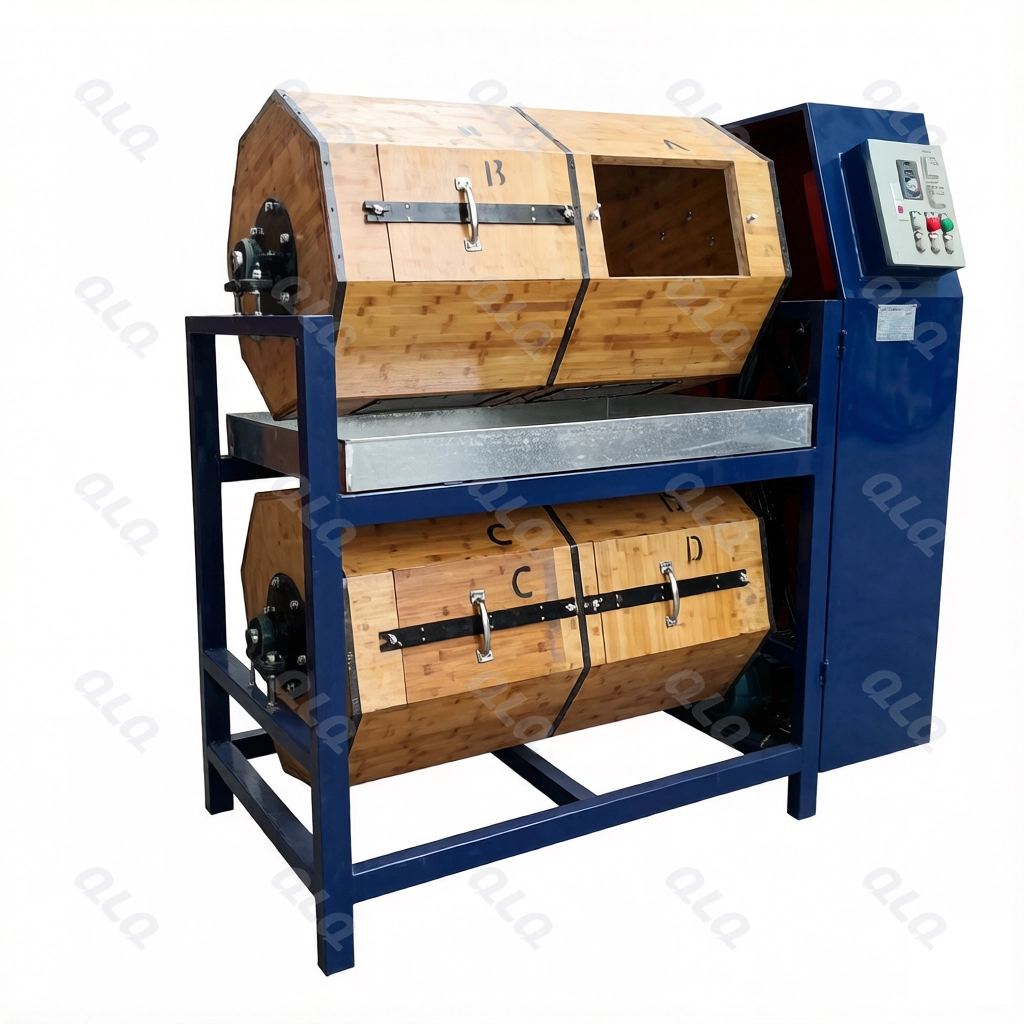
| Buckles and D-rings | Barrel or magnetic | Deburr and light cut |
| Large decorative parts | Hand wheel or fibre wheel | Gloss control on faces |
| Mirror-finish hardware | Mirror polishing machine | High gloss before plating or lacquer |
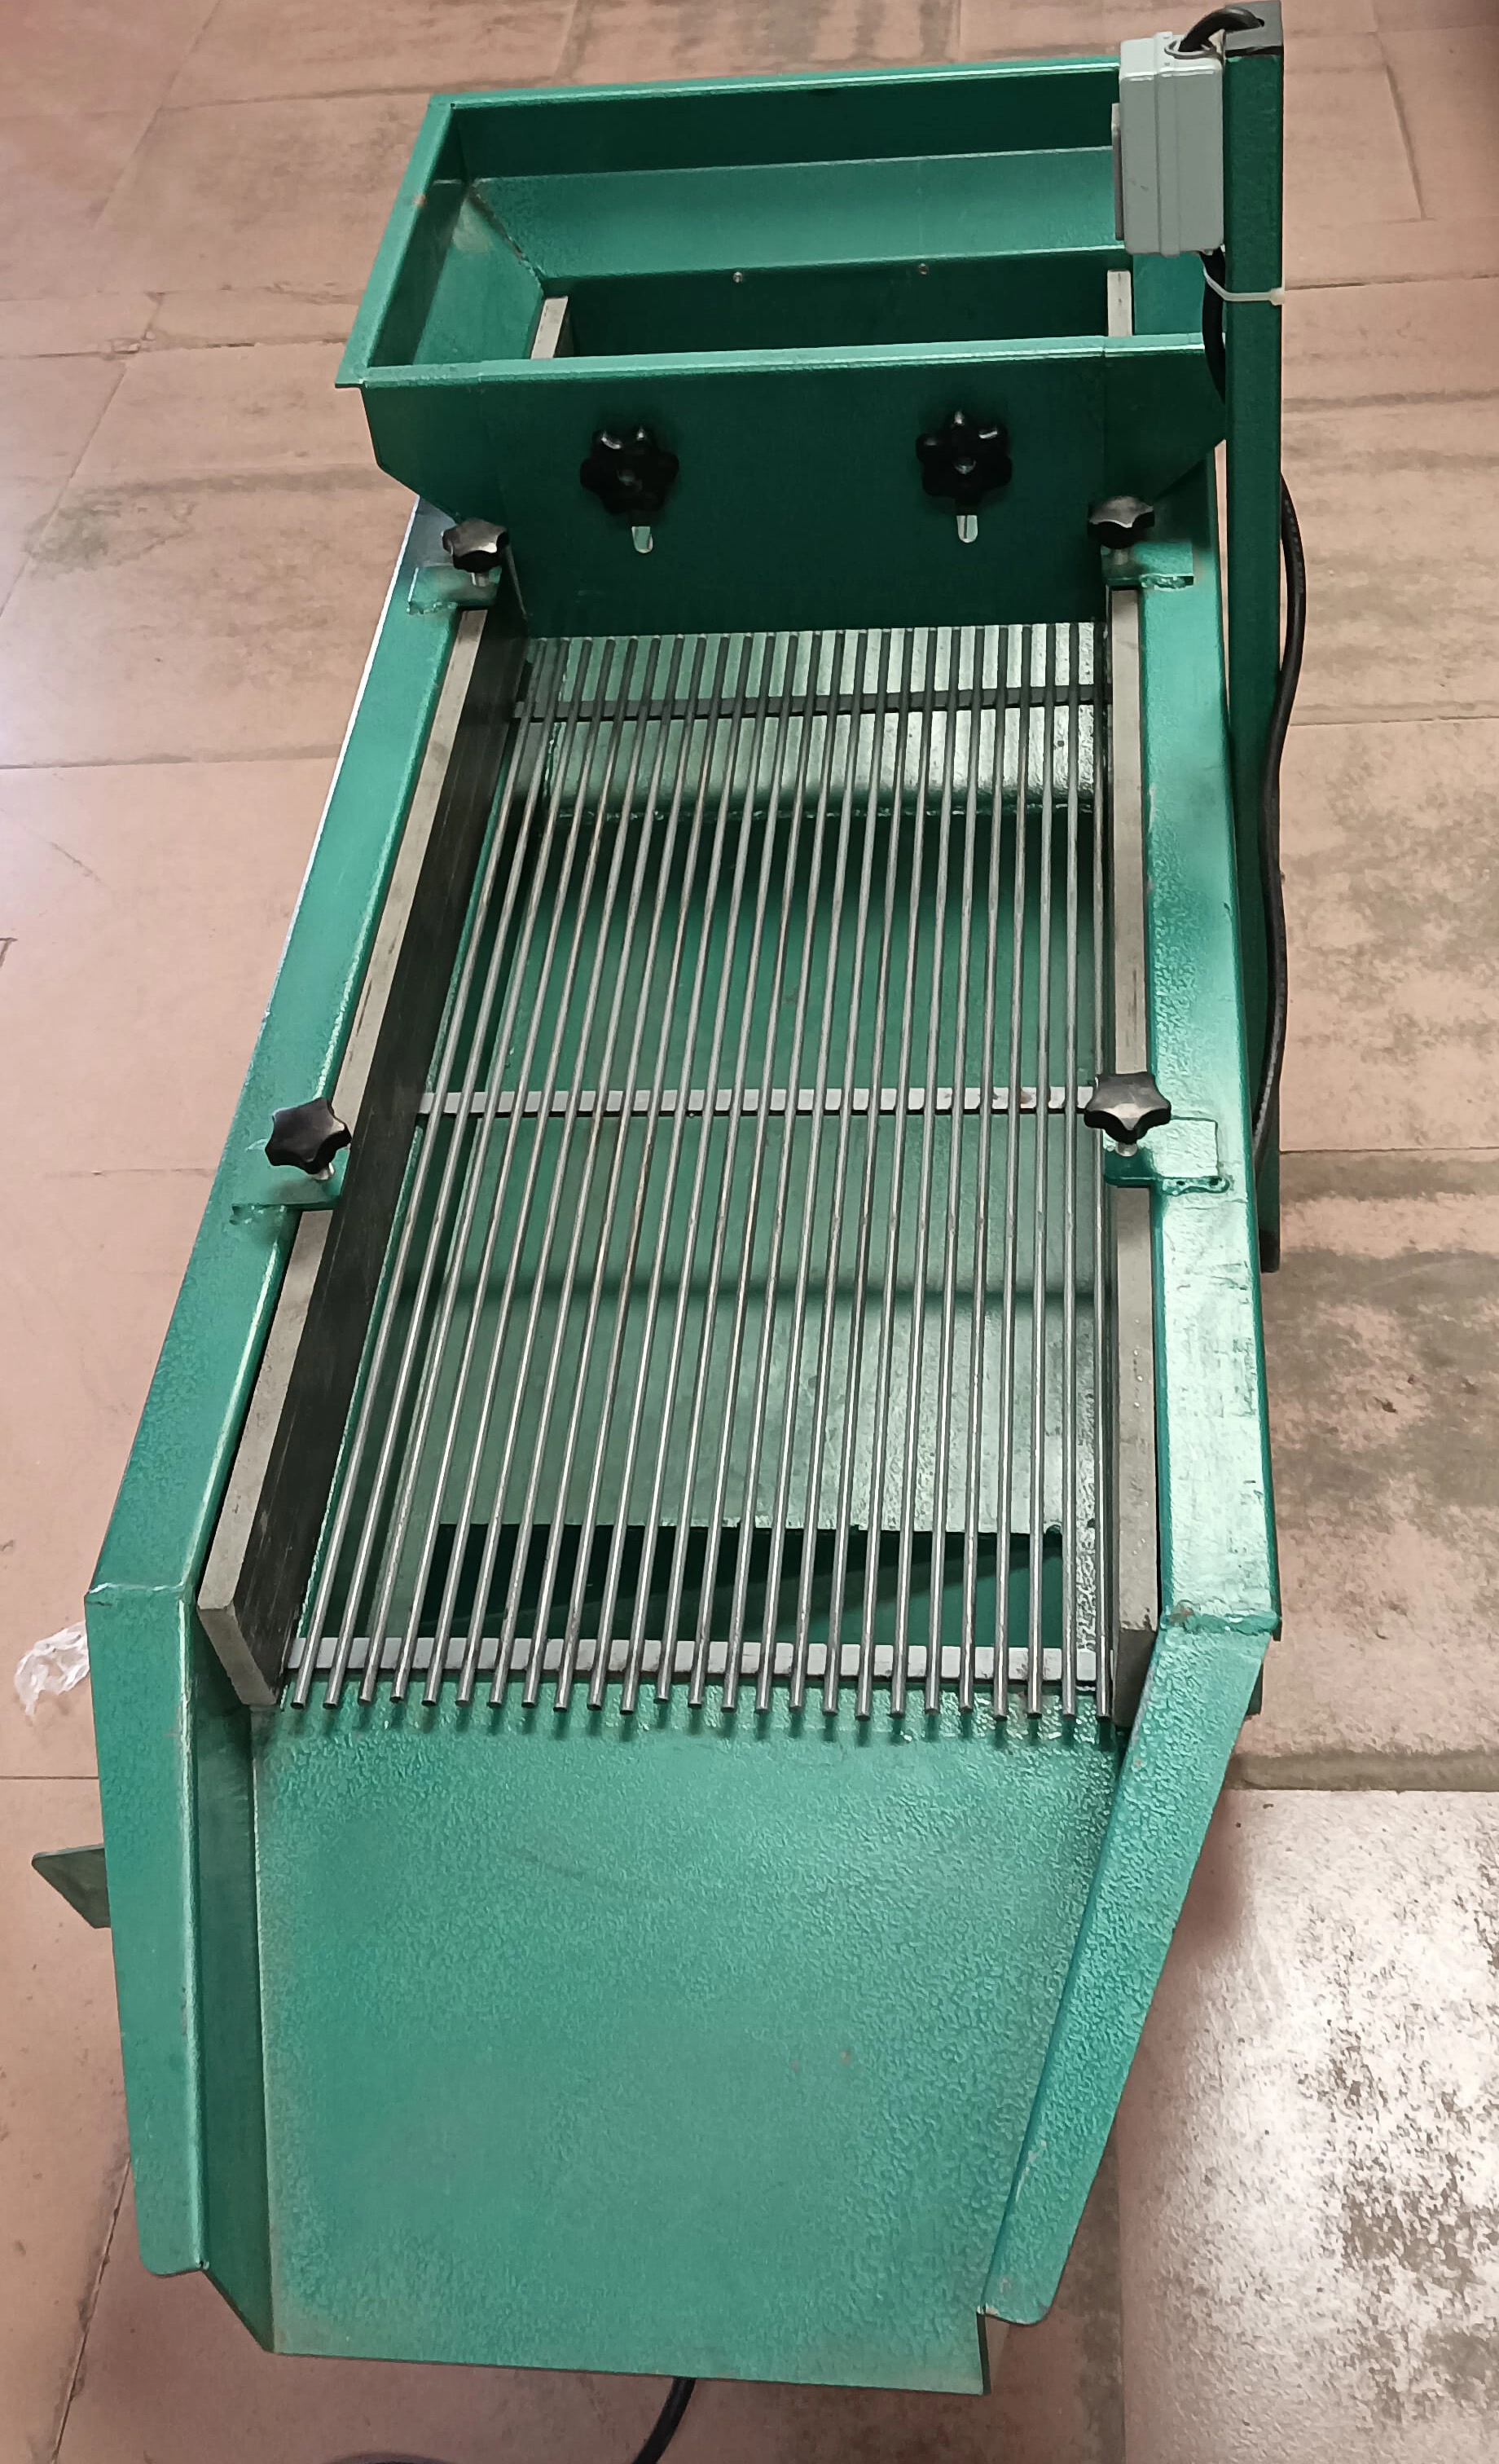
| Parts with fine holes | Magnetic with small media | Avoid lodging media in holes |
Pre-plate inspection gate
| Water-break | 5 parts per load | Continuous film, no breaks |
| Burr check | Per load under magnification | No burrs in pockets or edges |
| Gloss vs sample | Per product family | Approved pre-plate gloss |
| Compound residue | Per load | No wax or oil film |
| Porosity or cold shuts | Incoming and after polish | Reject before finishing |
Implementation Cases
Case 1 — bare spots in slider logo pockets after nickel
Situation. A slider line kept rejecting parts with bare spots inside the deep logo pockets after bright nickel, even though the bath analysis was normal.
Approach. Inspection showed burrs left by the die at the pocket edges, masking the surface from plating. The plant added a magnetic deburring step with fine media before the ultrasonic wash, and a magnified burr check per load.
Outcome. Pocket coverage returned to normal, and the line stopped blaming the nickel bath for a pre-plate burr.
Case 2 — blisters traced to buffing compound
Situation. A bag-hardware shop plating polished D-rings saw blisters on the edges in one shift out of three, with no change to the plating chemistry.
Approach. The water-break test failed on parts from the buffer. Compound was not being removed by the cold rinse the shop used; they switched to a 70 C ultrasonic clean with a wax-removing cleaner and added the five-part water-break gate.
Outcome. Blistering stopped, and the water-break gate became the standard hand-off check between polishing and plating.
Frequently Asked Questions
Why do plating defects come from polishing?
Plating copies the surface under it. Burrs, pores, compound and grinding marks either mask the deposit or lift it off later. The most expensive fix is the one made after the bath.
Which deburring method is best for sliders?
Vibratory bowl and magnetic finishing are the common routes for bulk sliders. Magnetic finishing with fine media reaches logo pockets and small holes better than barrel work.
Can plating hide scratches?
Bright nickel improves appearance but does not remove mechanical damage. A deep scratch or grinding mark remains visible; the pre-plate surface has to carry the finish.
Why does buffing compound cause blisters?
Compound is wax-based and hydrophobic. If it stays on the part, activation and plating cannot wet the surface, adhesion fails, and the deposit lifts as blisters.
How do I remove compound before plating?
Hot ultrasonic cleaning at 60-80 C for 5-10 minutes with a compatible cleaner, or a dedicated wax remover. Confirm success with the water-break test.
What is the water-break test?
Dip cleaned parts in clean water; the film must hold for several seconds without breaking. A broken film means oil or compound remains — the part is not ready for plating.
How full should a vibratory bowl be?
Work from the machine maker guidance; a common starting point is about one part media to one part parts by volume, with the load below the bowl rim so the media can circulate.
Can over-polishing damage zinc parts?
Yes. Zinc alloy is soft; long cycles with aggressive media thin walls, round sharp edges, and open up porosity. Verify wall thickness and edges on mid-cycle samples.
Should I polish before or after deburring?
Deburr first to remove flash and burrs, then polish for gloss. Polishing first burnishes the burrs and makes the plating defect harder to see but no less real.
What polishing equipment does QLQ supply?
QLQ supplies vibratory bowl, magnetic, barrel, wheel and mirror polishing machines for sliders and hardware, with media and compound as consumables, plus the plating line that follows.
What Would You Like to Solve?
If plating defects keep coming back on the same parts, the answer is often before the tank, not in it. Share your part drawing, the polishing route, cycle times and a water-break photo, and we can review whether the surface reaching the bath is actually ready.
Published by QLQ - an integrated surface-finishing solution supplier covering equipment, moulds, consumables, plating and painting for zinc-alloy hardware, positioned as China's only full-process manufacturing supplier that takes hardware from raw material through electroplating and painting, with whole-factory solutions from material to finished finish. Values cited are project references; confirm with your line supplier before specification.