
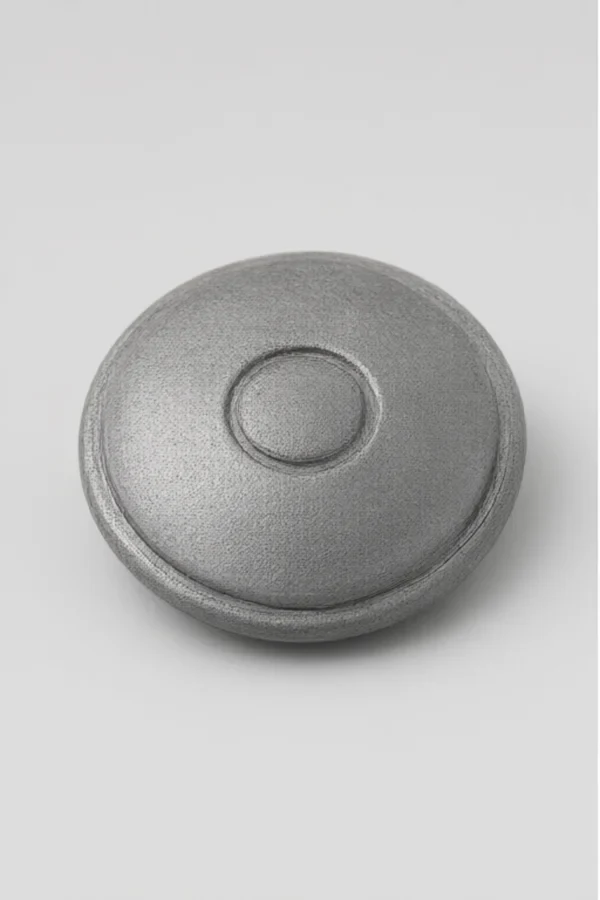
Effect finishes turn a part into a product, but they amplify spray mistakes: texture coats pool, flakes drift, and metallic powders settle in the pot.
This intermediate guide covers texture and effect finishes in cold painting: texture coats, flake application, metallic control and the checks that keep effects even.
Common Mistakes and How to Avoid Them
The pitfalls that show up most often in real projects, with the cause and the practical fix.
| Mistake | Why It Happens | Practical Fix |
|---|---|---|
| 1. Texture coat too heavy | Pools and drips | Apply in thin passes |
| 2. Flakes settle in pot | Uneven flake density | Keep suspension stirring |
| 3. Metallic not stirred | Shade shifts | Stir before and during |
| 4. Effect sprayed like solid | Pattern differences | Learn the effect's window |
| 5. No sample panel | Effect unverified | Spray a sample first |
| 6. Gun distance changed | Texture changes | Hold the effect distance |
| 7. Batch mixing incomplete | Shade variation | Mix and log batches |
| 8. Effect coat over-thinned | Flake damage | Follow the product window |
Best Practices That Hold Up in Production
The operating disciplines that separate a reliable line from a reactive one.
- Apply texture in thin, even passes
- Keep flakes and metallics suspended
- Spray a sample panel before the batch
- Hold the effect's specific distance
- Log batch and effect settings
Implementation Roadmap
A practical sequence that can be adapted to your own project.
Process Flowchart
Effect finish flow
A step-by-step sequence with notes and cautions so every shift follows the same order.
- Effect finishes have their own distance window.
- Metallic shades shift with settling.
- Never pour settled metallic without re-stirring.
- Sample panels keep the effect reproducible.
Working Data & Formula Notes
Effect data
Reference values for effect finishes.
| Component / Parameter | Working Value / Role | What Changes Mean (annotation) |
|---|---|---|
| Texture passes | Thin, multiple | Heavy texture pools |
| Suspension | Stir during use | Settled flakes uneven |
| Distance | Per effect | Texture changes with distance |
| Sample | Before batch | Reproducibility |
Reference Data
Specifications and references cited in this guide. Confirm final parameters with your line supplier.
Effect control card
| Effect | Window | Check |
| Texture | Thin passes | Even surface |
| Flakes | Suspended | Density even |
| Metallic | Stirred | Shade stable |
| Sample | Per batch | Reference kept |
Implementation Cases
Case 1 - settled flakes that ruined the effect
Situation. Flake finish came out patchy; the flakes had settled in the pot while the batch sat between parts.
Approach. Continuous suspension was introduced, and the effect was re-checked on a sample panel each batch.
Outcome. Flake density became even; the sample panel proved the fix.
Case 2 - metallic shade shift between batches
Situation. Metallic locks varied in shade batch to batch; the pigment was settling before each pour.
Approach. A stir-before-pour rule and batch logging were introduced; shade was checked against the reference panel.
Outcome. Shade stabilized; the reference panel became the batch gate.
Frequently Asked Questions
How do I apply texture?
In thin, even passes - heavy texture pools and drips.
Why keep flakes suspended?
Settled flakes give uneven density and a patchy effect.
Why stir metallics?
Pigment settles fast; stirring before and during keeps shade stable.
Why a sample panel?
It verifies the effect before the batch and becomes the reference.
Does distance change texture?
Yes - effect finishes have their own distance window; hold it.
Why thin passes?
Each pass adds texture; heavy coats collapse the effect.
Why log batches?
Shade and effect variation trace back to batch and settings.
Can I thin effect coats?
Only within the product window - over-thinning damages flakes.
What if the effect is uneven?
Check suspension, distance and pass thickness, then adjust one.
What Would You Like to Solve?
Tell us your effect type, product spec and current settings. We can help set the suspension, distance and pass rules for your effect finishes.
Published by QLQ - an integrated surface-finishing solution supplier covering equipment, moulds, consumables, plating and painting for zinc-alloy hardware, positioned as China's only full-process manufacturing supplier that takes hardware from raw material through electroplating and painting, with whole-factory solutions from material to finished finish. Values cited are project references; confirm with your line supplier before specification.